
Master your photography workflow with anxiety-friendly camera settings by simplifying your approach. Start with preset modes to understand basic settings, then gradually shift to manual control. Utilize aperture and shutter speed creatively, adjusting ISO for low-light situations. Focus on single-point autofocus or back-button focusing for precision. Compose shots using the rule of thirds or a single focal point to avoid overthinking. Streamline your post-processing with batch editing and presets. Create personalized settings banks for quick access to your preferred configurations. By breaking down the process into manageable steps, you'll gain confidence and enjoy your photography journey.
Understanding Your Camera's Modes
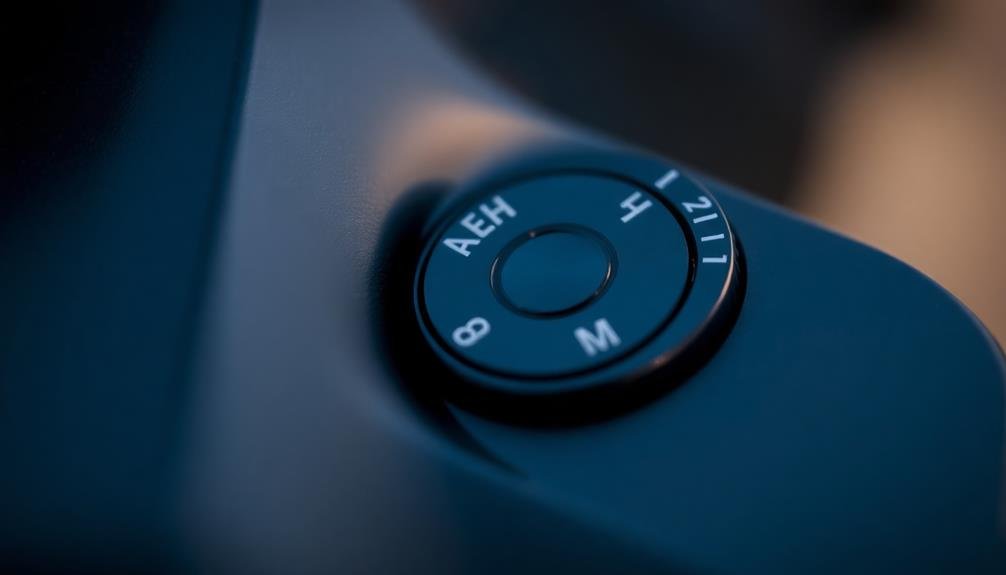
Modes on your camera can be overwhelming, but they're essential to master for anxiety-free photography. Your camera likely has several primary modes: Auto, Program (P), Aperture Priority (A or Av), Shutter Priority (S or Tv), and Manual (M).
Auto mode handles everything for you, but it limits your creative control. Program mode allows some adjustments while the camera balances exposure.
Aperture Priority lets you control depth of field by setting the aperture, while the camera adjusts shutter speed. Shutter Priority enables you to freeze action or create motion blur by setting the shutter speed, with the camera handling aperture.
Manual mode gives you full control over all settings. It's intimidating at first but offers the most flexibility.
Start with Auto or Program mode to build confidence, then gradually experiment with Aperture and Shutter Priority. As you become more comfortable, try Manual mode for specific situations.
Simplifying Aperture and Shutter Speed
Understanding aperture and shutter speed doesn't have to be intimidating. These two settings work together to control how much light enters your camera and how motion is captured. Aperture, measured in f-stops, determines the depth of field in your image. A wider aperture (smaller f-number) creates a shallower depth of field, while a narrower aperture (larger f-number) increases it. Shutter speed controls how long your camera's sensor is exposed to light, affecting motion blur.
To simplify these concepts, think of aperture as controlling focus area and shutter speed as controlling motion. Here's a quick reference table:
| Aperture (f-stop) | Depth of Field | Shutter Speed | Motion Effect |
|---|---|---|---|
| f/1.8 (wide) | Shallow | 1/1000s (fast) | Freeze action |
| f/5.6 (medium) | Moderate | 1/125s (medium) | Some blur |
| f/11 (narrow) | Deep | 1/15s (slow) | Motion blur |
| f/22 (very narrow) | Very deep | 1s (very slow) | Light trails |
Start with your camera's auto or semi-auto modes to get a feel for these settings. As you become more comfortable, experiment with manual mode to fine-tune your control over aperture and shutter speed, allowing you to capture the images you envision with less anxiety.
Mastering ISO for Low Light
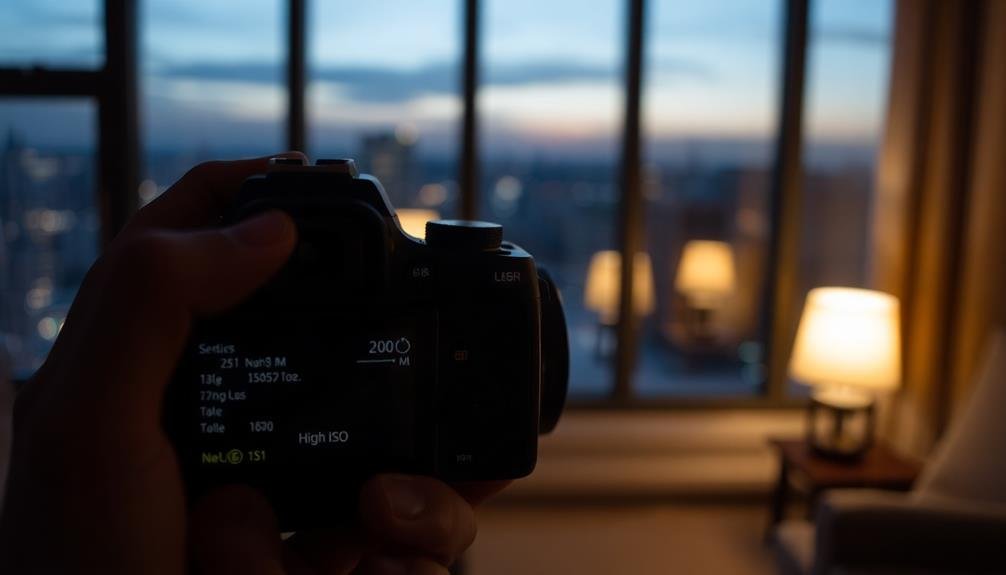
ISO is your camera's secret weapon for tackling low-light situations. It's the setting that adjusts your camera's sensitivity to light, allowing you to capture clear images in dimly lit environments.
When you increase the ISO, you're fundamentally amplifying the available light, but this comes at the cost of introducing digital noise or grain to your photos.
Start with your camera's base ISO, typically 100 or 200, in well-lit conditions. As light decreases, gradually increase your ISO.
Modern cameras can often handle ISOs of 1600 or 3200 without significant image degradation. Experiment to find your camera's "sweet spot" – the highest ISO that produces acceptable image quality.
Focusing Techniques for Calm Shooting
While mastering ISO helps in low-light situations, focusing techniques can make or break your shots, especially when anxiety strikes. To stay calm and capture sharp images, try these focusing methods:
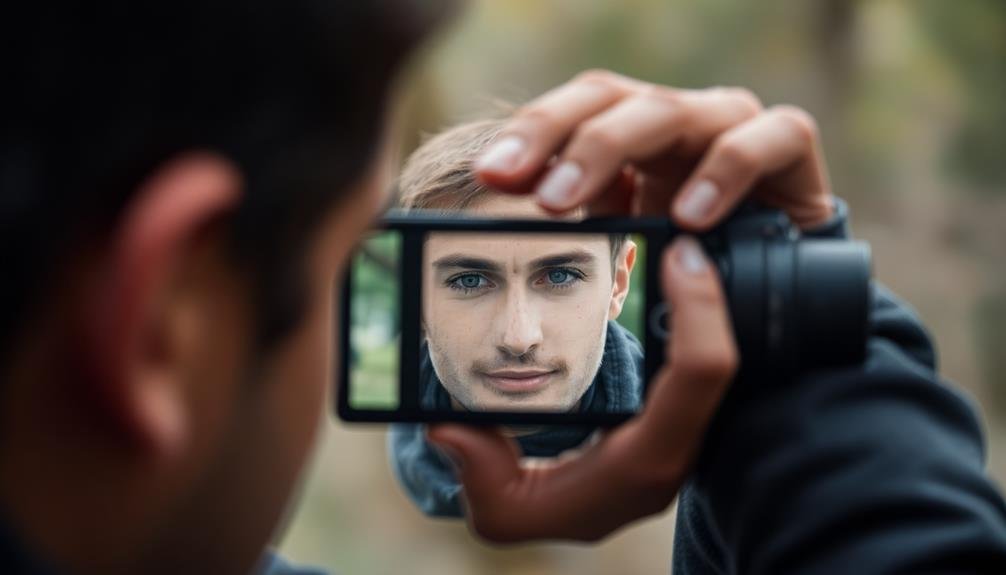
First, use single-point autofocus to maintain control over your focal point. This technique allows you to choose exactly where you want the camera to focus, reducing stress about missed shots. For stationary subjects, select a focus point that aligns with your subject's eyes or most important feature.
When shooting moving subjects, switch to continuous autofocus (AF-C or AI Servo). This mode tracks your subject as it moves, keeping it in focus. Pair this with back-button focusing to separate focus from shutter release, giving you more flexibility and reducing the pressure of timing your shots perfectly.
For landscapes or scenes with multiple focal points, try focus stacking. Take multiple shots at different focus distances and combine them in post-processing. This technique guarantees everything's in focus, eliminating worry about depth of field.
Lastly, don't forget manual focus. In low-light or high-contrast situations where autofocus struggles, switching to manual can give you precise control and peace of mind.
Composing Shots Without Overthinking
Composing a shot can often lead to analysis paralysis, especially for those battling anxiety. To overcome this, focus on simplifying your approach. Start by identifying a single focal point in your scene. This could be a person, object, or interesting feature that draws your eye.
Once you've found it, position it using the rule of thirds as a loose guide. Don't stress about perfect alignment; trust your instincts.
For landscapes, try dividing the frame into simple sections: foreground, middle ground, and background. This creates depth without overthinking. When photographing people, aim to capture their essence rather than achieving a flawless pose. Encourage natural movements and expressions.
If you're feeling overwhelmed, try this quick exercise: set a 30-second timer and challenge yourself to compose and take the shot within that time frame. This forces you to act on instinct rather than dwelling on every detail.
Utilizing Preset Modes Effectively
When you're feeling anxious about camera settings, preset modes can be your best friend.
You'll want to choose the mode that best fits your shooting situation, whether it's portrait, landscape, or action.
Don't hesitate to customize these preset modes to your liking, adjusting elements like exposure compensation or white balance for more personalized results.
Choosing Appropriate Preset Modes
Preset modes on cameras can be a lifesaver for anxious photographers. They simplify the decision-making process and allow you to focus on composition rather than technical settings. When choosing appropriate preset modes, consider your shooting environment and subject.
For landscapes, opt for the "Landscape" mode, which typically increases depth of field and enhances colors. If you're photographing people, the "Portrait" mode will help create a pleasing background blur. "Sports" mode is ideal for fast-moving subjects, as it prioritizes faster shutter speeds to freeze action.
In low-light situations, try the "Night" or "Low Light" mode, which adjusts ISO and shutter speed to capture more light. For close-up shots of small objects, the "Macro" mode is your best bet, allowing for sharp focus on nearby subjects.
Don't forget about the "Auto" mode, which can be a reliable fallback when you're unsure or feeling overwhelmed.
As you gain confidence, experiment with different presets to find what works best for your style and subjects. Remember, these modes are tools to help you capture great images while managing anxiety, so use them to your advantage.
Customizing Preset Mode Settings
Although preset modes are designed to simplify your photography experience, you can further customize them to suit your specific needs and preferences. Most cameras allow you to adjust settings within preset modes, giving you more control while maintaining the mode's core functionality.
Start by exploring your camera's menu system to find customization options for each preset mode. You'll often be able to adjust parameters like ISO, white balance, and exposure compensation. For example, in Portrait mode, you might increase the aperture for a shallower depth of field or adjust the white balance for more flattering skin tones.
Don't hesitate to experiment with these settings in a low-pressure environment. Take test shots and compare the results to find what works best for you. Remember, you can always reset the mode to its default settings if needed.
Consider creating custom preset modes if your camera offers this feature. This allows you to save your preferred settings for specific shooting scenarios, making it easier to switch between different setups quickly.
Streamlining Post-Processing Workflow
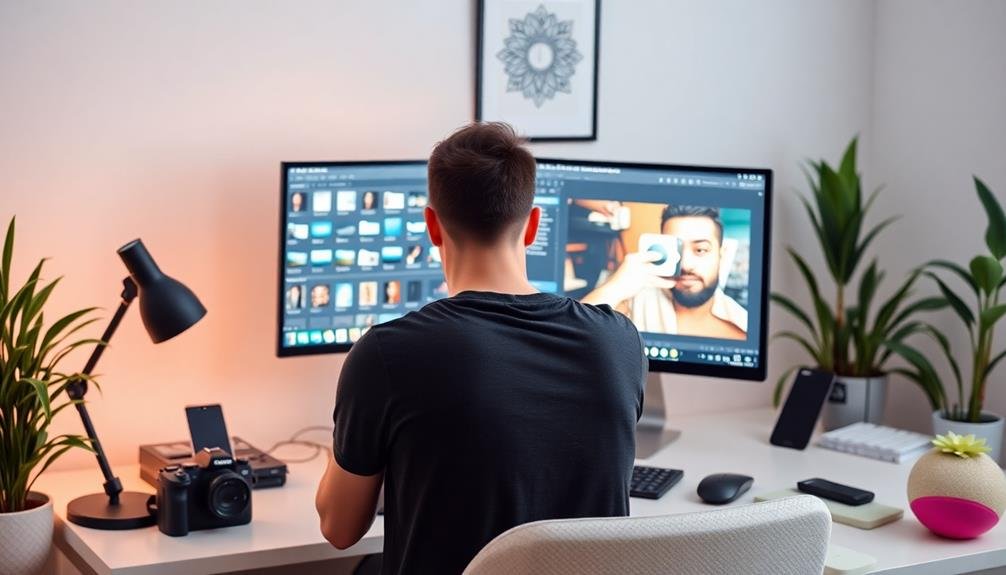
To simplify your post-processing routine, you'll want to master batch editing techniques, utilize presets and templates, and implement efficient file management.
These strategies can substantially reduce the time and effort spent on editing, allowing you to process multiple images quickly and consistently.
Batch Editing Techniques
Photography's post-processing stage can be overwhelming, especially for those dealing with anxiety. Batch editing techniques can greatly reduce stress and save time by allowing you to apply the same adjustments to multiple images simultaneously.
Start by organizing your photos into groups with similar lighting conditions or subjects. Most editing software, like Lightroom or Capture One, offers batch editing features.
Begin with basic adjustments such as white balance, exposure, and contrast. Apply these settings to one image, then sync them across the entire batch. For more specific edits, use adjustment brushes or graduated filters on individual photos as needed.
Utilize presets or create your own to quickly apply consistent looks across multiple images. Don't forget to leverage keyboard shortcuts to speed up your workflow further.
When batch editing, it's essential to periodically check individual images to verify the adjustments work well for each photo. Remember, batch editing is a starting point; you can always fine-tune individual images afterward.
Presets and Templates
Building on the efficiency of batch editing, presets and templates offer another powerful way to streamline your post-processing workflow. These tools allow you to apply pre-configured settings to multiple images with just a few clicks, saving time and reducing anxiety-inducing decision fatigue.
Presets are collections of adjustments you can save and reuse across different photos. They're particularly useful for maintaining a consistent look in your work. Templates, on the other hand, provide a structure for your editing process, guiding you through each step methodically.
Here's a comparison of popular preset and template options:
| Software | Preset Support | Template Support | Customizability | Sharing |
|---|---|---|---|---|
| Lightroom | Extensive | Limited | High | Easy |
| Capture One | Good | Good | High | Moderate |
| Luminar | Extensive | Limited | Moderate | Easy |
| DxO PhotoLab | Limited | Good | Moderate | Limited |
| ON1 Photo RAW | Extensive | Good | High | Easy |
To get started, experiment with pre-made presets and templates, then customize them to suit your style. As you become more comfortable, create your own to further optimize your workflow and reduce anxiety in your editing process.
Efficient File Management
After mastering presets and templates, it's time to tackle efficient file management. This vital step in your workflow can greatly reduce anxiety and save time during post-processing.
Start by creating a consistent folder structure for your images, organizing them by date, event, or client. Use descriptive file names that include relevant information like location or subject.
Implement a rating system to quickly identify your best shots. Use stars or color labels to mark favorites and potential edits. Consider using software like Adobe Bridge or Lightroom to streamline this process. These tools allow you to add keywords, making it easier to search for specific images later.
Regularly back up your files to prevent loss and reduce stress. Use external hard drives or cloud storage services for redundancy. Develop a routine for transferring images from your camera to your computer, and stick to it after every shoot.
Lastly, establish a clear workflow for culling, editing, and exporting your photos. This systematic approach will help you maintain focus and reduce overwhelm when dealing with large batches of images.
Creating Personalized Settings Banks
One key advantage of modern cameras is the ability to create personalized settings banks. These banks allow you to save and quickly access your preferred camera configurations for different shooting scenarios. By setting up custom banks, you'll reduce the time spent adjusting settings in the field, which can be particularly helpful if you experience anxiety while shooting.
To create effective personalized settings banks:
- Identify your most common shooting scenarios (e.g., landscapes, portraits, low-light)
- Determine the best settings for each scenario (aperture, shutter speed, ISO, focus mode)
- Save these configurations to your camera's custom banks
Once you've set up your banks, practice switching between them quickly. This will help you build muscle memory and confidence in your ability to adapt to changing conditions. Remember, you can always fine-tune these settings on the spot if needed.
Don't be afraid to experiment with different combinations of settings to find what works best for you. As you gain experience, you may find that your preferences evolve.
Regularly review and update your settings banks to make sure they continue to meet your needs and support your growth as a photographer.
Frequently Asked Questions
How Can I Manage Anxiety When Photographing in Crowded or Unfamiliar Locations?
When photographing in crowded or unfamiliar places, you can manage anxiety by arriving early, scouting locations beforehand, bringing a friend for support, taking deep breaths, and focusing on your camera settings to distract yourself from overwhelming surroundings.
What Are Some Breathing Techniques to Reduce Camera Shake During Shoots?
Try deep belly breathing: inhale slowly for 4 counts, hold for 4, then exhale for 4. You can also practice the 4-7-8 technique. Remember to relax your shoulders and grip the camera gently while shooting.
How Do I Overcome Perfectionism and Fear of Missing the Perfect Shot?
Embrace imperfection and focus on the joy of photography. You'll miss shots, but that's part of the process. Practice regularly, experiment with different techniques, and remind yourself that every image is a learning opportunity.
Are There Any Specific Camera Accessories That Can Help Reduce Photography Anxiety?
You'll find several accessories to ease photography anxiety. Try a comfortable camera strap, a sturdy tripod for stability, and a remote shutter release. Don't forget spare batteries and memory cards to alleviate worries about running out of power or storage.
How Can I Build Confidence When Sharing My Photos With Others or Online?
Start small by sharing with trusted friends. Gradually expand your audience. Don't compare yourself to others. Focus on your unique perspective. Remember, everyone starts somewhere. Embrace constructive feedback and use it to grow your skills.
In Summary
You've now got the tools to make photography less stressful and more enjoyable. By simplifying your camera settings and streamlining your workflow, you'll shoot with greater confidence. Remember, it's okay to start small and gradually expand your skills. Don't be afraid to experiment with different techniques and find what works best for you. With practice, you'll develop a comfortable, anxiety-friendly approach to capturing beautiful images. Keep shooting and enjoy the process!

Leave a Reply