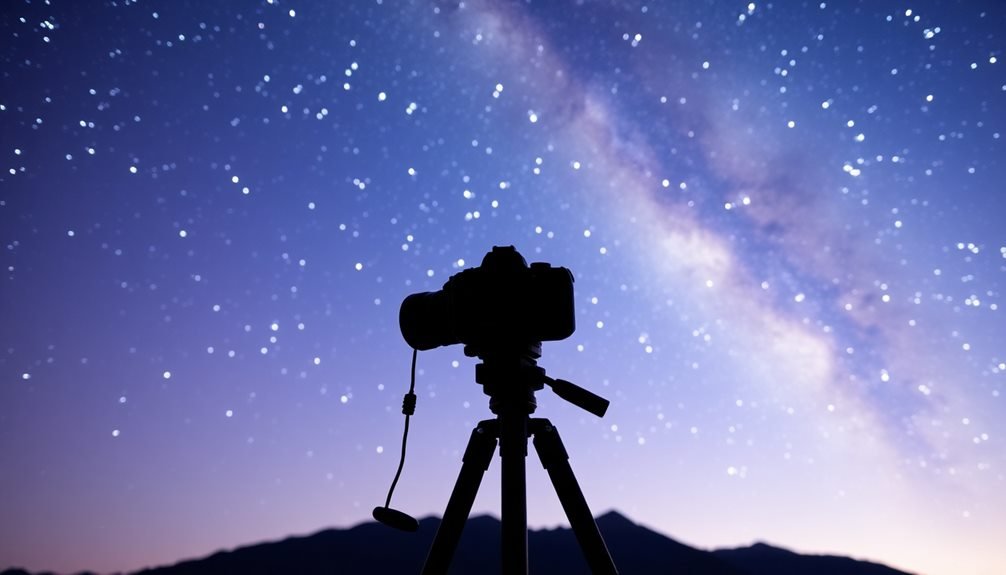
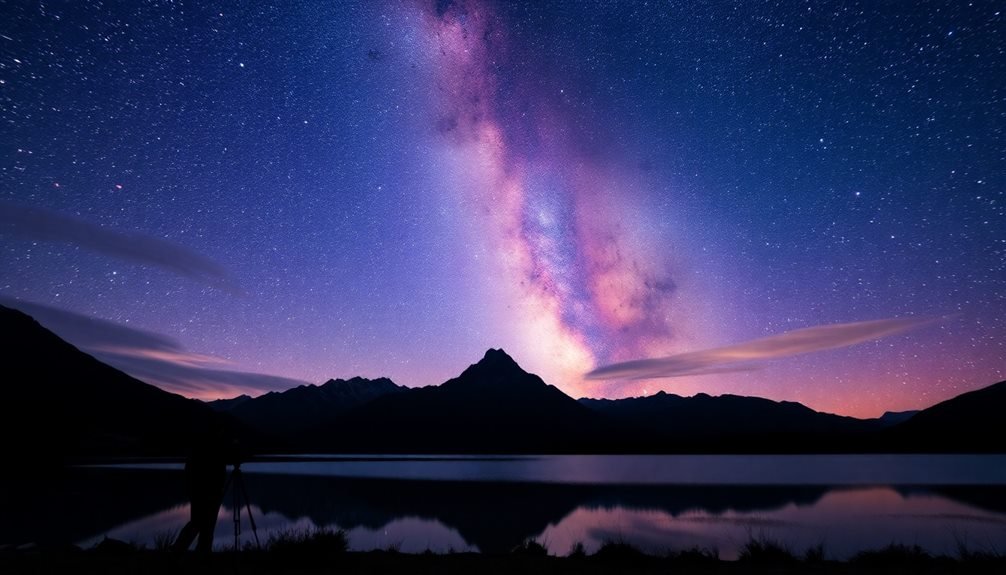
Night sky photography requires specific equipment and techniques to capture stunning celestial images. You'll need a camera with manual settings, a sturdy tripod, and a wide-angle lens with a fast aperture. To get the best shots, seek locations at least 30 miles from urban areas using dark sky maps, and plan around clear weather conditions. Set your camera to manual focus, use high ISO settings (1600-6400), and apply the 500 rule for shutter speed to prevent star trails. Don't forget to compose with interesting foreground elements and pack essential safety gear. The mysteries of astrophotography await as you venture into the darkness.
Essential Night Photography Equipment

Setting up for night sky photography requires specific gear designed for low-light conditions.
You'll need a camera with manual settings and good high-ISO performance, preferably a full-frame DSLR or mirrorless camera. A sturdy tripod is non-negotiable, as you'll be working with long exposure times that demand absolute stability.
Your lens choice matters greatly. A wide-angle lens with a fast aperture (f/2.8 or wider) will help you capture more light and a broader view of the night sky.
Don't forget spare batteries, as long exposures and cold night temperatures can quickly drain your camera's power.
Essential accessories include a remote shutter release or intervalometer to prevent camera shake, and a red flashlight to preserve your night vision while adjusting settings.
You'll also want memory cards with sufficient storage for RAW files. Consider bringing a lens warmer or hand warmers to prevent condensation on your glass during humid nights.
For location scouting and planning, download astronomy apps that track celestial events and dark sky maps.
Pack lens cleaning supplies and a weather-sealed camera bag to protect your gear from moisture and dust.
Finding Dark Sky Locations
Beyond city limits, locating the perfect dark sky spot is vital for capturing stunning night sky photographs. You'll need to find locations at least 30 miles away from major urban areas to minimize light pollution. Use dark sky maps and apps like Dark Site Finder or Light Pollution Map to identify promising spots in your region.
Consider factors beyond darkness when selecting your location. Look for areas with clear horizons and minimal tree coverage for unobstructed views. Higher elevations often provide clearer atmospheric conditions, while coastal areas might offer interesting foreground elements. National parks, state forests, and designated dark sky preserves are excellent starting points for your search.
Before heading out, check the weather forecast for cloud cover and humidity levels. You'll want clear, dry nights for the best visibility. Research local regulations and obtain necessary permits for nighttime photography.
Don't forget to scout your chosen location during daylight hours to identify potential hazards and composition opportunities. It's also important to note access points, parking areas, and cell phone coverage for safety purposes. Keep track of successful locations in a personal database for future shoots.
Camera Settings for Stars

Once you've found your perfect dark sky location, mastering your camera's settings becomes your next challenge.
You'll need to optimize your camera's configuration to capture the faint starlight against the dark sky effectively.
For sharp, well-exposed star photos, start with these essential settings:
- Set your aperture as wide as possible (lowest f-number) to collect maximum light
- Choose a high ISO between 1600-6400, depending on your camera's capabilities
- Use manual focus and set it to infinity, then fine-tune using live view
- Select a shutter speed following the 500 rule (500÷focal length) to avoid star trails
- Enable your camera's 2-second timer or use a remote shutter to prevent camera shake
Remember to shoot in RAW format to preserve maximum detail for post-processing.
Your camera's LCD screen might show an image that looks too bright, but don't worry – this is normal for night photography.
If you're using a zoom lens, set it to the widest focal length for the broadest view of the night sky.
Test your settings with a few practice shots, and adjust as needed based on your specific conditions and equipment limitations.
Composing Your Celestial Shot
When composing your nighttime celestial shots, you'll want to contemplate both the starry sky and any interesting foreground elements that can anchor your image.
You can create more compelling compositions by incorporating silhouettes of trees, mountains, or buildings against the star-filled backdrop.
Finding the right balance between your foreground elements and the celestial display will transform an ordinary star photo into an enchanting landscape that tells a complete visual story.
Frame Your Starry Scene
A photographer's vision extends far beyond technical settings when capturing the night sky. When you're framing your starry scene, you'll need to take into account both foreground elements and celestial features to create a compelling composition.
Look for interesting landscape elements that can anchor your image while drawing the viewer's eye upward to the stars.
Think about these essential framing elements for your night sky photography:
- Use the rule of thirds to position key elements like the Milky Way core or prominent constellations
- Include silhouetted trees, mountains, or buildings to create depth and scale
- Position yourself to capture star trails around the North Star if you're shooting longer exposures
- Frame natural arches or openings to create a window effect for celestial objects
- Incorporate reflective surfaces like lakes or wet sand to mirror the starry sky
Remember to scout your location during daylight hours to identify potential compositions and safety hazards.
You'll want to visualize how the night sky will align with your chosen foreground elements.
Don't forget that the stars' positions change throughout the night, so timing your shot is essential for achieving your desired composition.
Balance Foreground With Stars
Building on your composition skills, the art of balancing foreground elements with stellar features makes the difference between a good night sky photo and a remarkable one.
You'll want to include interesting terrestrial elements that add depth and scale to your celestial captures while ensuring they don't overpower the stars above.
Position landscape elements in the lower third of your frame, following the rule of thirds. Trees, mountains, or architectural features can create striking silhouettes against the starry backdrop. If you're shooting the Milky Way, try aligning these foreground elements to lead the viewer's eye toward the galactic core.
Use your headlamp or flashlight to "paint" foreground elements with light during long exposures. Keep the lighting subtle – you don't want to overwhelm the delicate starlight. Rocky outcrops, lone trees, or old barns can become powerful anchors in your composition when properly illuminated.
In particularly dark locations, consider taking two exposures: one focused on the stars and another for the foreground. You can blend these later in post-processing to achieve perfect clarity throughout the entire image.
Tracking Celestial Movement

Since Earth's rotation causes stars to appear to move across the night sky, you'll need to account for this movement in your long-exposure photos. Without proper tracking, stars will appear as trails rather than pinpoints of light in exposures longer than 30 seconds.
To capture sharp stars, you can either use the "500 rule" for static shots or employ star tracking equipment. The 500 rule involves dividing 500 by your lens's focal length to determine your maximum exposure time before star trails become visible.
For advanced celestial photography, consider these tracking options:
- Equatorial mounts that automatically follow the sky's movement
- Portable star trackers like the Sky-Watcher Star Adventurer
- Barn door trackers you can build yourself for basic tracking
- Multi-axis computerized mounts for deep sky photography
- Periodic error correction (PEC) systems for precise tracking
When using a tracker, you'll need to align it with the celestial pole (Polaris in the Northern Hemisphere). Start with shorter exposures to test your alignment before attempting longer shots.
Remember that tracked shots allow exposures of several minutes, letting you capture fainter celestial objects with lower ISO settings.
Post-Processing Night Sky Images
Raw night sky photos often need significant post-processing to reveal their full potential. You'll need to adjust several key elements in your editing software to bring out the stunning details captured by your camera's sensor.
| Adjustment | Purpose | Typical Range |
|---|---|---|
| Exposure | Brightens overall image | +0.5 to +2.0 |
| Contrast | Separates stars from sky | +15 to +40 |
| Noise Reduction | Removes digital artifacts | +20 to +50 |
Start by importing your RAW files into software like Adobe Lightroom or Capture One. You'll want to adjust white balance first, typically setting it between 3800K-4200K for a natural night sky color. Next, reduce noise while preserving star detail using selective luminance and color noise reduction.
Don't forget to work with masks to separate the sky from any foreground elements. You can apply different adjustments to each area, ensuring your foreground isn't overly brightened while you enhance the stars above. Finally, use dehaze and clarity tools sparingly to make the Milky Way pop, but avoid over-processing that can create unnatural halos around stars or introduce digital artifacts.
Mindful Stargazing Safety Tips

A stargazer's safety should never take a backseat to capturing the perfect shot. When you're heading out for nighttime photography, proper preparation and awareness of your surroundings are essential for a secure stargazing experience.
- Always tell someone where you're going and when you'll return – don't venture out alone without a safety contact.
- Pack essential gear including a reliable flashlight with backup batteries, first aid kit, warm layers, and a fully charged phone.
- Scout your location during daylight hours to identify potential hazards, safe paths, and stable shooting positions.
- Stay aware of local wildlife and weather conditions – check forecasts and bring appropriate protective gear.
- Keep your car keys, emergency supplies, and basic tools within easy reach of your shooting position.
Remember that remote locations often lack cell service, so you'll need to be self-reliant. If you're photographing in wilderness areas, carry bear spray and make noise to alert wildlife of your presence.
It's also smart to bring water, high-energy snacks, and a detailed map of the area. When possible, bring a shooting partner – there's safety in numbers, and they can help spot potential hazards while you're focused on capturing the perfect shot.
Frequently Asked Questions
When Is the Best Time of Year to Photograph the Milky Way?
You'll get the best Milky Way shots between March and October in the Northern Hemisphere, with peak visibility from June to August. The galactic core's most prominent during these warm months after midnight.
How Long Should I Wait for My Eyes to Adjust to Darkness?
You'll need to wait at least 30 minutes for your eyes to fully adjust to the darkness. Don't look at your phone or bright lights during this time, as it'll reset your night vision adaptation.
Can I Photograph Stars When There's a Bright Moon Out?
You can photograph stars during moonlit nights, but you'll get better results during a new moon or moonless hours. The moon's brightness washes out fainter stars and reduces the contrast in your images.
What Weather Conditions Are Ideal for Night Sky Photography?
You'll want clear, dry skies with no clouds or humidity. Cold nights are better than warm ones, and you should avoid windy conditions. Look for nights with low light pollution and stable atmospheric conditions.
How Do I Prevent Condensation From Forming on My Camera Lens?
You'll prevent lens condensation by using a lens warmer, keeping your gear at outside temperature before shooting, and packing desiccant packets. If you don't have a warmer, hand warmers work well too.
In Summary
You've now got the essential tools to capture stunning night sky images. Whether you're photographing the Milky Way or tracking meteor showers, remember that patience and practice are key. Don't forget to prioritize your safety while you're out shooting in dark locations. Keep experimenting with different techniques and settings – soon you'll be creating breathtaking celestial photographs that showcase the universe's natural wonders.


Leave a Reply