Still life drawing offers powerful stress relief through focused artistic practice. You'll find calm by starting with basic geometric shapes like spheres and cubes, then progressing to single-object studies that enhance mindfulness. Practice light and shadow work to develop deeper concentration, or explore textured objects to engage your senses fully. Try mindful fruit bowl setups, nature's treasures, or monochromatic studies to quiet racing thoughts. Quick gesture drawings and breathing-synchronized line work can release tension, while timed exercises help you stay present. These proven techniques will transform your drawing practice into a peaceful sanctuary.
Simple Shapes for Inner Peace
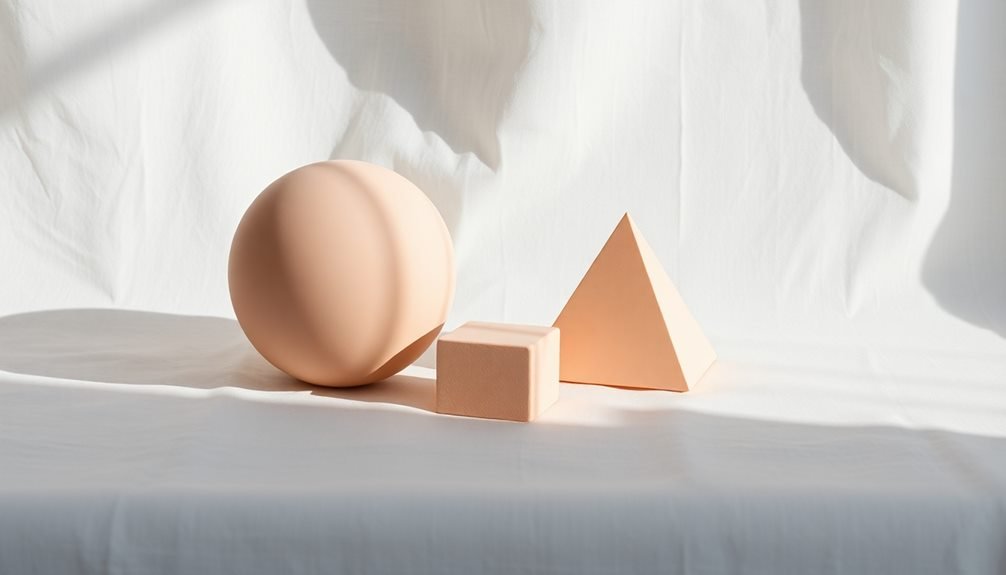
Three basic shapes form the foundation of all still life drawings: spheres, cubes, and cylinders. By focusing on these elementary forms, you'll create a meditative practice that calms your mind while building essential drawing skills.
Start with a sphere – perhaps an orange or apple – and observe how light creates highlights and shadows across its surface. Draw slowly and deliberately, letting your hand trace these gradual changes.
Move on to cubes, using simple boxes or wooden blocks. You'll notice how straight edges and right angles help train your eye to recognize perspective.
As you sketch each face of the cube, concentrate on maintaining parallel lines and proper proportions. This structured approach helps quiet racing thoughts.
Mindful Fruit Bowl Practice
Begin your mindful fruit bowl practice by arranging 3-4 pieces of fresh fruit in a simple ceramic bowl near a natural light source.
You'll want to sketch the basic shapes first using light, flowing strokes while focusing on your breathing and the present moment.
As you add details and shading, let your hand move naturally across the paper, allowing the peaceful practice to help release any tension in your mind and body.
Simple Setup Instructions
Setting up your first still life practice doesn't require elaborate props or complex arrangements. You'll need a clean, uncluttered space with good natural lighting and a few basic items to get started. Choose a spot near a window where soft, indirect light can illuminate your subject matter without harsh shadows.
| Essential Items | Purpose |
|---|---|
| Small table/surface | Creates stable foundation |
| Plain backdrop | Eliminates distractions |
| Light source | Defines form and shadows |
Select 3-4 fruits of varying sizes and shapes, then place them on a neutral-colored cloth or paper. Position your drawing surface at a comfortable angle, ensuring you can see both your subject and paper without straining. Keep your arrangement simple – don't overwhelm yourself with too many objects or complicated patterns.
Maintain about 3-4 feet of distance between you and your setup, allowing enough space to observe the entire composition. You'll want to stay in this position throughout your practice session, so make sure your chair and drawing surface are at comfortable heights. Remember to take a photo of your arrangement if you plan to complete the drawing over multiple sessions.
Relaxing Drawing Techniques
Drawing a still life can become a meditative practice when you approach it with mindfulness and patience. Start by taking slow, deep breaths as you observe your arranged fruit bowl. Don't rush to put pencil to paper – instead, spend 2-3 minutes simply studying the shapes, shadows, and how the objects relate to each other.
When you're ready to draw, use gentle, flowing strokes rather than rigid lines. Let your hand move naturally across the paper, focusing on the basic forms first. If your mind wanders, bring your attention back to the curves of the fruit or the play of light across the bowl's surface. You'll find that this slow, deliberate approach helps release tension in your shoulders and hands.
Try working in 15-minute segments, taking short breaks to step back and assess your progress. During these pauses, roll your shoulders and flex your fingers to stay relaxed.
Textured Objects Exploration
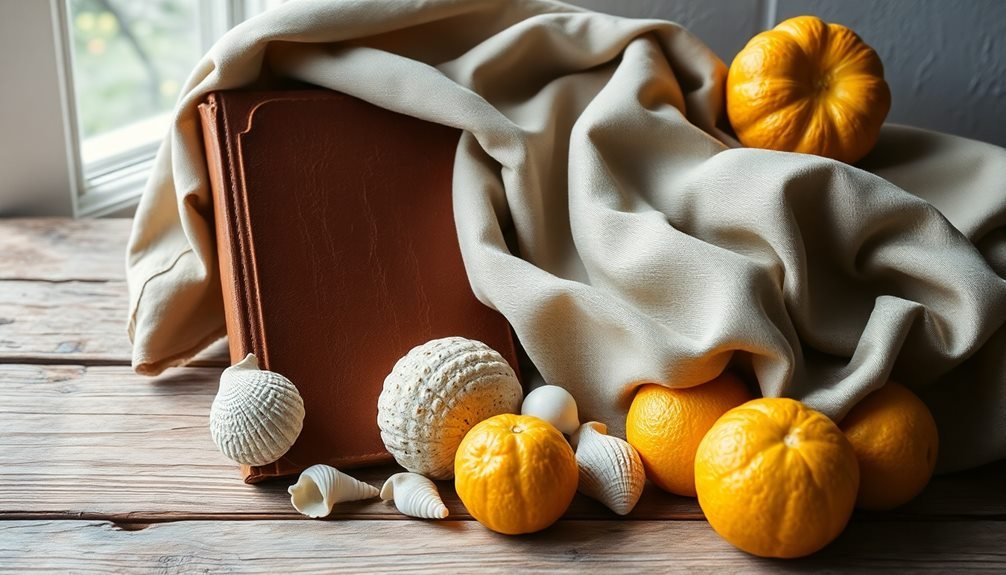
Mastering textured objects forms an essential part of still life drawing development. When you're ready to explore textures, begin with three distinctly different objects: something smooth (like glass), something rough (like tree bark), and something patterned (like fabric). This combination helps you understand how light interacts with various surfaces.
Start by sketching the basic shapes, then focus on each object's unique surface qualities. For smooth objects, you'll want to create clean, precise lines and subtle value changes. With rough textures, use quick, irregular strokes and varied pressure to capture the surface's character. For patterned items, establish the underlying form first, then layer the pattern on top.
You'll find that working with different drawing tools enhances your texture exploration. Try using charcoal for rough surfaces, graphite for smooth objects, and conte crayons for fabric.
Don't rush – spend at least 15 minutes studying each texture before drawing. Pay attention to how shadows fall across different surfaces, and notice how highlights appear differently on smooth versus rough materials.
Practice regularly with everyday items to build your texture rendering skills.
Single Object Focus Drawing
Selecting a simple everyday object like a coffee mug or piece of fruit will help you master foundational drawing skills without getting overwhelmed by complexity.
You'll want to examine your chosen item from various angles, sketching its form from different perspectives to better understand its three-dimensional qualities.
Apply careful shading techniques to capture how light falls across the object's surface, paying special attention to highlights, core shadows, and reflected light.
Choose Simple Everyday Items
For effective still life practice, pick a single household object you encounter daily – like a coffee mug, fruit, or pen. These familiar items make ideal subjects because you'll find them readily available and won't feel overwhelmed by complex shapes or details.
You'll also develop a deeper appreciation for the beauty in ordinary things. Look for objects with basic geometric forms: spheres (apples), cylinders (drinking glasses), or cubes (tissue boxes). These fundamental shapes will help you build strong drawing foundations.
Choose items with minimal patterns or decorations when you're starting out – a plain white bowl is easier to render than an ornately decorated vase. Consider the object's texture and material properties. Smooth surfaces like porcelain cups teach you about highlights and reflections, while rough textures like woven baskets help you practice shading techniques.
You'll also want to select items that can remain perfectly still – avoid objects that might wilt, melt, or change shape during your drawing session. Keep a collection of simple objects near your drawing space, so you can practice whenever inspiration strikes.
Observe From Multiple Angles
Through careful examination of a single object from different viewpoints, you'll discover subtle details and characteristics that might go unnoticed from just one perspective. Select one item and position it on a surface where you can easily walk around it.
Start by drawing the object from your initial position, focusing on its basic shapes and proportions. Move approximately 45 degrees around your subject and create another sketch. You'll notice how shadows shift, edges appear differently, and new details emerge.
Continue this process until you've drawn the object from at least four different angles. Pay attention to how light interacts with the surface at each position, and note how certain features become more prominent while others recede.
Don't rush these observations. Take time to study how the object's form changes with each new angle. This exercise strengthens your spatial awareness and helps you understand three-dimensional relationships better.
It's particularly effective with items that have interesting textures or complex shapes, like a carved wooden box or a vintage camera. Make quick sketches rather than detailed renderings, focusing on capturing the essential characteristics from each viewpoint.
Detailed Shading Techniques
Mastering the art of shading transforms a simple outline into a compelling three-dimensional form. When you're focusing on a single object in your still life setup, proper shading techniques can help you achieve a meditative state while creating depth and realism in your work.
You'll want to establish your light source first, then identify where the shadows naturally fall on your subject.
Start by choosing one object from your still life arrangement and apply these essential shading techniques:
- Cross-hatching: Create texture by overlapping sets of parallel lines at different angles – this builds up darkness gradually and gives you more control over tone variations.
- Circular motions: Use small, circular movements with your pencil for smooth shifts between light and dark areas, especially effective on curved surfaces.
- Gradual pressure: Vary your pencil pressure to achieve different values, starting with light touches and slowly increasing pressure for darker areas.
Remember to keep your pencil sharp and work systematically from light to dark.
As you focus on these detailed shading techniques, you'll notice your stress melting away while your artistic skills improve.
Light and Shadow Studies
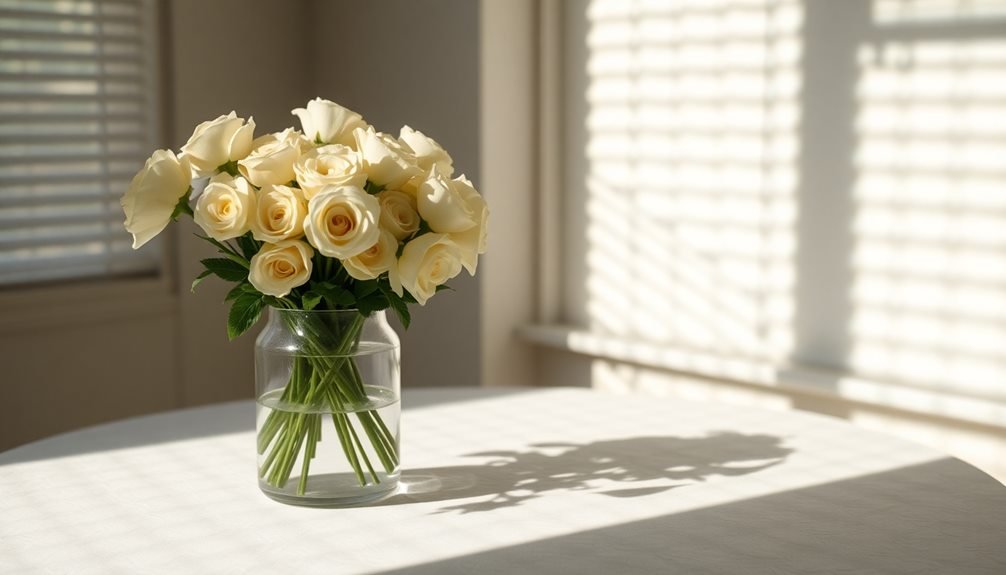
Understanding light-and-shadow relationships is essential for creating depth and dimension in still life drawings. To master this vital skill, you'll need to practice observing how light interacts with objects and creates distinct shadow patterns.
Start by setting up a simple still life arrangement with a single light source, preferably natural light from a window or a desk lamp. Choose one object and identify five distinct values: highlight, light, mid-tone, shadow, and cast shadow.
Using your graphite pencil, create a value scale from 1 to 5, then match these values to the corresponding areas on your subject. You'll notice how shadows wrap around curved surfaces and how cast shadows extend from objects onto the surface below.
Practice drawing the same object under different lighting conditions. Move your light source to various positions – from above, below, or to the side – and observe how the shadow patterns change.
This exercise will train your eye to recognize subtle value shifts and help you develop a more nuanced understanding of form. Remember to squint while observing; this helps simplify complex light patterns into basic shapes of light and dark.
Everyday Items Quick Sketches
Quick sketches of everyday items build upon your light and shadow skills while adding the challenge of time constraints. You'll find that limiting yourself to 5-10 minutes per sketch forces you to focus on essential forms and prevents overworking your drawings.
Select common objects from your immediate surroundings – coffee mugs, fruit, or household tools – and position them in natural lighting.
Set a timer and follow these quick-sketch guidelines:
- Start with basic geometric shapes that capture the object's overall form, using light pencil strokes to establish proportions.
- Add critical shadow areas within the first three minutes, focusing on core shadows and cast shadows that define the object's volume.
- Use the remaining time to refine edges and add minimal details that give the object its distinctive character.
Don't worry about perfection – these exercises are about training your eye to quickly identify forms and values.
Keep your sketches loose and energetic, allowing your hand to respond instinctively to what you see. Practice daily with different items to build confidence and improve your observational skills.
Nature's Treasures Still Life
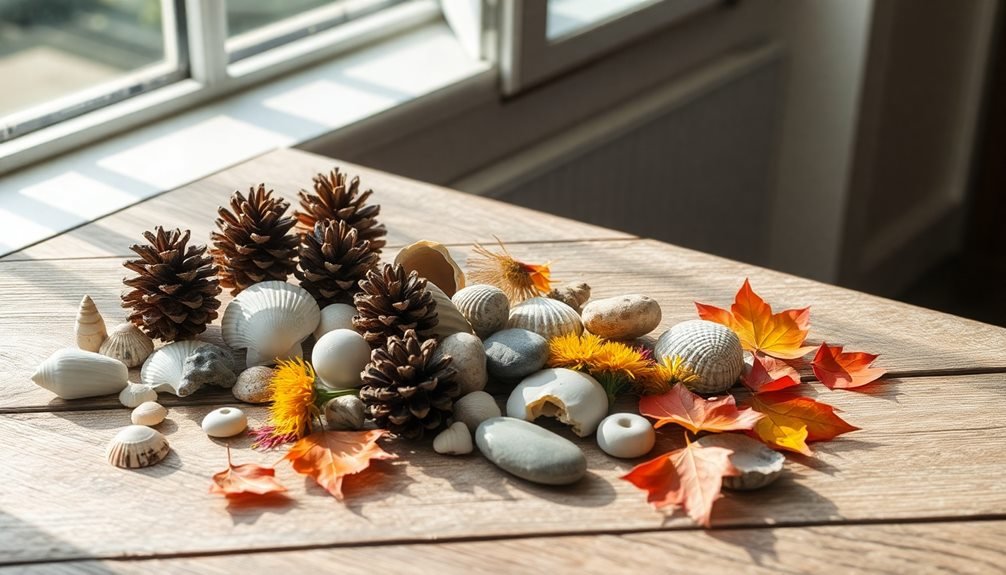
As autumn arrives, natural objects provide some of the most interesting subjects for still life drawing practice. You'll find endless inspiration in fallen leaves, pinecones, acorns, and twisted branches. These organic shapes offer excellent practice for capturing textures and shadows while helping you relax and connect with nature.
Start by collecting 3-5 natural items that catch your eye. Arrange them on a neutral surface, considering how they overlap and interact. Natural light from a window works best, as it'll create soft shadows that enhance the organic forms.
| Object Type | Drawing Focus | Technique |
|---|---|---|
| Leaves | Vein patterns | Hatching |
| Shells | Surface texture | Crosshatching |
| Stones | Light/shadow | Blending |
Take your time observing each object's unique characteristics. Don't rush to perfect every detail – instead, focus on capturing the essence of each item's form. You'll find that drawing nature's treasures helps develop your observation skills while providing a peaceful drawing experience that reduces stress and anxiety.
Remember to rotate your items periodically to practice different angles and challenge yourself with new perspectives.
Monochromatic Object Series
Drawing a series of objects in a single color can level up your shading and value skills dramatically. You'll find that working with just one color forces you to focus entirely on light, shadow, and form, without the distraction of multiple hues.
Select objects in your chosen color – whether it's all-white ceramics, black metal items, or brown wooden pieces – and arrange them with varying distances from your light source.
For this exercise, you'll want to:
- Set up 3-5 objects of the same color but different textures (like a white egg, porcelain cup, and cotton fabric)
- Position a single, strong light source to create clear shadows and highlights
- Work with at least 6 different values of your chosen color, from lightest to darkest
Start by sketching the basic shapes lightly, then build up your values gradually. You'll notice how the subtle variations in shade create depth and dimension, even without color variation.
Focus on capturing the way light wraps around curved surfaces and creates cast shadows. This exercise helps train your eye to detect minute value changes, improving your overall drawing abilities.
Loose Gestural Still Life
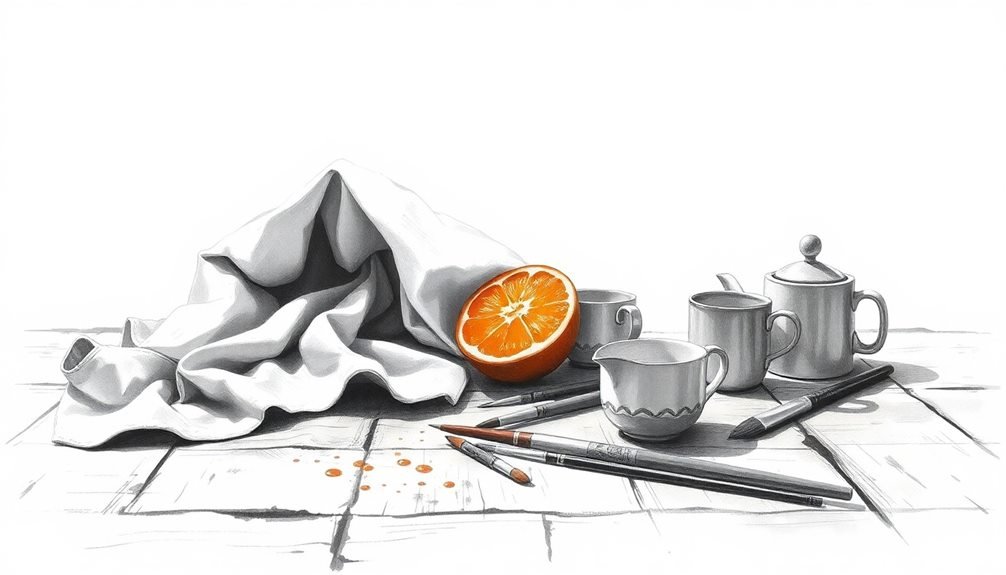
Developing rapid mark making techniques lets you capture the essence of still life objects without getting caught up in precise details.
You'll build confidence through timed practice sessions, starting with 5-minute sketches and gradually reducing to 1-minute studies. Free-flowing line control comes naturally as you learn to trust your hand movements and embrace the spontaneity of quick, decisive strokes.
Rapid Mark Making Technique
When you're ready to loosen up your drawing technique, rapid mark making offers an energetic approach to still life sketching. This method encourages you to work quickly, making swift, confident marks that capture the essence of your subject rather than focusing on precise details.
You'll find that working at speed helps reduce overthinking and perfectionism, common sources of artistic stress.
Start with a collection of simple objects and grab your preferred drawing tool – charcoal, pen, or pencil. Set a timer for 30-60 seconds per sketch, and don't let your drawing tool leave the paper. You're aiming for continuous, flowing lines that connect shapes and forms.
Follow these key principles for effective rapid mark making:
- Keep your arm moving freely from the shoulder rather than drawing from the wrist.
- Focus on capturing basic shapes and relationships between objects rather than details.
- Vary your line weight and pressure to create dynamic marks that suggest form and depth.
As you practice, you'll develop a more fluid, expressive drawing style that helps release creative tension while improving your observational skills.
Timed Practice Sessions
Building on rapid mark making skills, timed practice sessions elevate your gestural drawing abilities to new heights. You'll need to set specific time limits for each drawing, gradually decreasing the duration as you progress. This technique forces your brain to focus on capturing essential forms while letting go of perfectionism.
| Time Limit | Focus Area | Expected Outcome |
|---|---|---|
| 5 minutes | Basic shapes | Rough composition |
| 3 minutes | Value relationships | Light/shadow maps |
| 1 minute | Movement/energy | Gestural essence |
Start by arranging simple objects like fruits or bottles, setting your timer, and drawing without lifting your pencil from the paper. Don't worry about details – you're training your eyes to see relationships between forms quickly. As you practice, you'll notice your stress levels dropping because you're fully immersed in the present moment.
When you're ready to challenge yourself, try the "30-second blitz" where you'll create multiple thumbnail sketches of the same still life from different angles. This rapid-fire approach helps you break free from overthinking and develops your intuitive drawing response, making the entire process more fluid and enjoyable.
Free-Flowing Line Control
Loose gestural drawing's power lies in liberating your hand from rigid control while maintaining artistic intention.
You'll find that releasing tension through fluid movements helps combat stress while developing essential drawing skills. Let your arm move freely from the shoulder rather than drawing solely from the wrist, allowing natural, sweeping motions to capture the essence of your still life subject.
Begin with these progressive exercises to develop your free-flowing line control:
- Start with continuous line drawings – don't lift your pencil from the paper as you trace the contours of your subject, maintaining a steady, unhurried pace.
- Practice blind contour drawing while looking only at your subject, not your paper – this builds hand-eye coordination and forces you to trust your natural movements.
- Create quick gesture sketches using flowing, curved lines to capture the overall form in under 30 seconds – repeat this process several times with the same subject.
As you practice, you'll notice your lines becoming more confident and expressive.
Don't worry about perfect accuracy; instead, focus on capturing the energy and movement of your marks. Your drawings will gradually develop a natural rhythm that reflects both the subject and your artistic voice.
Breathing Through Line Work
Line work in still life drawing breathes life into your compositions through controlled variation in pressure, speed, and weight. By synchronizing your breathing with your mark-making, you'll create more organic, expressive lines that reflect natural rhythm and flow. Inhale deeply as you prepare your stroke, then exhale slowly as you draw your line, allowing your breath to guide the pressure of your tool against the paper.
Start with simple objects like vases or fruit, and draw their contours using continuous lines that vary in thickness. As you exhale, press harder for darker, weightier sections; as you inhale, lighten your touch for more delicate areas. You'll notice how this breathing technique naturally creates dynamic line quality that enhances form and dimension.
Practice this method by drawing the same object multiple times, each time focusing on different breathing patterns. Quick, short breaths produce choppy, energetic lines, while long, steady breaths result in smooth, flowing contours.
This mindful approach not only improves your technical skills but also helps reduce tension in your hand and shoulder, making your drawing sessions more meditative and relaxing.
Frequently Asked Questions
Can Still Life Drawing Help With Anxiety Disorders Diagnosed by Medical Professionals?
While still life drawing can help manage anxiety symptoms, you'll need more than art alone. It's best to use it as a complementary therapy alongside professional treatment prescribed by your healthcare provider.
What Are the Best Drawing Materials for Beginners With Trembling Hands?
You'll find thicker markers, chunky graphite pencils, and soft pastels easiest to control with shaky hands. Try using a drawing board with a slight tilt, and rest your wrist while sketching.
How Long Should Each Still Life Drawing Session Last for Maximum Stress Relief?
You'll find that 20-30 minute sessions work best for stress relief. Don't push yourself too long, as fatigue can increase tension. Take short breaks when needed and listen to your body's signals.
Should Still Life Drawing Exercises Be Combined With Meditation or Breathing Techniques?
Yes, you'll benefit from combining breathing exercises with your still life drawing. Try taking deep breaths while observing objects, and use mindful awareness to enhance focus and reduce tension during your practice.
Can Digital Still Life Drawing Provide the Same Stress-Relieving Benefits as Traditional Methods?
You'll find digital still life drawing can reduce stress similarly to traditional methods. It's convenient and relaxing, though you might miss the tactile experience and mindful connection that comes with physical art materials.
In Summary
You'll find that incorporating these still life exercises into your daily routine can transform moments of stress into peaceful creative sessions. Whether you're sketching simple shapes or exploring complex shadows, each practice offers a mindful escape. Make these exercises your go-to tool for relaxation—even 15 minutes of focused drawing can help clear your mind and restore your sense of calm.

Leave a Reply