
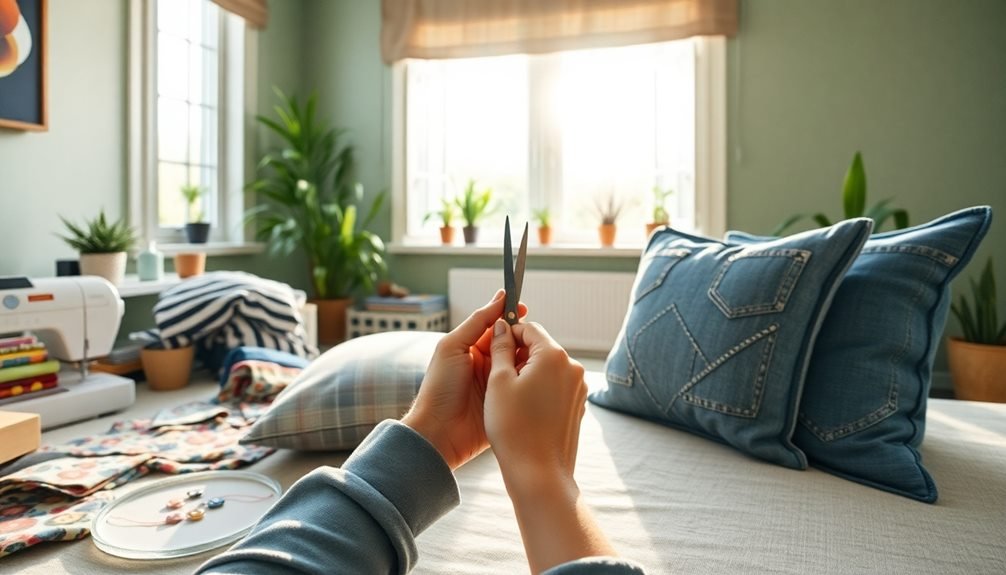
Transforming old clothes into fresh pieces through upcycling can calm your mind while creating sustainable fashion. You'll need basic tools like sharp scissors, measuring tape, and a sewing machine to get started. Begin with simple no-sew projects like converting t-shirts into tote bags or sweaters into infinity scarves – these quick wins build confidence and reduce stress. Create a dedicated workspace with good lighting and organize your materials in clear containers to maintain focus. As you touch and arrange fabrics, you'll discover endless creative possibilities while practicing mindful making. Let's explore how your old wardrobe can become a source of joy and self-expression.
Why Upcycling Reduces Anxiety
How often do you feel overwhelmed by life's daily stresses? Upcycling old clothes can serve as a natural anxiety reducer, offering a creative outlet that calms your mind and reduces stress hormones.
When you focus on transforming outdated garments, your brain shifts away from worry and enters a state of mindful engagement. The repetitive nature of cutting, sewing, or embellishing fabric triggers the release of serotonin, your body's natural mood stabilizer.
You'll notice your breathing becomes steadier as you immerse yourself in the creative process. Each completed project boosts your confidence and provides a sense of accomplishment, counteracting feelings of powerlessness that often fuel anxiety.
Upcycling also helps you regain control over your environment. By deciding how to repurpose items, you're making active choices rather than feeling passive about your surroundings.
The sustainable aspect of upcycling adds another layer of anxiety relief – you're contributing to environmental conservation while creating something unique. Your efforts reduce waste, minimize consumption guilt, and generate practical items that bring joy to your daily life.
Essential Tools and Materials
Beyond the creative vision, successful upcycling requires a well-stocked toolkit of essential items. You'll need sharp fabric scissors, a reliable sewing machine, and various needle sizes for both hand-stitching and machine work. Stock up on different thread colors and weights, plus a seam ripper for correcting mistakes.
For measuring and marking, gather a tape measure, fabric chalk, and straight pins with pin cushions. You'll also benefit from having a sturdy ironing board and iron to press seams and prepare fabrics.
If you're planning to add embellishments, keep basic supplies like buttons, zippers, elastic, and decorative trim on hand. Don't forget about adhesives – fabric glue, hot glue gun, and fabric fusion tape are invaluable for certain projects.
For pattern-making, you'll need large paper sheets, a ruler, and pencils. Consider investing in specialized tools like pinking shears for preventing fabric fraying, or a rotary cutter with a self-healing mat for precise cuts.
Store everything in clear containers or a craft organizer, making sure tools stay clean and accessible when inspiration strikes.
Mindful Fabric Selection Process
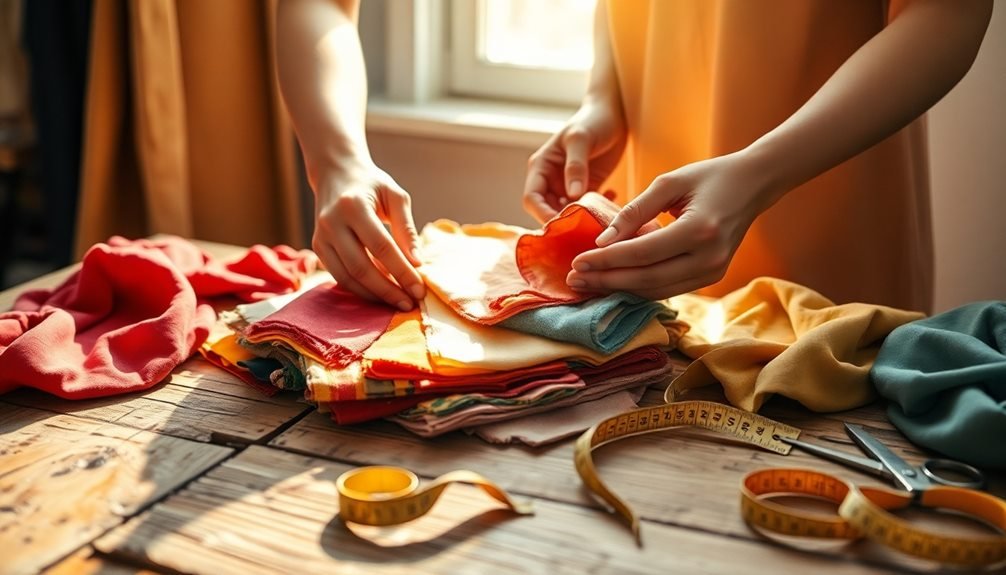
The mindful selection of fabrics stands as a essential foundation for any upcycling project's success. You'll need to carefully evaluate each piece of clothing for its potential, considering factors like fabric quality, durability, and compatibility with your intended design. When selecting materials, focus on pieces that aren't damaged beyond repair and still maintain their structural integrity.
| Fabric Type | Best Uses |
|---|---|
| Denim | Bags, quilts, patches |
| Cotton | Casual wear, home decor |
| Linen | Summer garments, napkins |
| Wool | Winter accessories, blankets |
| Silk | Scarves, accent pieces |
Before cutting into any fabric, you'll want to test its condition by gently stretching it and examining the weave. Look for signs of wear, such as thinning areas or permanent stains that might compromise your project. Don't forget to check the care labels – some fabrics require special handling or cleaning methods that could affect your upcycling plans. If you're combining different materials, make certain they have similar care requirements and weights to maintain the finished product's quality and longevity.
Quick No-Sew Transformation Ideas
You'll be amazed at how quickly you can transform old clothing without ever touching a sewing machine.
Turn your worn-out t-shirts into sturdy tote bags by cutting off the sleeves and neckline, then tying strips along the bottom to create a secure base.
If you've got an old sweater taking up closet space, you can easily convert it into a cozy infinity scarf by cutting it horizontally and twisting the fabric into a fashionable loop.
T-Shirt Tote Bags
Transform old t-shirts into stylish, eco-friendly tote bags without touching a sewing machine. This quick project takes just 10 minutes and requires only scissors and a t-shirt you're ready to repurpose.
Start by laying your t-shirt flat and cutting off the sleeves along the seams. Then, cut the neckline to create a wider opening, making sure both front and back cuts are even.
To create the bottom of your bag, turn the shirt inside out and mark a line about 4 inches up from the hem. Cut 1-inch wide strips from the hem up to your marked line, creating fringe. Tie each front strip to its corresponding back strip, making tight double knots.
Once you've knotted all strips, turn the shirt right side out. You can customize your tote by cutting the top into a V-neck shape, adding fringe to the handles, or creating designs with fabric paint.
The finished bag is sturdy enough for groceries, gym clothes, or beach essentials. Don't throw away the sleeves – they make perfect produce bags or cleaning rags. Your new t-shirt tote is washable and will last for years.
Scarf From Old Sweater
Creativity meets sustainability when converting a tired sweater into a cozy winter scarf. This no-sew project transforms your old knitwear into a fashionable accessory in under 15 minutes. You'll need a sweater that's past its prime, sharp scissors, and a ruler to get started.
Begin by laying your sweater flat and cutting straight across under the armpits. This bottom section will become your scarf. Remove any ribbed bottom hem, then cut the tube open along one side seam to create a flat rectangle. If you'd like fringe, make careful cuts about 3 inches up from the bottom edge.
| Sweater Type | Best For | Scarf Style |
|---|---|---|
| Cashmere | Dress wear | Elegant wrap |
| Cotton blend | Casual use | Daily loop |
| Chunky knit | Winter wear | Infinity style |
| Cable knit | Statement piece | Traditional long |
For added flair, you can embellish your new scarf with buttons from the original sweater or create a twisted effect by stretching the fabric gently lengthwise. The natural curl of the knit fabric's edges eliminates the need for hemming, making this an ideal beginner-friendly project that you'll actually wear.
Simple Hand-Stitching Projects
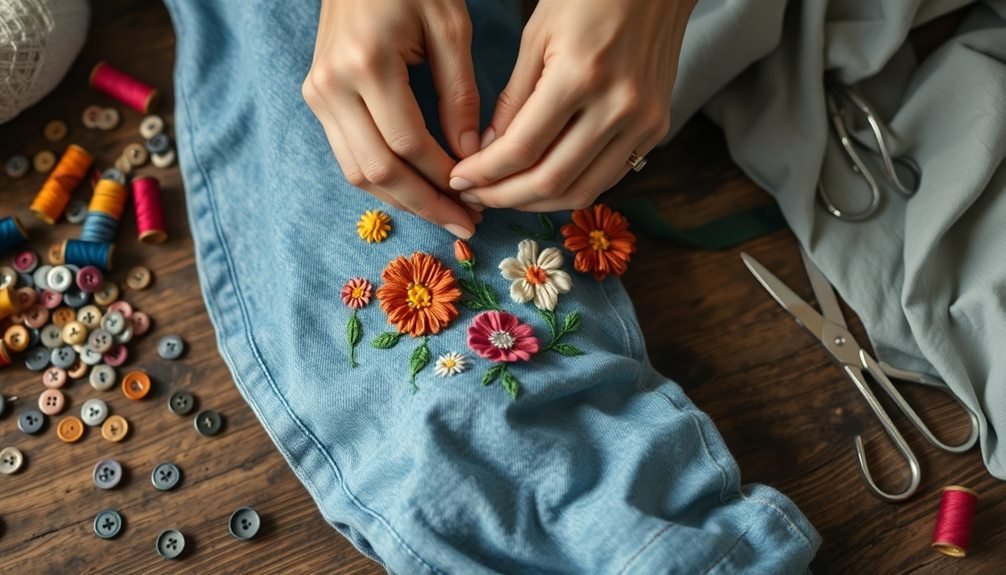
While many upcycling projects rely on power tools or complex techniques, hand-stitching offers a relaxing way to breathe new life into old fabrics and clothing. With just a needle, thread, and basic supplies, you'll be able to transform worn items into fresh creations.
Start with simple patch repairs by cutting decorative fabric shapes to cover holes or stains. You can use a running stitch around the edges to secure patches, creating unique designs on jeans, jackets, or bags.
For a bohemian look, try adding embroidered flowers or geometric patterns to plain t-shirts using basic embroidery stitches.
Transform old button-down shirts by hand-stitching decorative trim along collars and cuffs, or add contrasting fabric panels to create color-blocked designs.
Don't throw away stretched-out sweaters – reinforce loose areas with visible mending stitches in complementary colors for a trendy, intentionally repaired appearance.
When working with delicate fabrics, use smaller stitches and lighter thread weights. Keep your tension consistent, and always test your stitching on a scrap piece first.
Remember to double-knot your ends and trim excess thread for a professional finish.
Breathing Through Creative Blocks
When you're feeling stuck on an upcycling project, try practicing mindful making by focusing solely on the materials in your hands and their potential.
You'll often find that simply touching, arranging, and experimenting with items can spark unexpected ideas and help overcome creative paralysis.
Breaking down your project into smaller design steps, like starting with a basic shape or single element, lets you build momentum naturally without feeling overwhelmed by the final vision.
Practice Mindful Making
Making something from scratch can feel overwhelming, especially if you're stuck in a creative rut. To practice mindful making, focus on the present moment and engage fully with your upcycling project. Turn off your phone, clear your workspace, and take a few deep breaths before you begin.
Start by examining your old clothing piece carefully. Notice its texture, color, and existing features. Don't rush to cut or alter anything – instead, spend time visualizing different possibilities.
As you work, pay attention to the sound of scissors cutting through fabric, the feeling of thread passing through material, or the weight of the garment in your hands.
If you make a mistake, don't berate yourself. Accept it as part of the creative process and consider how you might incorporate it into your design. Remember that upcycling isn't about perfection – it's about giving new life to old items while expressing yourself creatively.
Take breaks when you need them, but stay connected to your project's purpose. Ask yourself why you chose this piece and what you hope to achieve.
This mindful approach won't just improve your crafting – it'll make the entire process more enjoyable and meaningful.
Take Small Design Steps
In the face of creative blocks, breaking down your upcycling project into smaller, manageable steps can help you move forward.
Start by sketching your design idea, then divide it into distinct components like cutting, piecing, and finishing. When you're feeling overwhelmed, focus on completing just one element at a time.
Begin with basic alterations before attempting complex modifications. If you're transforming a dress into a skirt, first determine the new hemline and make a clean cut.
Then move on to creating the waistband, and finally add any decorative elements. This step-by-step approach helps maintain precision and prevents costly mistakes.
Keep a project journal to track your progress and document successful techniques.
When you encounter difficulties, step back and evaluate which specific part is causing trouble. You might find that simplifying one element or trying an alternative approach resolves the issue.
Remember that even experienced makers face challenges – it's part of the creative process.
Don't hesitate to leave your project for a few hours or days if you're stuck.
Often, a fresh perspective will reveal solutions that weren't apparent before.
Organizing Your Upcycling Space
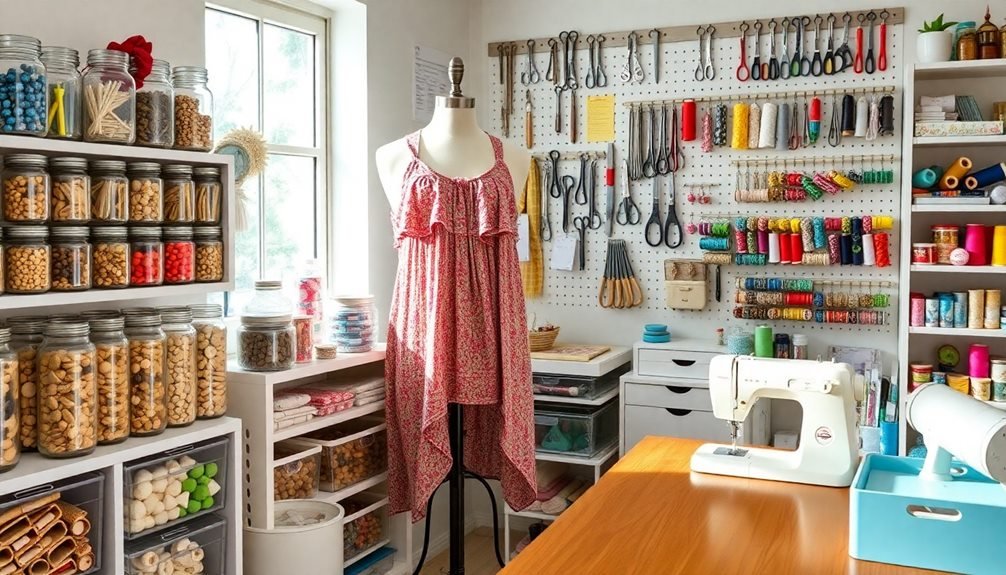
Successful upcycling projects start with a well-organized workspace. You'll need a dedicated area with proper lighting, storage solutions, and easy access to your tools and materials. Set up your space with a sturdy work table at a comfortable height and make sure you've got enough room to move around freely.
Create distinct zones for different activities: cutting, sewing, and storage. Install shelving units or use clear storage bins to keep your fabric organized by type, color, or project. Keep your most-used tools within arm's reach, and store smaller items like buttons, zippers, and thread in labeled containers or drawer organizers.
Maintain a cleaning station with lint rollers, scissors for thread trimming, and a small vacuum for fabric scraps. You'll also want a pressing area with an iron and ironing board nearby.
Don't forget to designate a spot for your sewing machine with easy access to electrical outlets and good lighting.
Consider adding an inspiration board where you can pin design ideas, fabric swatches, and project plans. This helps keep your creative vision organized while preventing your workspace from becoming cluttered with loose papers and materials.
Creating Personal Style Through Recycling
Your personal style shines brightest when you transform everyday items into unique fashion statements. By recycling old clothing and accessories, you're not just helping the environment – you're creating one-of-a-kind pieces that reflect your personality and creativity.
With basic sewing skills and a few simple tools, you can turn outdated or worn items into fresh, contemporary pieces that'll make heads turn.
Start by identifying pieces with potential for transformation, like oversized shirts, vintage dresses, or damaged jeans. Consider these creative upcycling techniques to express your style:
- Convert baggy t-shirts into fitted crop tops with strategic cuts and knots, adding personal flair with embroidery or appliques.
- Transform old jeans into trendy distressed shorts, incorporating patches or decorative stitching for added character.
- Turn loose-fitting dresses into two-piece sets by separating the top from the bottom and adding elastic waistbands.
- Revamp plain sneakers with fabric paint, replacing laces with ribbons, or adding decorative patches.
Remember to experiment with different combinations of materials, colors, and textures. Your unique touch will make each piece special and guarantee your wardrobe stands out from mass-produced fashion.
Frequently Asked Questions
How Do I Remove Stubborn Stains Before Upcycling Old Clothes?
You'll need to pre-treat stubborn stains with vinegar, baking soda, or hydrogen peroxide. Soak the fabric for 30 minutes, then wash with hot water and detergent before starting any upcycling projects.
Can I Combine Different Fabric Types in One Upcycling Project?
Yes, you can mix different fabrics, but you'll want to choose materials with similar care requirements and weights. It's best to test-wash combined fabrics first to guarantee they'll work well together.
What Should I Do With Leftover Fabric Scraps?
You can turn fabric scraps into quilts, hair accessories, small bags, or patches. Don't throw them away – save smaller pieces for stuffing pillows or toys. You'll find endless ways to use leftovers.
How Long Does Upcycled Clothing Typically Last Compared to New Items?
Your upcycled clothing's durability depends on the original fabric quality and your workmanship. With proper construction and care, it'll last just as long as new items, often 2-3 years of regular wear.
Are There Specific Garments That Are Unsafe to Upcycle?
You shouldn't upcycle clothes with severe mold, toxic chemical stains, or fire-retardant treatments. Also avoid garments with hazardous materials like asbestos or items that've been exposed to dangerous substances.
In Summary
You've taken the first steps toward sustainable, anxiety-reducing fashion by learning these simple upcycling techniques. Don't let perfectionism hold you back – each project is uniquely yours. Keep your workspace organized, tools ready, and remember to breathe through the creative process. Whether you're no-sew crafting or hand-stitching, you're not just transforming clothes – you're creating a mindful connection to sustainable style.

Leave a Reply