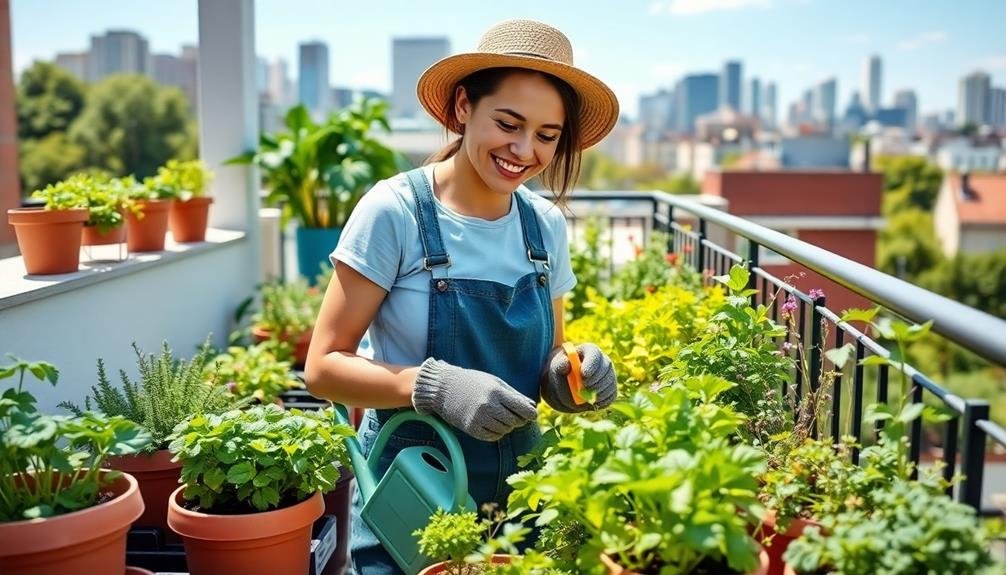
Container gardening is perfect for beginners, offering endless possibilities in small spaces. You can start with a simple herb garden in mason jars, ideal for sunny windowsills. Create a charming succulent mini landscape in a shallow dish, or brighten your balcony with a colorful window box. For vertical options, try a pallet planter or upcycled tea tin gardens. Grow your own salad in a wide container, or craft a whimsical fairy garden in a pot. Self-watering bottle planters are great for low-maintenance herbs, while a tabletop Zen garden adds a calming touch. These easy ideas will help you cultivate your green thumb with confidence.
Key Takeaways
- Start with a herb garden in mason jars, using easy-to-grow herbs like basil, chives, and mint.
- Create a self-watering bottle planter for low-maintenance gardening, ideal for herbs and small vegetables.
- Try a colorful container salad garden with various lettuce types and arugula in a wide, shallow container.
- Grow a succulent mini landscape in a shallow container for a low-maintenance, visually appealing option.
- Use hanging basket vegetables to save space and grow compact varieties like cherry tomatoes and dwarf peas.
Herb Garden in Mason Jars
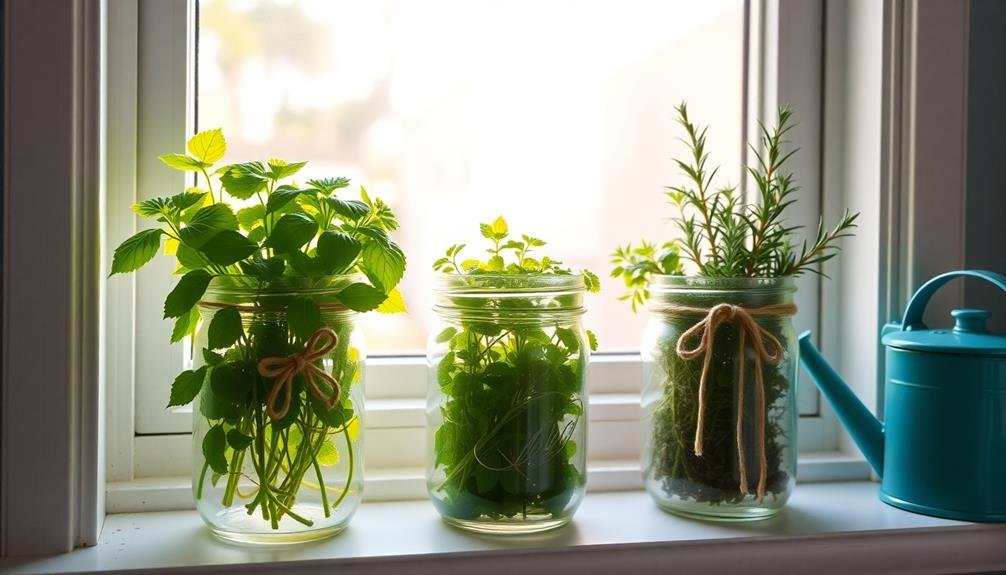
If you're new to container gardening, starting with a herb garden in Mason jars is a perfect way to dip your toes in. Mason jars are readily available, inexpensive, and provide excellent drainage when you add a layer of pebbles at the bottom. Choose herbs that thrive in small spaces, such as basil, chives, mint, or thyme.
To begin, clean your jars thoroughly and drill small drainage holes in the bottom. Fill the jars with a well-draining potting mix, leaving about an inch of space at the top. Plant your herb seedlings or seeds according to their specific requirements.
Place the jars on a sunny windowsill or outdoor area that receives at least six hours of sunlight daily. Water your herbs when the soil feels dry to the touch, but be careful not to overwater. Herbs in Mason jars may dry out quickly, so check them regularly.
Fertilize every two weeks with a diluted liquid fertilizer to promote healthy growth. Prune your herbs regularly to encourage bushiness and prevent them from outgrowing their containers. With proper care, you'll soon have a thriving herb garden that's both functional and aesthetically pleasing.
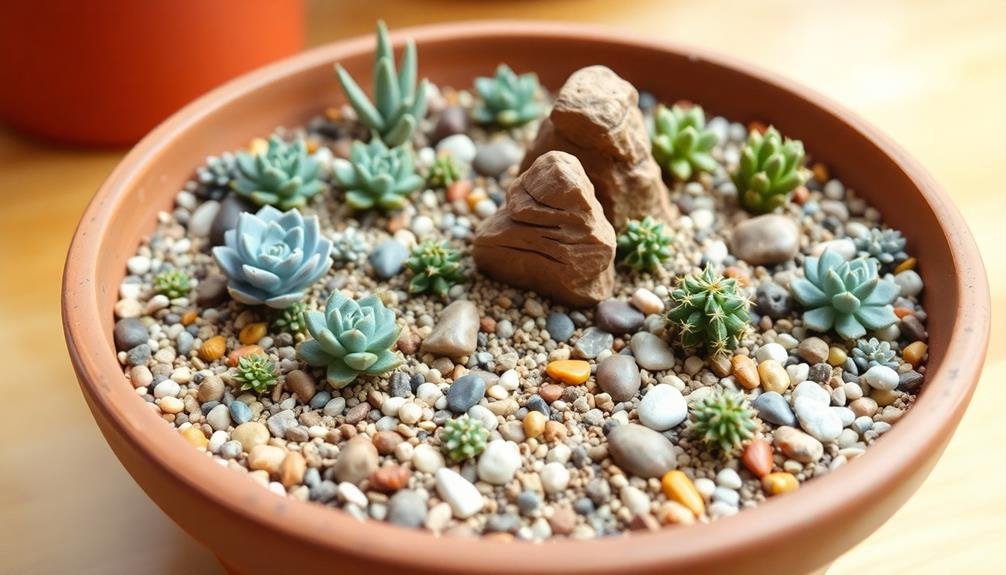
Succulent Mini Landscape
A succulent mini landscape offers an enchanting way to bring low-maintenance greenery into your home or office.
These miniature gardens are perfect for beginners due to their minimal care requirements and endless creative possibilities.
To create your own succulent mini landscape, start with a shallow, wide container with drainage holes. Fill it with well-draining cactus or succulent potting mix.
Choose a variety of succulents with different shapes, colors, and textures to add visual interest. Popular options include echeveria, sedum, and haworthia.
When planting, space your succulents closely to achieve a lush, full look. Use small rocks, pebbles, or decorative sand to fill in gaps and create a polished appearance.
You can also add miniature accessories like fairy garden figurines or tiny furniture to create a whimsical scene.
Place your succulent mini landscape in a spot that receives bright, indirect light. Water sparingly, allowing the soil to dry completely between waterings.
Fertilize lightly during the growing season with a balanced, water-soluble fertilizer diluted to half strength.
With minimal care, your succulent mini landscape will thrive, providing a stunning and unique focal point in any space.
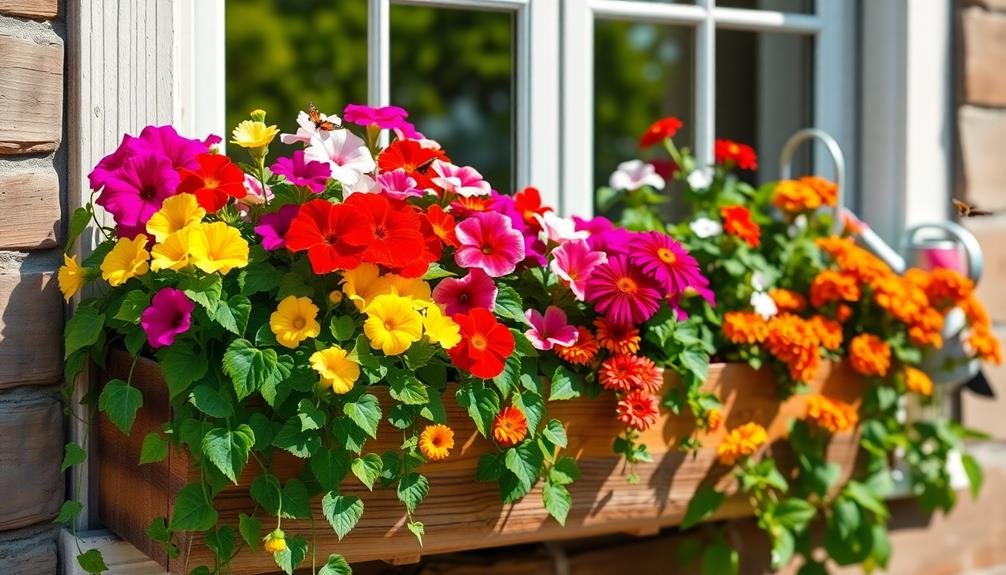
Window Box Flower Display
When creating a window box flower display, you'll need to select flower varieties that thrive in your specific light conditions and climate.
Guarantee proper drainage by drilling holes in the bottom of the box and using a high-quality potting mix.
You'll want to maintain your display throughout the seasons by regularly watering, fertilizing, and pruning your flowers to keep them healthy and vibrant.
Choosing Suitable Flower Varieties
Ever wondered how to create a stunning window box display? It all starts with choosing the right flower varieties. For beginners, opt for low-maintenance annuals that'll bloom throughout the season. Petunias, geraniums, and marigolds are excellent choices for sunny spots, while impatiens and begonias thrive in shadier areas.
Consider the "thriller, filler, spiller" approach when selecting your flowers. Choose a tall, eye-catching plant as your thriller – perhaps a spike plant or tall snapdragon. For fillers, pick medium-height flowers like zinnias or cosmos to add volume. Finally, select trailing plants like lobelia or bacopa as spillers to cascade over the edges of your box.
Don't forget to factor in your climate and the amount of sunlight your window box receives. If you're in a hot, dry area, drought-resistant plants like portulaca or verbena might be your best bet. For cooler climates, pansies and violas are hardy options.
Remember to choose flowers with similar care requirements, ensuring they'll all thrive in the same conditions. With these tips, you'll be well on your way to creating a vibrant window box display that'll be the envy of your neighborhood.
Proper Drainage Techniques
Proper drainage is the lifeblood of a thriving window box display. Without it, your plants can suffer from root rot and other water-related issues. To guarantee your flowers flourish, you'll need to implement effective drainage techniques.
Start by selecting window boxes with pre-drilled drainage holes. If your chosen container doesn't have them, drill several small holes along the bottom. Place a layer of gravel or broken pottery shards at the base to prevent soil from clogging these openings.
When filling your window box, use a well-draining potting mix specifically designed for containers. Avoid using garden soil, as it can become compacted and hinder drainage. Here's a quick guide to creating ideal drainage layers:
| Layer | Material | Depth |
|---|---|---|
| Bottom | Gravel or pottery shards | 1-2 inches |
| Middle | Activated charcoal | 1/2 inch |
| Top | Potting mix | Remaining space |
Consider adding water-retaining crystals to your potting mix to help balance moisture levels. These absorb excess water and release it slowly, reducing the frequency of watering while maintaining proper drainage. Remember to monitor your plants regularly and adjust watering habits as needed.
Seasonal Maintenance Tips
To keep your window box flower display vibrant throughout the year, you'll need to adapt your care routine to each season.
In spring, start by cleaning out any debris and rejuvenating the soil. Plant cool-season flowers like pansies or primroses, and fertilize every two weeks. As temperatures rise, shift to heat-tolerant plants such as petunias or geraniums.
Summer requires more frequent watering, sometimes twice daily during hot spells. Deadhead spent blooms regularly to encourage continuous flowering. Apply a slow-release fertilizer to sustain growth throughout the season.
In fall, replace summer annuals with autumn favorites like chrysanthemums or ornamental kale. Reduce watering and fertilizing as growth slows down. Protect your plants from early frosts by covering them or moving the box to a sheltered area overnight.
Winter maintenance depends on your climate. In milder regions, plant winter-blooming flowers like cyclamen or hellebores. In colder areas, consider evergreen boughs, berries, or dried flowers for a festive look.
Guarantee proper drainage to prevent freezing, and water sparingly when the soil feels dry. By following these seasonal tips, you'll enjoy a stunning window box display year-round.
Vertical Pallet Planter

Transforming a wooden pallet into a vertical garden is a creative way to maximize your growing space. To create a vertical pallet planter, you'll need a sturdy wooden pallet, landscape fabric, staples, potting soil, and your chosen plants.
First, clean the pallet thoroughly and sand any rough edges. Then, staple landscape fabric to the back and bottom of the pallet, creating pockets for soil and plants. Fill these pockets with potting soil, ensuring it's well-packed to prevent settling.
Choose plants that suit your climate and the amount of sunlight your pallet will receive. Herbs, succulents, and small flowering plants work well. Plant them in the pockets, starting from the bottom and working your way up. Water thoroughly and allow excess water to drain.
Secure your pallet planter to a wall or fence, ensuring it's stable and can support the weight of soil and plants. Remember to water regularly, as vertical gardens can dry out quickly.
Fertilize as needed and prune plants to maintain their shape and health. With proper care, your vertical pallet planter will provide a stunning display of greenery in even the smallest outdoor spaces.
Upcycled Tea Tin Gardens
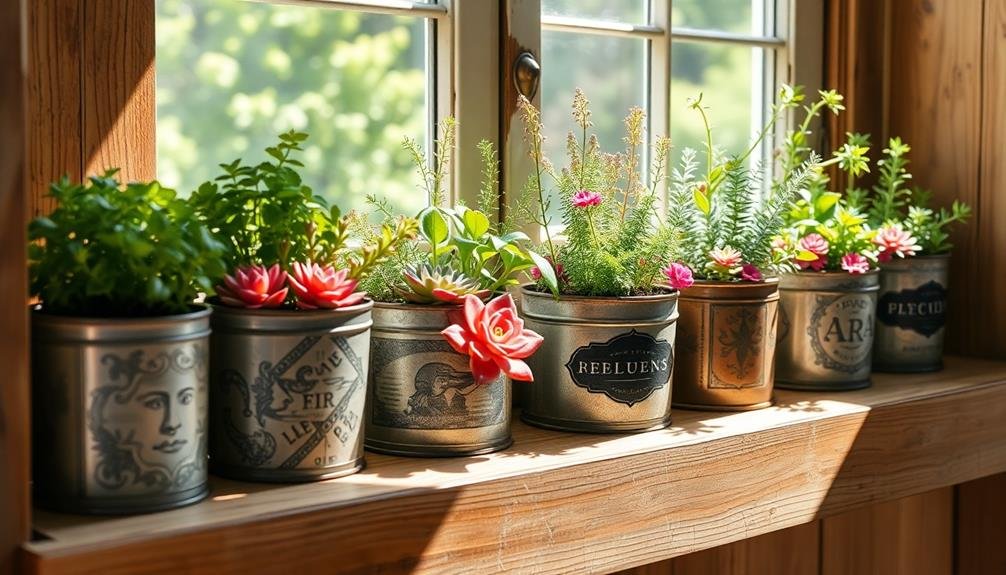
Upcycling old tea tins into charming mini gardens offers a delightful way to breathe new life into these decorative containers. You'll love how these compact gardens add a touch of whimsy to your windowsill or desk. To get started, clean your tin thoroughly and punch drainage holes in the bottom. Fill it with well-draining potting soil, leaving about an inch of space at the top.
Choose plants that suit your tin's size and your care abilities. Succulents, herbs, and small flowering plants work well. When planting, gently loosen the roots and nestle them into the soil. Water sparingly and place your tin garden in a spot with appropriate light for your chosen plants.
Here's a quick guide to some suitable plants for your tea tin garden:
| Plant Type | Light Needs | Water Needs | Examples |
|---|---|---|---|
| Succulents | Bright | Low | Echeveria, Sedum |
| Herbs | Moderate | Medium | Basil, Thyme |
| Flowers | Varies | Medium | Pansies, Violas |
| Ferns | Low to Med | High | Button Fern, Maidenhair |
Remember to rotate your tin garden occasionally for even growth and prune as needed to maintain its compact size.
Hanging Basket Vegetables
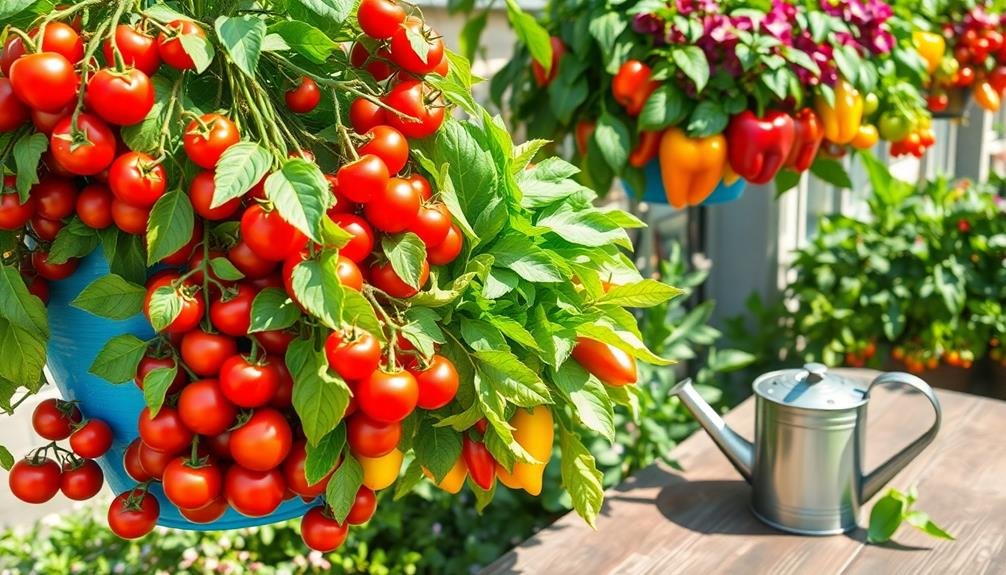
Hanging baskets burst with potential for growing vegetables, offering a space-saving solution for urban gardeners and patio enthusiasts alike. You'll find these versatile containers perfect for growing a variety of compact vegetable varieties. Cherry tomatoes, dwarf peas, and small peppers thrive in hanging baskets, cascading over the sides as they grow.
To set up your hanging basket vegetable garden, choose a sturdy container with proper drainage. Fill it with a lightweight, nutrient-rich potting mix. Select vegetable varieties bred for container growing, as they'll adapt better to the limited space. Plant your chosen vegetables, ensuring they've enough room to grow without overcrowding.
Water your hanging basket vegetables regularly, as they dry out faster than ground-based plants. You'll need to fertilize more frequently too, as nutrients leach out with each watering.
Place your baskets in sunny spots that receive at least six hours of direct sunlight daily. For heavier vegetables like tomatoes, use supportive ties to prevent stems from breaking.
With proper care, you'll enjoy a bountiful harvest of fresh, homegrown vegetables right from your hanging baskets.
Colorful Container Salad Garden
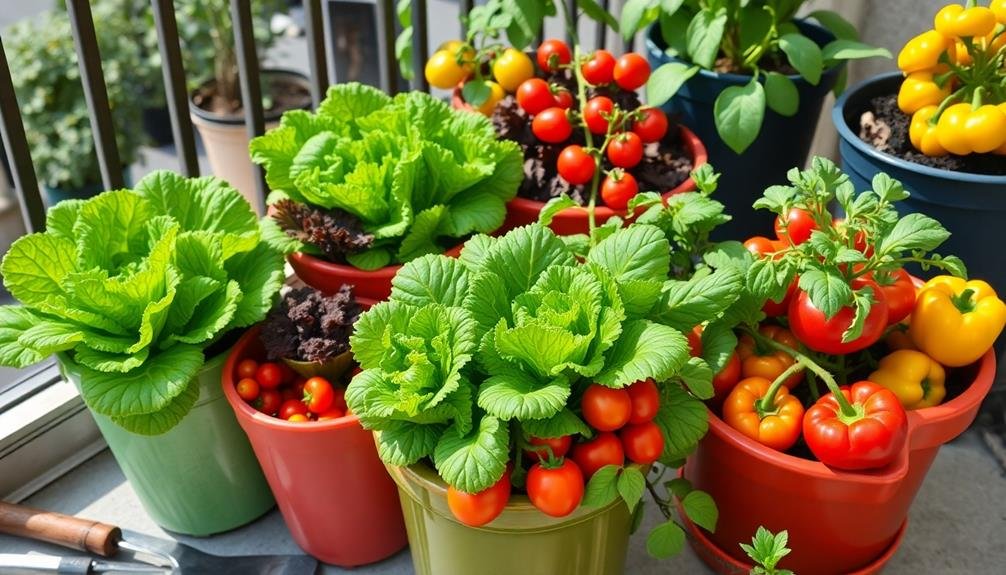
Vibrancy awaits in your very own colorful container salad garden. You'll create a stunning visual display while growing fresh ingredients for your meals.
Start by selecting a wide, shallow container with good drainage. Fill it with nutrient-rich potting soil, perfect for leafy greens and herbs.
Choose a variety of colorful lettuce types, such as red leaf, butterhead, and romaine. Intersperse them with spicy arugula and peppery watercress for added flavor. Don't forget to include herbs like basil, cilantro, and chives for extra punch.
Plant your selections in groups, arranging taller varieties towards the back and shorter ones in front. This creates a tiered effect, maximizing both visual appeal and growing space.
Water your container garden regularly, keeping the soil moist but not waterlogged.
Harvest your salad greens by snipping outer leaves, allowing the plants to continue growing. This "cut and come again" method guarantees a constant supply of fresh greens.
With proper care, your colorful container salad garden will provide you with nutritious, homegrown ingredients for weeks to come.
Fairy Garden in a Pot
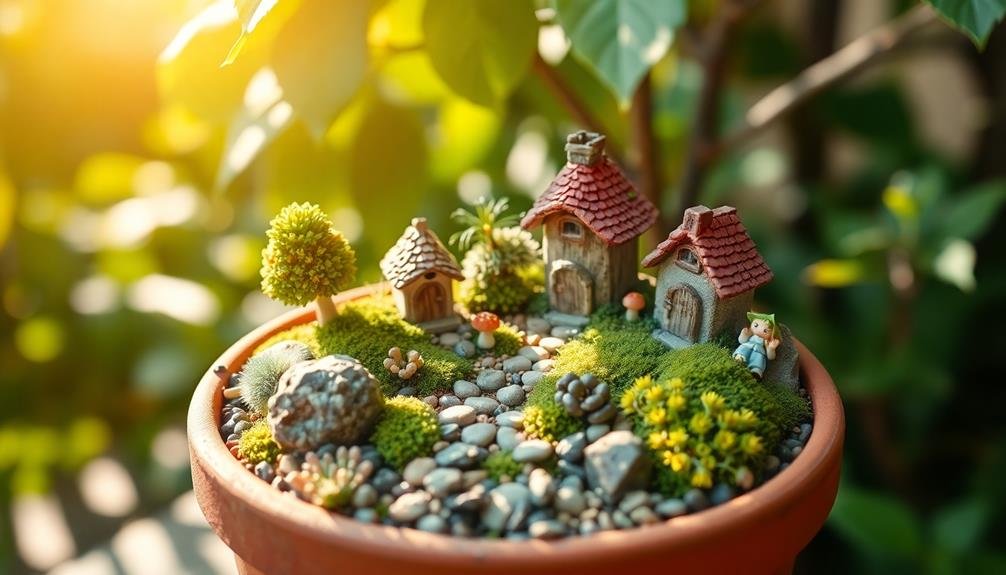
Create a whimsical fairy garden in a pot by carefully selecting miniature plants and accessories.
You'll want to layer soil for proper drainage, ensuring your tiny plants thrive.
Don't forget to add charming details like miniature houses, furniture, or figurines to bring your fairy garden to life.
Miniature Plants and Accessories
For a whimsical touch to your container garden, consider creating a fairy garden in a pot. This miniature landscape will enchant both children and adults alike.
Start with a wide, shallow container that provides ample space for your tiny world. Choose slow-growing, dwarf plants like moss, miniature ferns, and small succulents to create a lush backdrop.
Add miniature accessories to bring your fairy garden to life. You'll find a variety of tiny furniture, houses, and figurines at craft stores or online. Create pathways using pebbles or crushed shells, and add small mirrors to simulate ponds. Don't forget to include a fairy door or two, inviting imagination to run wild.
When selecting plants, consider their growth habits and care requirements. Opt for species that thrive in similar conditions to guarantee your fairy garden remains healthy.
Use well-draining potting soil and provide adequate drainage holes in your container. Position your fairy garden in a spot that receives appropriate light for the chosen plants.
Remember to water gently and regularly, being careful not to disturb the delicate setup. With proper care, your miniature fairy garden will continue to delight for seasons to come.
Layered Soil and Drainage
When creating a fairy garden in a pot, proper layering and drainage are essential for the health of your miniature plants. Start by selecting a container with drainage holes to prevent water from pooling. If your pot doesn't have holes, drill some yourself or add a layer of small rocks at the bottom.
Begin layering with a 1-inch base of coarse gravel or pebbles to improve drainage. Next, add a layer of activated charcoal to filter impurities and prevent mold growth. Cover this with landscape fabric to keep soil from washing into the drainage layer.
For the main growing medium, use a well-draining potting mix specifically designed for container gardens. Fill the pot about two-thirds full, leaving room for your plants and decorative elements. As you add plants, gently pack the soil around their roots to eliminate air pockets.
Top off your fairy garden with a thin layer of moss or small pebbles to retain moisture and give it a finished look.
Remember to water your miniature garden carefully, allowing excess water to drain freely. With proper layering and drainage, you'll create a healthy environment for your fairy garden to thrive.
Self-Watering Bottle Planters

Self-watering bottle planters offer an ingenious solution for novice gardeners looking to dip their toes into container gardening.
These eco-friendly planters are easy to make and maintain, perfect for those who worry about overwatering or underwatering their plants. You'll need a plastic bottle, some string or fabric strips, and potting soil to get started.
To create your self-watering planter, follow these steps:
- Cut the bottle in half, keeping the top slightly taller than the bottom.
- Drill or poke holes in the bottle cap.
- Thread the string through the cap, leaving equal lengths on both sides.
- Invert the top half into the bottom, filling it with soil and your chosen plant.
The string acts as a wick, drawing water up from the reservoir in the bottom half to keep your plant hydrated.
You'll only need to refill the water every few days, making it ideal for busy or forgetful gardeners. This method works well for herbs, small vegetables, and flowers.
It's a great way to upcycle plastic bottles and start your container gardening journey with minimal fuss and maximum success.
Tabletop Zen Garden
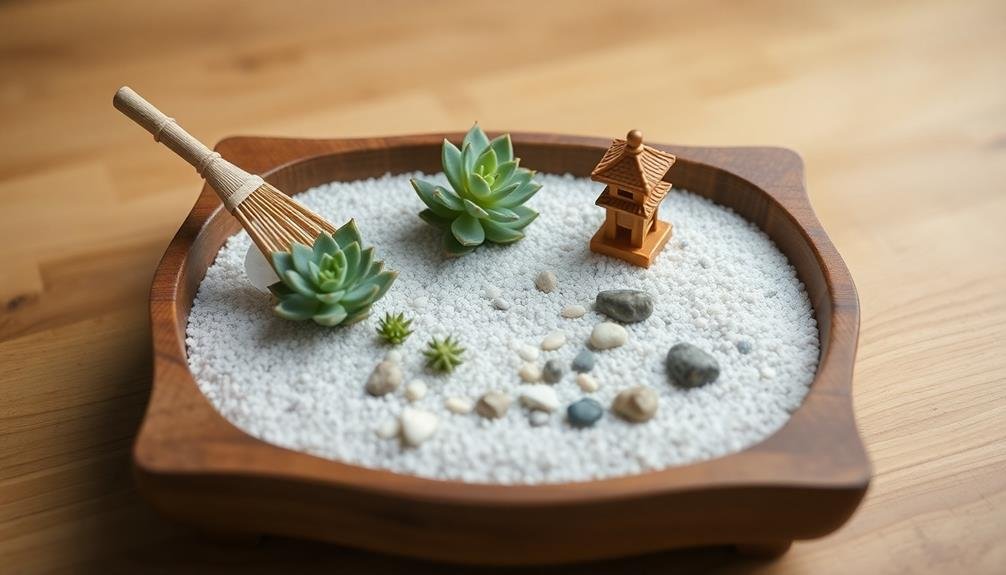
You'll need a shallow container, fine sand, and a few small rocks to create your tabletop Zen garden.
Once you've assembled these materials, spread an even layer of sand in your container and arrange your rocks.
Use a small rake or fork to draw patterns in the sand, experimenting with different techniques like straight lines, curves, or circular motions around the rocks.
Materials and Setup
Creating a tabletop Zen garden requires just a few simple materials and minimal setup.
You'll need a shallow container, fine sand or gravel, small rocks, and miniature rakes or tools. Choose a container that fits your space and aesthetic, whether it's a wooden box, ceramic dish, or even a repurposed picture frame.
Fill your container with about an inch of sand or gravel, smoothing it out to create a level surface. Arrange your chosen rocks or other decorative elements on the sand, keeping in mind the principles of balance and asymmetry that are central to Zen design.
You can add small plants like succulents or air plants for a touch of greenery, but remember that less is often more in Zen gardens.
To maintain and interact with your garden, you'll need some simple tools:
- Mini rake: for creating patterns in the sand
- Small brush: to sweep away stray grains
- Tweezers: for precise placement of tiny elements
- Spray bottle: to lightly mist any living plants
With these materials and tools, you're ready to create and enjoy your own miniature oasis of calm.
Sand Patterns Techniques
Now that you've set up your tabletop Zen garden, it's time to explore the art of sand patterns. Creating intricate designs in the sand can be a meditative and relaxing experience. Start by smoothing the sand with a small rake or comb, creating a blank canvas for your designs.
To create patterns, you'll use various techniques and tools. Here's a quick reference guide:
| Technique | Tool | Effect |
|---|---|---|
| Raking | Mini rake | Parallel lines |
| Swirling | Chopstick | Circular patterns |
| Stippling | Finger or stick | Dotted textures |
Begin with simple straight lines, then progress to more complex designs like waves or concentric circles. Don't be afraid to experiment with different pressures and speeds as you move your tools through the sand. You can also incorporate natural elements like stones or shells to add visual interest.
Frequently Asked Questions
How Often Should I Fertilize My Container Plants?
You'll typically need to fertilize your container plants every 2-4 weeks during the growing season. However, it's best to check the specific needs of your plants and the fertilizer instructions. Don't over-fertilize, as it can harm your plants.
What's the Best Soil Mix for Container Gardening?
You'll want a well-draining potting mix for container gardening. Combine equal parts peat moss, compost, and perlite. This blend retains moisture while allowing excess water to drain. Add slow-release fertilizer for extra nutrients your plants need.
Can I Grow Fruit Trees in Containers?
Yes, you can grow fruit trees in containers! Choose dwarf varieties for best results. You'll need large pots, well-draining soil, and proper care. Citrus, figs, and apples are popular choices. Remember to fertilize regularly and provide adequate sunlight.
How Do I Prevent Pests in My Container Garden?
To prevent pests in your container garden, you'll want to keep plants healthy, use organic pest control methods, and inspect regularly. Try companion planting, introduce beneficial insects, and remove any infected plants promptly. Don't forget to clean tools between uses.
What Are the Best Containers for Indoor Gardening?
You'll find great success with ceramic pots, plastic containers, or hanging baskets for indoor gardening. Confirm they've got drainage holes. Terra cotta's popular but dries quickly. Consider self-watering options if you're forgetful. Size depends on your plant choices.
In Summary
You've now got a wealth of container garden ideas to kickstart your green thumb journey. Don't be intimidated – start small and experiment with what works for you. Remember, gardening's a learning process, so embrace the trials and errors. With these simple projects, you'll soon be enjoying fresh herbs, vibrant flowers, or quirky miniature landscapes. Before you know it, you'll be hooked on container gardening and ready to tackle even more ambitious projects.


Leave a Reply