Immerse yourself in the world of paper crafts to melt away stress. You can start with simple origami crane folding or try intricate paper quilling art. Experiment with kirigami snowflakes for a delicate touch, or create rolled paper flowers for a vibrant display. Paper mache bowls offer a practical yet artistic project, while paper weaving techniques challenge your creativity. Zentangle on paper provides a meditative experience, and papier-mâché stress balls offer hands-on relief. For a more complex challenge, plunge into modular origami sculptures. These crafts not only soothe your mind but also result in beautiful, displayable art. Explore further to reveal the full potential of paper crafting for stress relief.
Origami Crane Folding
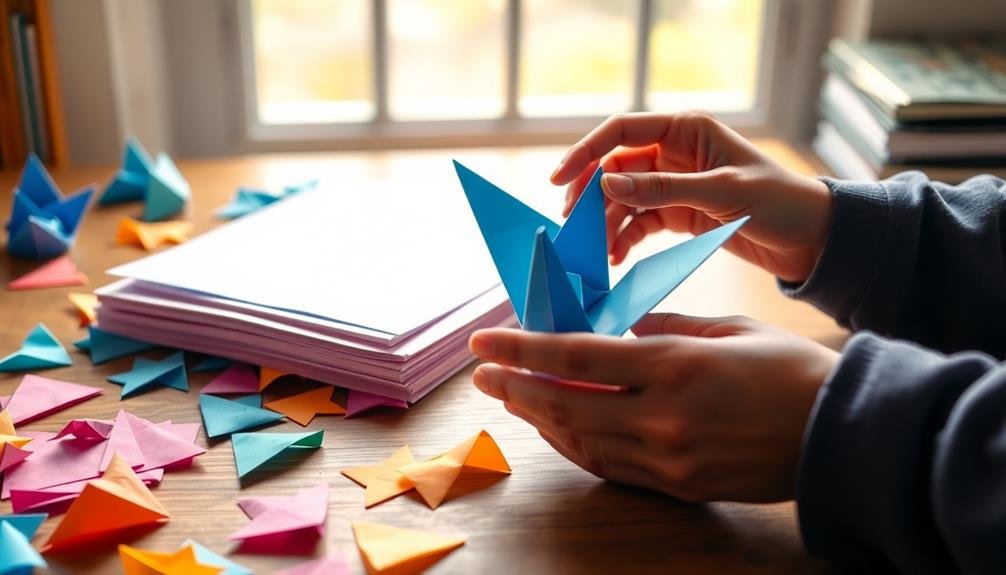
The delicate art of origami crane folding is a perfect introduction to paper crafts. You'll need a square sheet of paper, preferably thin and crisp, to begin your journey.
Start by folding the paper in half diagonally, then unfold and repeat in the opposite direction. Next, fold the paper in half horizontally and vertically, creating creases that intersect at the center.
Now, lift the top edge to the center crease, forming a smaller triangle. Repeat this step with the bottom edge. Fold the left and right corners inward to meet at the center line. You'll see a kite shape forming.
Fold the top layer's points inward to create the crane's head and tail. For the wings, lift the top layer on each side and fold it towards the center. Adjust the folds to shape the crane's body and wings.
Paper Quilling Art
While origami focuses on folding, paper quilling art takes a different approach by rolling and shaping strips of paper into intricate designs. You'll find this technique both meditative and rewarding as you create beautiful, delicate patterns.
To start quilling, you'll need thin strips of paper, a quilling tool, and glue. Begin by rolling the paper tightly around the tool, then release it to form a coil. Shape these coils into various forms like teardrops, squares, or hearts. Arrange and glue your shapes to create stunning designs on cards, frames, or standalone art pieces.
Paper quilling offers endless possibilities for creativity. You can make:
- Intricate floral designs
- Detailed landscapes
- Personalized monograms
- 3D sculptures
- Decorative borders for photos
As you practice, you'll develop your own style and techniques. Experiment with different paper colors, widths, and textures to add depth to your creations.
Don't be afraid to combine quilling with other paper crafts for unique mixed-media projects. With patience and practice, you'll soon be creating impressive works of art that showcase your skill and imagination.
Kirigami Snowflakes
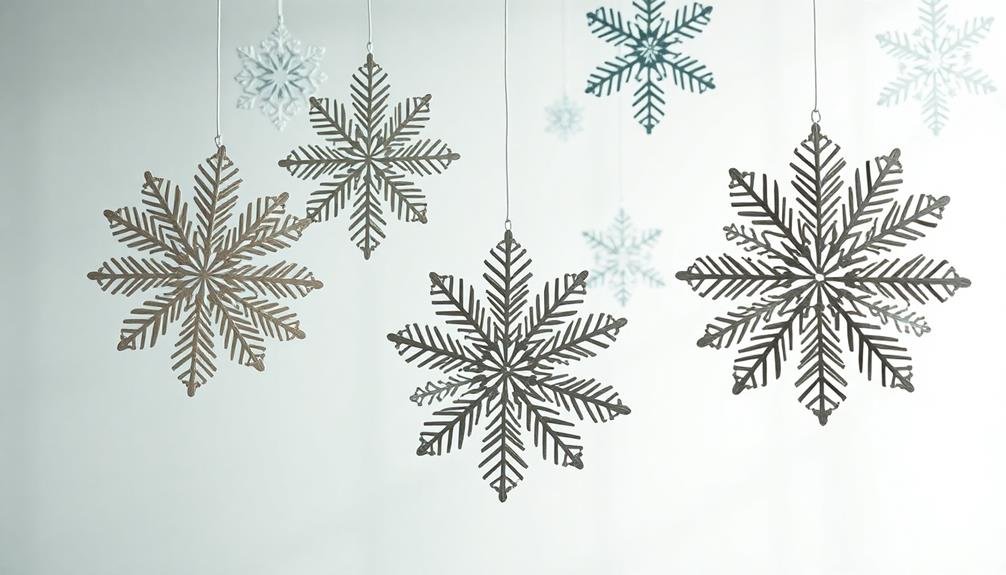
Moving from the coiled designs of quilling, we arrive at another enchanting paper art form: kirigami snowflakes. Kirigami, a variation of origami, involves cutting paper to create intricate designs. You'll find this technique particularly satisfying for crafting delicate, symmetrical snowflakes.
To begin, you'll need white paper, scissors, and a pencil. Fold your paper into sixths or eighths, depending on the complexity you desire. Sketch your design lightly on one section of the folded paper, ensuring it extends to the folded edges.
Then, carefully cut along your drawn lines, making sure not to snip the folded edges completely. As you unfold your creation, you'll reveal a beautifully symmetric snowflake. Each cut you've made will be mirrored across the folds, creating a stunning, lace-like pattern.
Experiment with different cutting techniques – try curved lines, geometric shapes, or even small punch-outs for varied effects. Kirigami snowflakes offer endless possibilities for customization.
You can create simple designs for a quick stress-relief session or spend hours crafting elaborate masterpieces. Display your snowflakes as window decorations, garlands, or even as unique gift toppers.
Rolled Paper Flowers
Rolled paper flowers offer a delightful way to create long-lasting blooms from simple materials. You'll need colorful paper, scissors, glue, and a quilling tool or toothpick to get started. Begin by cutting strips of paper in varying widths, depending on the size and style of flower you want to create.
To form the flower's center, tightly roll a strip of paper around your quilling tool. Secure the end with a dab of glue. For petals, roll additional strips more loosely, allowing them to unfurl slightly. Arrange these around the center, gluing each in place. You can create different flower types by adjusting the petal shapes and arrangements.
Here are some tips to enhance your rolled paper flowers:
- Use gradient or patterned paper for added dimension
- Experiment with different petal shapes like pointed or scalloped edges
- Layer multiple colors for a more realistic look
- Add leaves using green paper
- Incorporate wire stems for a natural appearance
Once you've mastered the technique, you can use your rolled paper flowers to decorate cards, create wall art, or even fashion a unique bouquet that will never wilt.
This craft isn't only relaxing but also allows for endless creativity and personalization.
Paper Mache Bowls
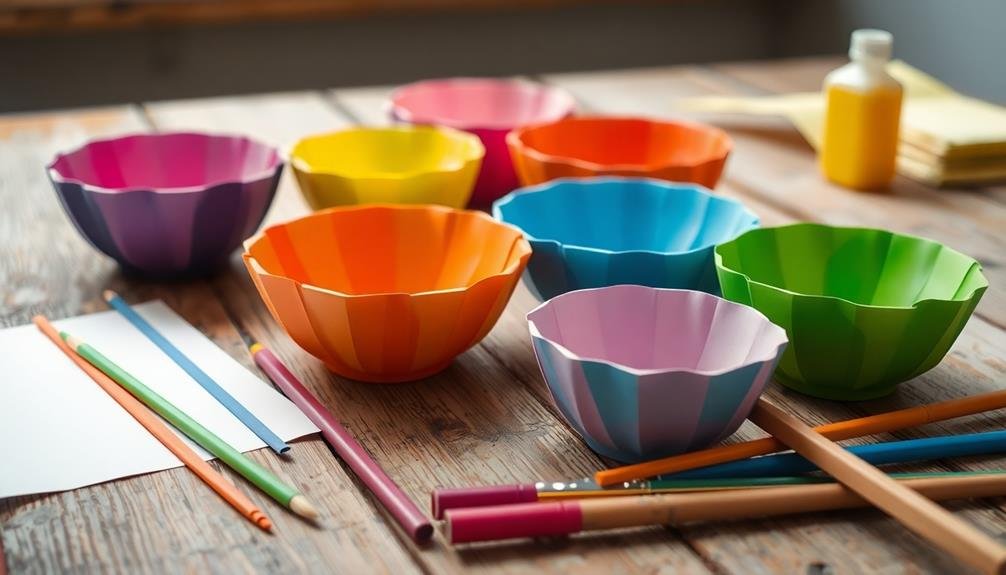
Creating paper mache bowls is a fun and versatile craft that lets you transform simple materials into unique, functional art pieces. You'll need a few basic supplies: newspaper strips, flour, water, a bowl for mold, and paint for decoration.
Mix equal parts flour and water to create a smooth paste. Dip newspaper strips into the paste and layer them over an inverted bowl covered with plastic wrap. Build up several layers, alternating directions for strength.
Let your bowl dry completely, which may take 24-48 hours. Once dry, gently remove it from the mold and trim any uneven edges.
Now you're ready to decorate! Paint your bowl with acrylic paints, add designs, or even decoupage it with colorful paper. For extra durability, seal it with a clear varnish.
Paper mache bowls are perfect for holding keys, jewelry, or decorative items. You can experiment with different shapes and sizes by using various molds.
This craft isn't only relaxing but also eco-friendly, as it recycles old newspapers. It's an excellent way to release your creativity while creating practical, customized home decor.
Washi Tape Bookmarks
Washi tape bookmarks offer a quick and easy way to add a pop of color and style to your reading experience. You'll love how simple it's to create these charming markers for your favorite books.
Start by gathering your materials: washi tape in various patterns and colors, cardstock or thick paper, and scissors.
Cut the cardstock into bookmark-sized strips, about 2 inches wide and 6 inches long. Now, let your creativity shine as you decorate each strip with washi tape. You can cover the entire bookmark or create unique designs by layering different patterns.
Here are some ideas to inspire your washi tape bookmark creations:
- Create stripes by alternating different tape patterns
- Make a geometric design using small pieces of tape
- Use a single wide strip of tape for a minimalist look
- Layer thin strips of tape to create an ombré effect
- Cut the tape into shapes like hearts or stars for added flair
Once you've finished decorating, trim any excess tape from the edges. You can also punch a hole at the top and add a tassel or ribbon for extra charm.
These personalized bookmarks make great gifts for book lovers or a special treat for yourself.
Paper Weaving Techniques
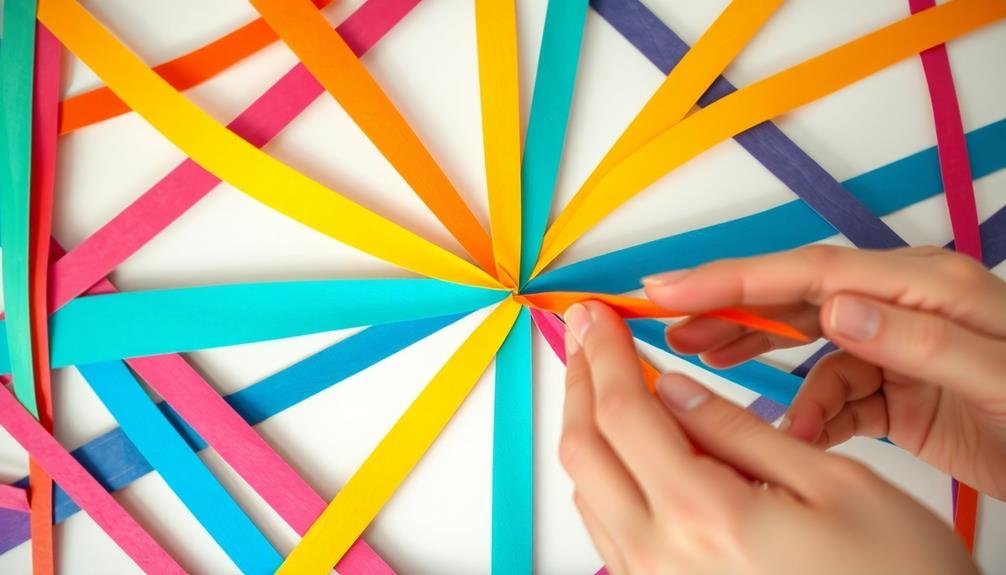
Paper weaving techniques offer another exciting dimension to your DIY paper crafts. They're simple to learn but can create intricate and stunning designs.
To start, you'll need two or more sheets of paper in different colors or patterns. Cut one sheet into even strips, leaving a small margin uncut at one end. This will be your base. Next, cut the other sheet(s) into strips of equal width.
Begin weaving by lifting alternating strips of the base paper and sliding a strip from the second sheet underneath. Continue this over-under pattern, pushing each new strip snugly against the previous one. You can create various patterns by changing the weaving sequence or using different widths of strips.
Try diagonal weaves, herringbone patterns, or even circular designs for more advanced projects.
Experiment with different paper types like construction paper, scrapbooking paper, or even recycled materials. You can use your woven creations for greeting cards, book covers, wall art, or decorative boxes.
As you practice, you'll develop your own unique style and discover endless possibilities for this versatile technique.
Zentangle on Paper
Zentangle on paper is a meditative drawing technique that's both relaxing and creative. You don't need artistic skills to enjoy this calming activity. Simply grab a piece of paper, a pen, and let your mind wander as you create intricate patterns.
To start, draw a border around your paper and divide it into sections called "strings." In each section, fill the space with repetitive patterns known as "tangles." There's no right or wrong way to do this – let your intuition guide you.
As you practice Zentangle, you'll discover its numerous benefits:
- Reduces stress and anxiety
- Improves focus and concentration
- Boosts creativity and self-expression
- Enhances fine motor skills
- Promotes mindfulness and relaxation
You can use various tools to create your Zentangles, such as fine-tipped markers, gel pens, or even colored pencils. Experiment with different patterns, shading techniques, and color combinations to develop your unique style.
Don't worry about perfection – embrace the process and enjoy the journey. Zentangle is all about being present in the moment and finding peace through artful meditation on paper.
Papier-Mâché Stress Balls
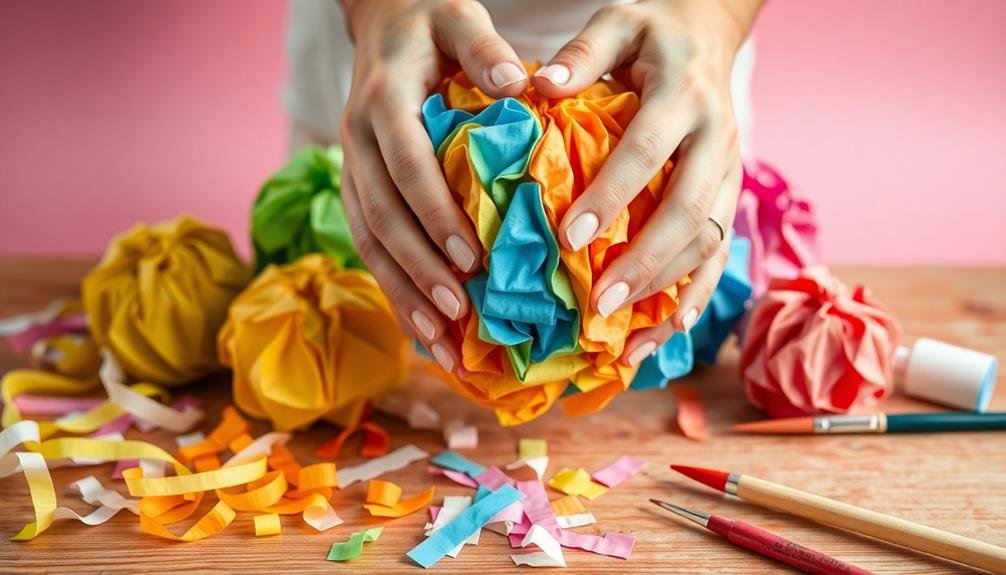
In contrast to the intricate patterns of Zentangle, papier-mâché stress balls offer a hands-on approach to stress relief.
You'll find this craft both therapeutic and practical, creating a customized stress-relief tool you can use anytime.
To begin, tear newspaper into small strips and soak them in a mixture of water and glue.
While that's softening, inflate a small balloon to your desired stress ball size.
Dip the paper strips into the mixture and layer them over the balloon, ensuring complete coverage.
Let each layer dry before adding the next, repeating until you've achieved the desired thickness.
Once fully dry, pop and remove the balloon.
You'll be left with a hollow papier-mâché shell.
Fill it with your choice of materials like rice, sand, or small beads.
Seal the opening with more papier-mâché strips.
Modular Origami Sculptures
You'll find modular origami sculptures to be complex yet calming creations that challenge your mind and soothe your spirit.
As you fold and interlock geometric shapes, you'll reveal a world of artistic possibilities.
With endless combination options, you can craft anything from simple polyhedra to intricate abstract forms, limited only by your imagination.
Complex Yet Calming Creations
Delving into the world of modular origami sculptures offers a unique blend of complexity and tranquility. As you piece together intricate geometric shapes, you'll find your mind focused and your stress melting away.
These sculptures require patience and precision, but the repetitive nature of folding and assembling can be incredibly soothing.
Start with simple modules like Sonobe units, then progress to more challenging designs. You'll discover that the process of creating these complex structures is just as rewarding as the final product. The satisfaction of seeing your sculpture take shape piece by piece can be immensely fulfilling.
Here are some benefits of creating modular origami sculptures:
- Improves concentration and mindfulness
- Enhances spatial awareness and problem-solving skills
- Provides a sense of accomplishment
- Reduces stress and anxiety
- Offers a creative outlet for self-expression
As you become more proficient, you can experiment with different paper types, colors, and patterns to create stunning visual effects.
Geometric Shapes Unleashed
Precision meets creativity in the world of modular origami sculptures. These geometric marvels are built from multiple identical pieces, interlocking to form complex 3D structures. You'll find yourself engrossed in the repetitive folding process, which can be incredibly soothing.
Start with simple shapes like cubes or octahedra, using square papers to create individual units. As you gain confidence, challenge yourself with more intricate designs like stellated icosahedra or bucky balls. The key is to fold each unit precisely, ensuring they fit together seamlessly.
You'll need patience and attention to detail, but the result is worth it. Watch as your sculpture takes shape, transforming flat paper into a stunning geometric masterpiece. Experiment with different paper colors and sizes to create unique effects.
Beyond being a stress-reliever, modular origami enhances your spatial awareness and problem-solving skills. It's a perfect blend of math and art, allowing you to explore symmetry, proportion, and balance.
Display your finished sculptures as eye-catching decor or give them as one-of-a-kind gifts. You'll soon discover that the possibilities with geometric shapes are truly endless.
Endless Combination Possibilities
One of the most enchanting aspects of modular origami is its limitless potential for combinations. You can create stunning sculptures by assembling multiple identical units into complex structures. As you explore this art form, you'll discover that the possibilities are truly endless.
Start with simple shapes like triangles, squares, or hexagons. Once you've mastered these, you can move on to more intricate designs. Mix and match different units to create unique compositions. The beauty of modular origami lies in its versatility – you're not confined to a single pattern or design.
Here are some ways to expand your modular origami repertoire:
- Experiment with different paper sizes and textures
- Combine contrasting colors for visual impact
- Try incorporating various geometric shapes in one piece
- Scale up your designs by using larger or more numerous units
- Explore asymmetrical arrangements for added interest
Don't be afraid to push the boundaries of traditional origami. Let your creativity guide you as you stack, interlock, and arrange your modules.
With practice, you'll develop your own signature style and create breathtaking sculptures that showcase your artistic vision.
Frequently Asked Questions
What Types of Paper Are Best for Stress-Relieving Paper Crafts?
You'll find that origami paper, cardstock, and scrapbooking paper are ideal for stress-relieving crafts. They're easy to work with and come in various textures and colors. Don't forget tissue paper for delicate projects, too.
How Can Paper Crafts Improve Mental Health and Reduce Anxiety?
You'll find paper crafts can greatly improve your mental health and reduce anxiety. They'll help you focus, boost creativity, and provide a sense of accomplishment. You're also practicing mindfulness, which calms your mind and eases stress.
Are There Any Eco-Friendly Alternatives to Traditional Paper for Crafting?
You'll find many eco-friendly alternatives to traditional paper for crafting. Try recycled paper, seed paper, or even natural materials like leaves and bark. You can also use fabric scraps, bamboo paper, or hemp paper for your projects.
Can Paper Crafts Be Incorporated Into Mindfulness or Meditation Practices?
Yes, you can incorporate paper crafts into mindfulness and meditation practices. Try origami folding as a form of moving meditation, create mindful collages, or use paper cutting to focus your attention and cultivate presence in the moment.
What Are Some Beginner-Friendly Paper Craft Tools for Stress Relief?
You'll need basic supplies to start: scissors, glue, and colorful paper. Try a paper cutter for straight edges, a scoring tool for crisp folds, and a bone folder for smooth creases. Don't forget relaxing music to set the mood!
In Summary
You've now explored ten fantastic paper crafts that can help melt away your stress. Whether you're folding delicate cranes, quilling intricate designs, or creating paper mache masterpieces, you'll find these activities both calming and rewarding. Don't forget to experiment with different techniques and materials to keep things fresh. Remember, the act of creating is just as important as the final product. So grab some paper, let your creativity flow, and watch your stress disappear with each fold and cut.

Leave a Reply