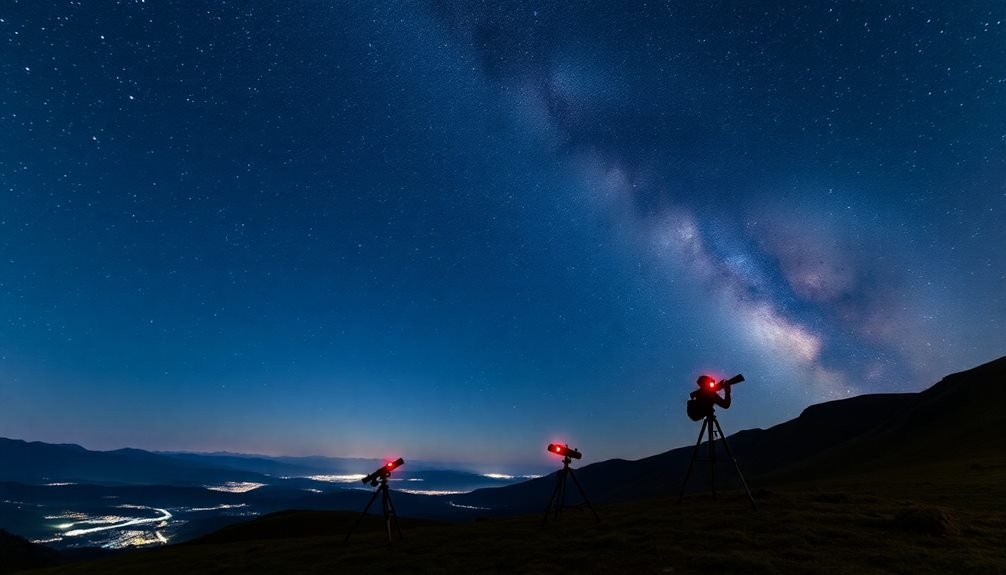
Start your stargazing journey by finding a dark site at least 20 miles from city lights, where clear horizons and high elevation enhance visibility. You'll need basic equipment like a red flashlight, comfortable chair, warm layers, and binoculars (7×50 or 10×50 recommended). Learn to use star charts or astronomy apps to navigate the night sky, and time your outings during new moon phases for ideal darkness. Weather matters too – check forecasts for cloud cover and humidity levels. Begin with easily identifiable patterns like the Big Dipper and Summer Triangle. These fundamentals will launch you into the vast wonders of astronomical observation.
Finding Your Perfect Dark Site

Success in stargazing begins with choosing the right observation location. You'll need to find a spot far from city lights, ideally at least 20-30 miles from major urban areas. Light pollution can severely limit what celestial objects you're able to see, so distance from artificial lighting is vital.
Look for locations with clear horizons and minimal obstacles like tall buildings or trees. High elevation spots often provide better viewing conditions, as you'll be above low-lying fog and atmospheric distortion. Check local astronomy clubs' websites or dark sky maps online to find recommended viewing areas near you.
When evaluating potential sites, consider accessibility and safety. You'll want a location you can reach easily at night, with stable ground for setting up equipment. Confirm you have permission to be there after dark, and scout the area during daylight hours first. Public lands, state parks, and designated stargazing areas are excellent options.
Monitor weather patterns and moon phases before heading out. Clear, moonless nights offer the best viewing conditions. If possible, choose a site with basic amenities like parking and restrooms, as you might spend several hours observing.
Essential Stargazing Equipment to Pack
Before heading out for your stargazing adventure, you'll need a core set of equipment to make the most of your night sky observations. Start with a reliable red flashlight to preserve your night vision while reading star charts or moving around safely.
Pack a comfortable reclining chair or blanket, as you'll spend hours looking up at the sky. Bring appropriate clothing layers, including a warm jacket, gloves, and a hat, since temperatures can drop considerably at night.
Don't forget insect repellent and hand warmers during colder months. A thermos of hot drinks will help keep you comfortable during extended viewing sessions.
For navigation and identifying celestial objects, you'll want a basic star chart or astronomy app on your phone. If you're using digital tools, make sure your devices are fully charged and consider bringing a portable battery pack.
A pair of 7×50 or 10×50 binoculars is ideal for beginners – they're more user-friendly than telescopes and offer excellent views of the Moon, star clusters, and bright planets. Include lens cleaning supplies and a stable mounting system or tripod adapter for your binoculars to prevent arm fatigue.
Reading Star Charts Effectively

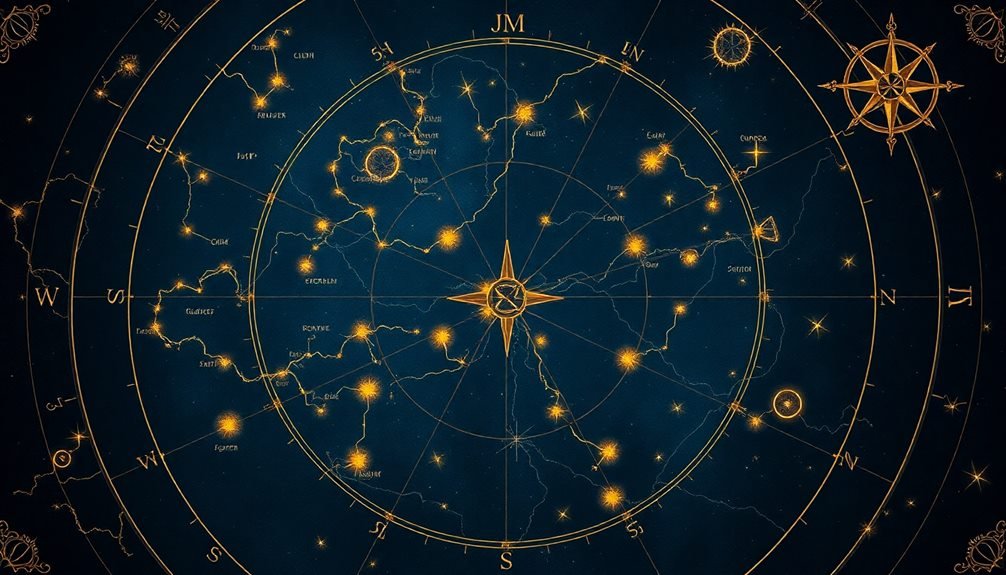
Star charts can seem intimidating at first glance, but they're actually straightforward tools once you understand their basic elements. Think of them as roadmaps of the night sky, showing you where to find specific celestial objects.
Most star charts display stars as dots of varying sizes, with larger dots representing brighter stars, while lines connect stars to form constellations.
You'll need to understand that star charts typically show the sky as if you're looking up, with north at the top and east on the left. They often include coordinates called right ascension (similar to longitude) and declination (similar to latitude) to help you pinpoint exact locations.
- Start by identifying the brightest stars or constellations you can see with your naked eye, then use these as "landmarks" to navigate to other objects.
- Hold your star chart overhead and align it with the cardinal directions – rotate it until it matches what you see in the sky.
- Use a red flashlight to preserve your night vision while reading the chart, and remember that most smartphone apps can serve as interactive star charts.
Remember to check the chart's date and time settings, as the sky's appearance changes throughout the year and night.
Understanding Weather and Timing
Perfect stargazing conditions hinge on both weather patterns and timing.
You'll want to check local weather forecasts specifically for cloud cover, humidity, and atmospheric stability. Clear, dry nights with low humidity offer the best visibility, while clouds, haze, and moisture can obscure your view of celestial objects. Wind speeds should also be minimal, as turbulent air can make telescope viewing difficult.
Timing is equally essential for successful stargazing. Plan your sessions around the moon's phases – a new moon or crescent moon provides the darkest skies for viewing deep-sky objects.
You'll also need to take into account seasonal constellations, as different star patterns are visible during different months. The best viewing typically occurs two hours after sunset, when the sky is completely dark.
Light pollution affects visibility considerably, so check your local sunset and astronomical twilight times. You can use astronomy apps to track these times and plan accordingly.
Temperature inversions, which often occur on clear nights, can create atmospheric turbulence, so avoid viewing through areas where warm air meets cool air.
For ideal results, allow your eyes at least 30 minutes to adjust to darkness before beginning serious observation.
Identifying Common Constellations First

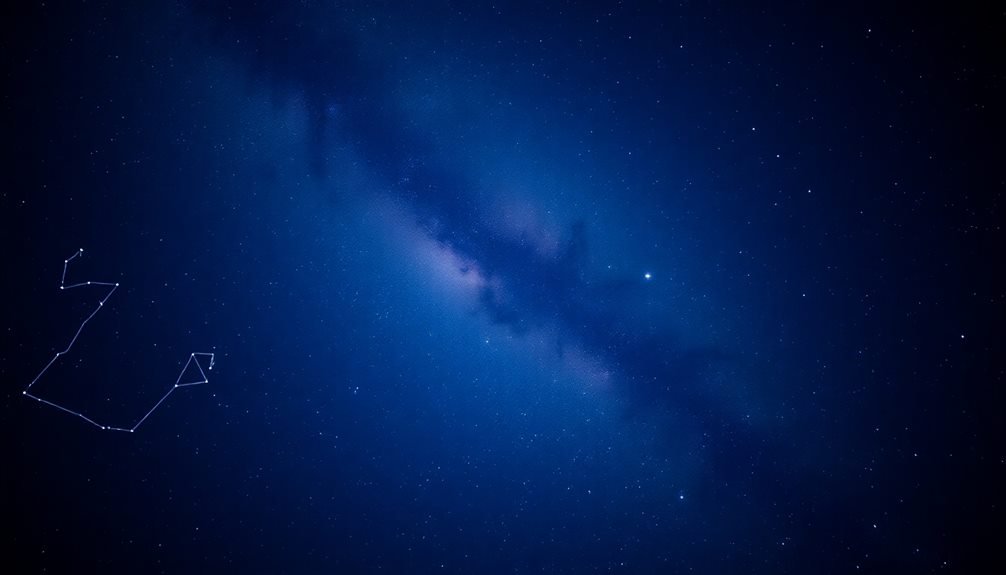
Beginners should start their celestial journey with the most recognizable constellations. The Big Dipper, part of Ursa Major, serves as your gateway to the night sky since it's visible year-round in the Northern Hemisphere.
You'll find it's an excellent reference point for locating other star patterns, including the North Star (Polaris), which sits at the end of the Little Dipper's handle.
Start with these major constellations in different seasons:
- Summer Triangle – Look for three bright stars (Vega, Deneb, and Altair) that form a large triangle overhead during summer evenings. They're part of the constellations Lyra, Cygnus, and Aquila.
- Winter Circle – During winter months, spot this arrangement of bright stars including Sirius (the brightest star), Procyon, and Capella. Orion sits at its center and is easily identified by its distinctive belt of three aligned stars.
- Cassiopeia – This W-shaped constellation circles Polaris opposite the Big Dipper and is visible year-round. It's particularly prominent during autumn evenings when it's high in the northern sky.
You'll find these patterns act as stepping stones to discovering more complex constellations throughout the year.
Frequently Asked Questions
Why Do Stars Appear to Twinkle While Planets Generally Don't?
You'll notice stars twinkle because their light travels through Earth's atmosphere's turbulent layers, while planets appear steady since they're closer and their light comes from a larger apparent disk, not a point source.
Can I Use My Smartphone to Take Decent Photos of Stars?
You'll need some extra equipment to take good star photos with your phone. Try using a tripod, downloading a night photography app, and finding a dark location away from city lights.
How Far Away Is the Closest Star to Earth Besides Our Sun?
You'll find Proxima Centauri, the closest star to Earth after our Sun, about 4.2 light-years away. That's roughly 25 trillion miles! It's part of the three-star Alpha Centauri system.
What Causes Shooting Stars, and How Often Do They Occur?
What you're seeing isn't actually a star – it's a meteor burning up in Earth's atmosphere. You'll spot these "shooting stars" frequently, with about 1-2 visible per hour on a typical clear night.
Why Do Stars Appear to Move Counterclockwise in the Night Sky?
You're actually seeing Earth's rotation from your perspective. As our planet spins eastward on its axis, the stars appear to move westward, creating a counterclockwise motion around the North Star (Polaris).
In Summary
You're now equipped with the fundamentals of stargazing. Take these tips, find your perfect dark spot, and don't forget your basic gear. Start with familiar constellations before tackling more complex celestial objects. Remember to check weather conditions and timing carefully. Whether you're using star charts or astronomy apps, you'll soon be charting the night sky like a pro. The universe awaits your exploration.


Leave a Reply