
Five proven herb-drying techniques can help you create your own natural stress remedies at home. You'll find air drying with string bundles offers a traditional approach, while dehydrator methods provide faster results. For small batches, try the quick microwave pressing technique, or use your oven for medium to large quantities of aromatic herbs. Screen drying in sunlight presents a chemical-free option that harnesses natural elements. Each method preserves the calming properties of stress-relieving herbs while saving you money on store-bought alternatives. Discover which technique best fits your lifestyle and start building your own collection of soothing botanicals.
Air Drying With String Bundles
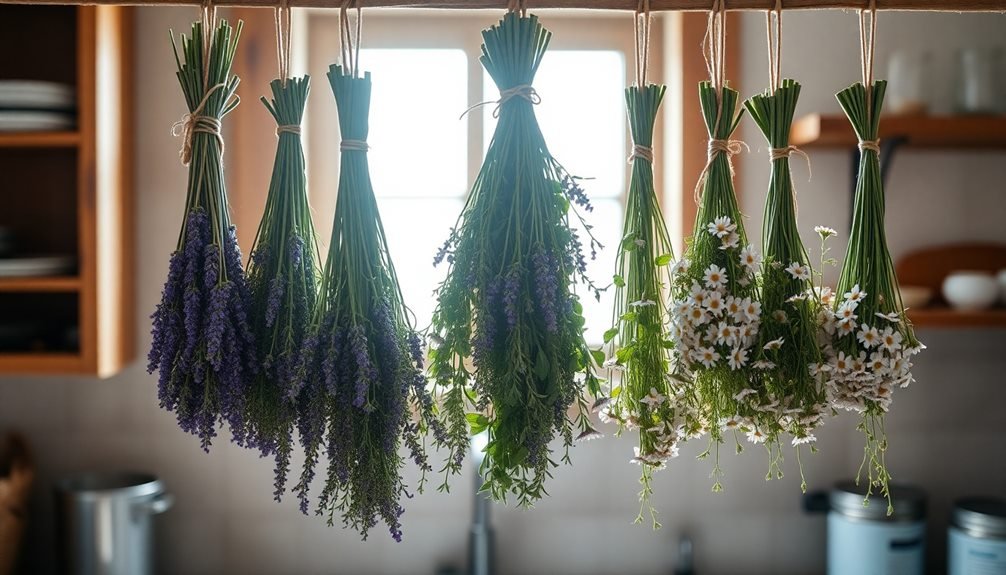
Through generations of herbal preservation, air drying with string bundles remains one of the simplest and most effective methods.
You'll need garden twine or natural string, scissors, and freshly harvested herbs with stems at least 6 inches long. Start by gathering your herbs in the morning after the dew has dried but before the day's heat intensifies.
Remove any damaged or discolored leaves, then group 5-8 stems together, securing them tightly at the base with string. Don't make your bundles too thick, as this can lead to moisture retention and mold. Create a loop at the top of your bundle for hanging, ensuring there's proper air circulation between bunches.
You'll want to hang your herbs upside down in a warm, dry, well-ventilated area away from direct sunlight. A spare room, attic, or covered porch works well.
Place paper bags with holes punched in them around the bundles to catch falling leaves and protect from dust. Your herbs should be completely dry in 1-3 weeks, depending on humidity levels and the herb type. They're ready when the leaves crumble easily.
Dehydrator Method for Fresh Herbs
For those seeking faster results than traditional air drying, an electric dehydrator offers a reliable and efficient method to preserve fresh herbs.
You'll need to start by washing your herbs gently and patting them completely dry with paper towels to prevent mold growth during the drying process.
Place your herbs in a single layer on the dehydrator trays, making sure they don't overlap. Small leaves can remain on their stems, but you'll want to remove larger leaves like sage or bay from their woody stems.
Set your dehydrator between 95°F and 115°F to preserve the herbs' essential oils and beneficial compounds.
The drying time varies based on your herbs' moisture content and size. Thin-leaved herbs like thyme and oregano typically dry in 2-4 hours, while thick-leaved varieties like sage may take 4-6 hours.
You'll know they're ready when they crumble easily. Monitor the process regularly to prevent over-drying, which can reduce flavor and potency.
Once dried, store your herbs immediately in airtight containers away from direct sunlight and heat to maintain their quality for up to a year.
Microwave Pressing Technique
While electric dehydrators offer consistent results, microwave pressing provides a quick alternative for drying small batches of herbs in minutes.
You'll need paper towels, a microwave-safe plate, and fresh herbs to get started. Begin by washing your herbs and patting them dry to remove excess moisture.
Arrange your herbs in a single layer between two paper towels, making sure the leaves don't overlap. Place the sandwiched herbs on a microwave-safe plate and set your microwave to 30-second intervals at 50% power.
Between each interval, check your herbs' progress and replace the paper towels if they become too damp. You'll know your herbs are ready when they're crisp and crumble easily.
Don't try to dry too many herbs at once, as overcrowding can lead to uneven results. For delicate herbs like basil or mint, you'll need less time than for woody herbs like rosemary or thyme.
If you notice any browning or smell burning, reduce the power level or shorten the intervals. Store your dried herbs in an airtight container away from direct sunlight to maintain their potency.
Oven-Dried Aromatic Herbs
Drying herbs in your oven provides a reliable method that works well for medium to large batches.
You'll need to set your oven to its lowest temperature setting, typically between 170-180°F (76-82°C), and prepare your herbs by washing and patting them dry.
Spread the herbs in a single layer on a baking sheet lined with parchment paper, ensuring they don't overlap.
Place the baking sheet on the middle rack and keep the oven door slightly ajar using a wooden spoon. This allows moisture to escape and prevents the herbs from cooking instead of drying.
You'll need to check your herbs every 30 minutes, rotating the baking sheet for even drying. Most herbs will take 2-4 hours to dry completely.
You'll know your herbs are ready when they crumble easily between your fingers. Don't let them turn brown, as this indicates they've been exposed to too much heat.
Once dried, store your herbs in airtight containers away from direct sunlight. Label each container with the herb type and drying date.
Properly dried herbs can retain their aromatic properties for up to 12 months.
Screen Drying in Sunlight
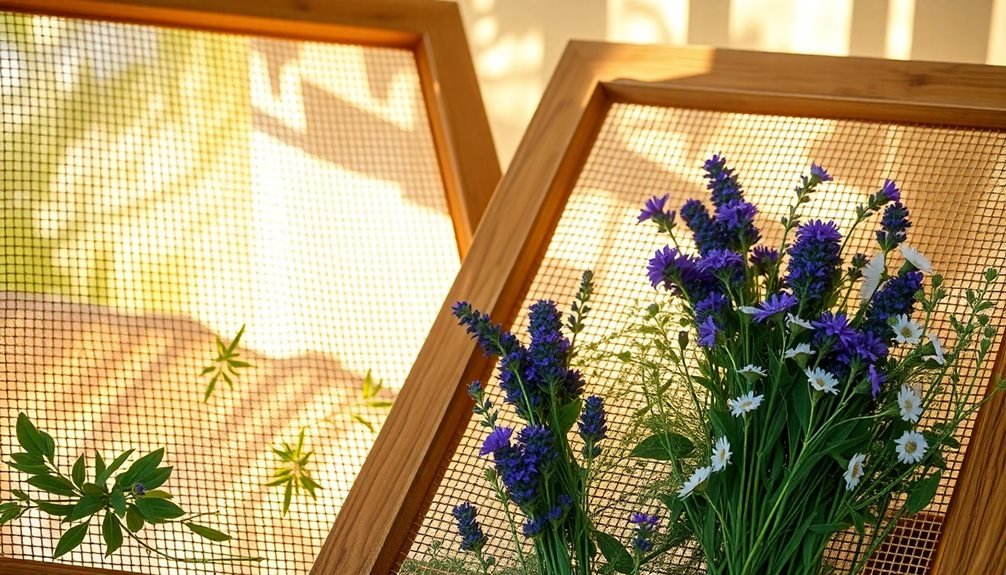
Screen drying offers a natural alternative to oven methods, harnessing the power of sunlight and fresh air. You'll need a flat screen with small holes for proper air circulation – window screens or mesh drying racks work perfectly. Before placing your herbs, verify the screen's clean and free from dust or debris.
To begin, arrange your freshly harvested herbs in a single layer on the screen, making sure they don't overlap. You'll want to position the screen in a sunny, well-ventilated spot outdoors, but be ready to move it if rain threatens.
Don't place the screen directly on the ground; instead, elevate it using blocks or chairs to promote airflow underneath.
Check your herbs twice daily, gently turning them to verify even drying. You'll know they're ready when they're crisp and crumble easily. This process typically takes 2-4 days, depending on humidity levels and sunlight intensity.
Remember to bring your herbs inside each evening to prevent moisture from settling on them overnight. Once they're completely dry, store them in airtight containers away from direct light to preserve their therapeutic properties.
Frequently Asked Questions
How Long Can Properly Dried Herbs Maintain Their Stress-Relieving Properties?
You'll find that properly dried herbs can maintain their stress-relieving properties for up to 12 months when stored in airtight containers away from light and heat. After that, they'll gradually lose potency.
Can I Mix Different Herbs During the Drying Process?
You shouldn't mix different herbs while drying them. They'll dry at different rates and could transfer flavors or properties. It's best to dry each herb separately to maintain its unique qualities and potency.
Which Herbs Are Most Effective for Anxiety When Dried?
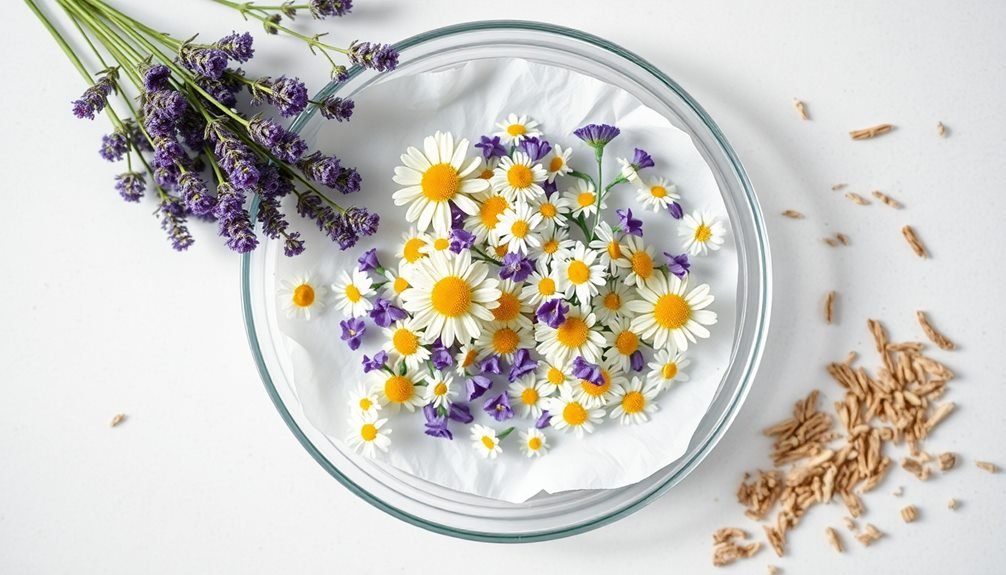
You'll find lavender, chamomile, lemon balm, and passionflower most effective for anxiety when dried. These herbs can help calm your nerves naturally, and they're easy to blend into relaxing teas or sachets.
Should I Wash Herbs Before Drying Them for Stress Relief?
Yes, you'll want to gently rinse your herbs under cool water to remove dirt and bugs. Pat them dry with paper towels or shake off excess water before starting the drying process.
Does the Moon Phase Affect the Potency of Dried Stress-Relief Herbs?
While you'll find various traditional beliefs about lunar cycles and herbs, there's no scientific evidence that moon phases affect herb potency. Focus instead on proper drying and storage methods for the best results.
In Summary
You've now learned five effective ways to preserve herbs for natural stress relief. Whether you're hanging bundles to air dry, using a dehydrator for quick results, pressing in the microwave, baking in the oven, or screen drying in sunlight, you'll have access to calming herbs year-round. Choose the method that fits your schedule and space, and you'll always have nature's remedies at your fingertips.


Leave a Reply