Seven calming brush techniques can transform your painting sessions into peaceful moments of artistic meditation. You'll discover the gentle feather stroke for ethereal effects, circular zen motions for flowing rhythm, and mindful cross-hatching for building depth. Try the flowing water technique to embrace organic color interactions, or explore the calming dry brush method for subtle textures. You can practice silent stippling to develop patience, and master meditative blending strokes for seamless color changes. These soothing approaches won't just enhance your artwork – they'll help you find tranquility in every brushstroke as you explore their full potential.
The Gentle Feather Stroke
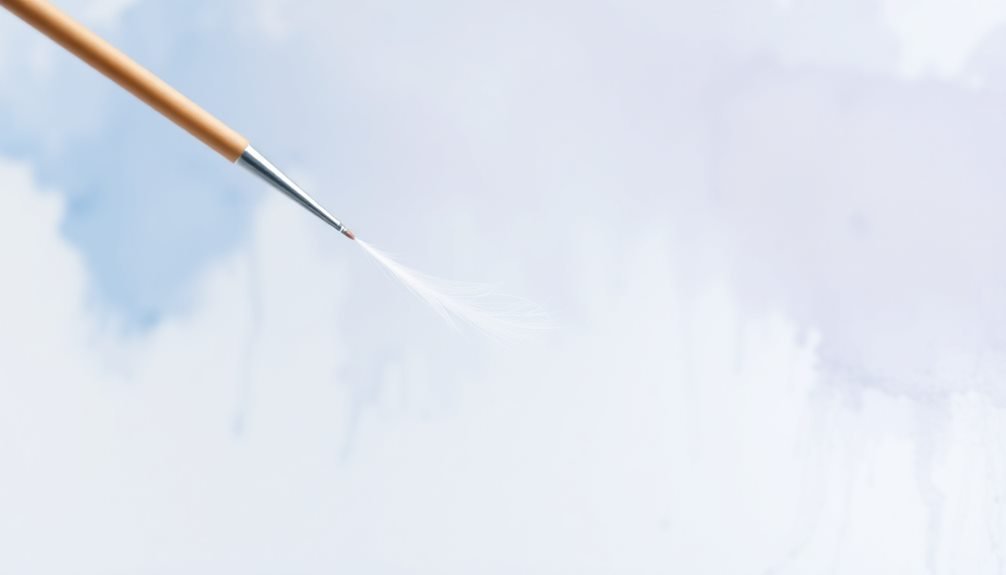
The gentle feather stroke glides across the canvas like a whisper, barely touching the surface. You'll find this delicate technique vital for creating soft, ethereal effects in your paintings. By holding your brush at a 45-degree angle and applying minimal pressure, you'll achieve a lightness that's perfect for rendering clouds, fog, or distant landscapes.
To master the feather stroke, start by loading your brush with a small amount of diluted paint. You don't want excess paint weighing down your bristles. Keep your wrist loose and maintain a steady, controlled movement from left to right or top to bottom. The key is consistency in your pressure and speed.
Practice the stroke first on scrap paper, focusing on maintaining that gossamer-light touch. You'll know you've got it right when your brush leaves the faintest trace of color.
For best results, use a soft-bristled brush – synthetic sables work particularly well. If you're working with acrylics, add a flow medium to extend your working time. When painting with watercolors, verify your paper isn't too wet, as this can cause the stroke to bleed.
Circular Zen Motion
Moving beyond feather strokes, circular zen motions bring a meditative quality to your brushwork. This technique involves creating continuous, flowing circles with your brush while maintaining consistent pressure. You'll want to keep your wrist relaxed and let your entire arm guide the movement, similar to how zen masters practice their circular calligraphy.
Start by holding your brush at a 45-degree angle and making small circles about an inch in diameter. As you gain confidence, gradually increase the size of your circles while maintaining the smooth, unbroken motion. You'll find that your circles don't need to be perfect – the natural variation adds character to your work.
To master this technique, focus on your breathing. Inhale as you complete the upper portion of the circle, and exhale as you close the lower half. This synchronization helps steady your hand and creates a rhythm that enhances the meditative aspect.
You can also vary the speed of your circular motions – slower movements create thicker, more deliberate lines, while faster rotations produce lighter, more ethereal effects.
Mindful Cross-Hatching
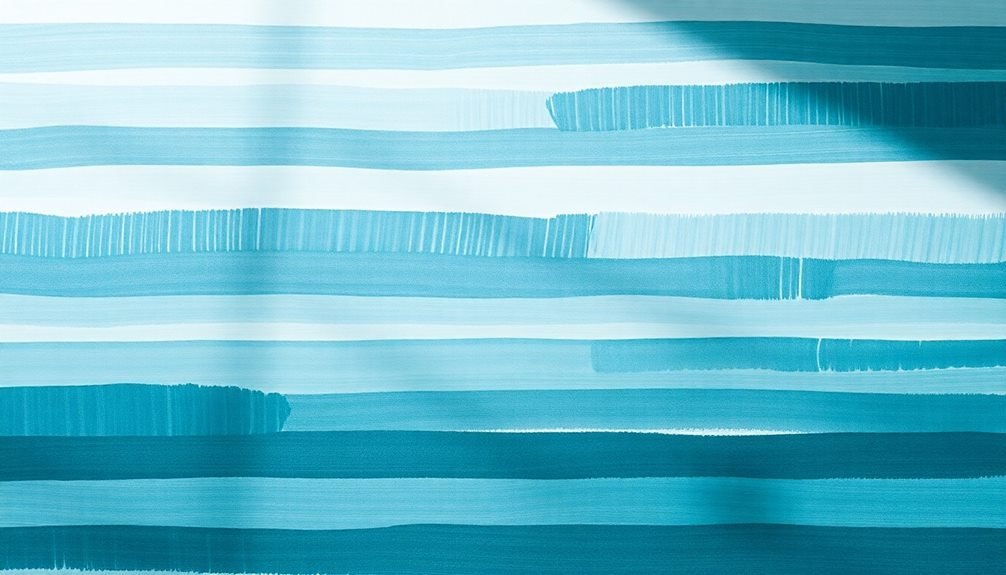
Mastering mindful cross-hatching demands patience and deliberate focus as you layer intersecting lines to build depth and texture. As you create each stroke, breathe steadily and maintain awareness of your brush's pressure against the canvas.
Start with light, parallel lines in one direction, allowing each stroke to flow naturally from your wrist rather than your arm.
Once you've established your first layer, rotate your canvas 45-90 degrees to add intersecting lines. You'll notice how the overlapping strokes create varying degrees of shadow and dimension. Pay attention to the spacing between lines – tighter crosses create darker values, while wider spacing produces lighter effects.
Don't rush this process; let each stroke serve as a moment of meditation.
For added depth, you can introduce a third layer at a different angle. As you work, focus on the sound of brush against canvas and the way the paint flows from bristle to surface.
If you make an unexpected mark, incorporate it into your pattern rather than viewing it as a mistake. Remember that mindful cross-hatching isn't about perfection – it's about finding rhythm in repetition and peace in the process.
Flowing Water Technique
While cross-hatching embraces structured precision, flowing water technique invites you to release control and let paint glide across your canvas with fluid grace.
You'll work with diluted paint and plenty of water, allowing colors to blend naturally as they travel across the surface. This technique mimics the organic movement of streams and rivers, creating soft shifts and unexpected patterns that can't be achieved through controlled brushwork.
To master the flowing water technique, you'll need to understand how paint behaves when it meets different levels of moisture.
Tilt your canvas slightly to guide the paint's direction, and use gentle breath or a small fan to encourage movement. Don't fight against the paint's natural tendency to pool and spread; instead, work with these properties to create stunning effects.
- Start with a well-dampened surface and drop in concentrated pigment, allowing it to spread naturally.
- Direct the flow by tilting your canvas 10-15 degrees, using gravity as your painting partner.
- Layer additional colors while the surface is still wet, watching as they interact and create organic boundaries.
You'll find this technique particularly effective for creating atmospheric landscapes, abstract pieces, and emotional expressions.
Calming Dry Brush Method

In contrast to flowing water techniques, the calming dry brush method relies on using minimal paint on a barely moistened brush. You'll need to remove most of the paint from your brush by wiping it on a paper towel until it feels almost dry to the touch. This technique creates gentle, feathered strokes that can add texture and depth to your artwork.
To master dry brushing, hold your brush at a 45-degree angle and apply light pressure as you sweep across the canvas. You'll notice that the bristles leave behind subtle, broken lines rather than solid coverage. This effect works particularly well for creating atmospheric elements like distant mountains, weathered wood, or textured foliage.
Start with short, deliberate strokes in one direction, then build up layers gradually. You can vary the pressure to achieve different effects – lighter pressure creates whisper-soft marks, while firmer pressure produces more defined streaks.
If you're working with acrylics, make sure your base layer is completely dry before applying dry brush strokes. For oils, you can work wet-on-wet, but keep your brush especially dry to maintain control over the technique.
Silent Stippling Practice
Stippling offers a different path to serenity compared to dry brush techniques. As you hold your brush perpendicular to the paper, you'll create gentle dots in a rhythmic pattern that helps quiet your mind. Each point you make becomes part of a meditative practice, allowing you to focus solely on the repetitive motion and the soft tapping sound against your canvas.
You'll find that stippling isn't just about creating texture – it's about developing patience and mindfulness. The technique requires you to slow down and embrace the gradual build-up of dots that will eventually form your image. It's particularly effective when you're feeling overwhelmed, as the methodical nature of stippling naturally reduces anxiety.
- Start with light, consistent pressure using the brush tip
- Space your dots evenly at first, then vary the density to create shadows
- Maintain a steady breathing rhythm that matches your stippling pace
When you're working with watercolors, let each layer of dots dry before adding more. This forced pause becomes part of your mindfulness practice, teaching you to appreciate the journey rather than rush toward completion.
Meditative Blending Strokes
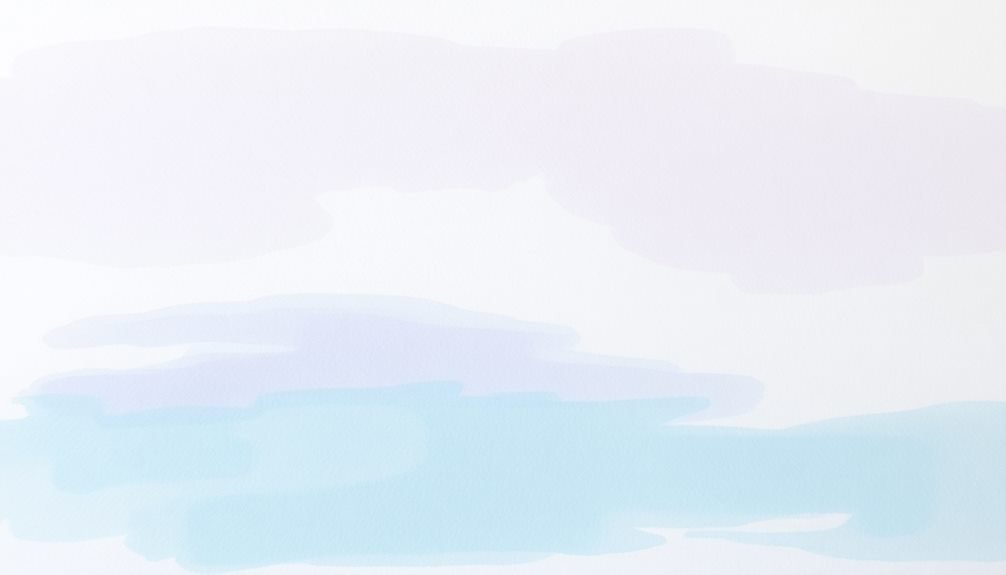
When you're ready to blend colors on your canvas, start by letting two shades gently meet with fluid, continuous strokes that create a seamless shift.
You'll want to maintain even pressure as you work the brush back and forth where the colors intersect, keeping your movements slow and intentional.
As you practice controlling the pressure of your brush, you'll notice how the colors naturally flow together, creating smooth gradients that enhance your painting's depth.
Color Meets Color Flow
Through gentle, deliberate movements, meditative color blending transforms your painting into a harmonious dance of pigments. When you're working with wet-on-wet techniques, let your brush flow naturally as colors merge and intermingle.
Focus on the way each hue gracefully shifts into the next, creating subtle gradients that evoke a sense of tranquility. As you blend, maintain steady pressure and consistent speed. Let your breath guide your hand's rhythm, allowing the colors to flow like water.
You'll notice how the paints naturally create soft edges and beautiful shifts when you don't force them together.
- Load your brush with the lighter color first, then gently introduce the darker shade at the meeting point.
- Move your brush in fluid, figure-eight motions where colors intersect, creating a seamless blending zone.
- Work quickly while both colors remain wet, but don't rush – maintain your meditative state throughout the process.
Watch as the colors embrace each other, creating new shades and unexpected harmonies. This organic blending process not only produces stunning visual effects but also helps you maintain a peaceful, focused state while painting.
Gentle Pressure Control Tips
The art of pressure control lies at the heart of meditative brush techniques. You'll discover that gentle pressure creates a calming rhythm as you paint, allowing colors to flow naturally across your canvas.
Start by holding your brush like you're grasping a delicate flower – firm enough for control but light enough to maintain flexibility.
Practice varying your pressure using a numbered scale: imagine "1" as barely touching the surface and "5" as standard pressure. Begin with "2" pressure for light washes, then shift to "3" for mid-tones, maintaining consistent speed throughout your strokes.
When you're blending colors, reduce pressure at the edges of each stroke to create soft shifts.
Keep your wrist relaxed and breathe steadily while painting. Let your brush dance across the surface, lifting slightly at the end of each stroke to prevent harsh lines.
You'll find that lighter pressure works better for wet-on-wet techniques, while slightly firmer pressure helps when you're working with drier brushes.
Remember to pause between strokes, allowing each movement to flow naturally into the next.
Frequently Asked Questions
How Long Should I Practice Each Brush Technique Before Moving to Another?
You'll want to practice each brush technique for at least 15-20 minutes daily until you're comfortable and confident. When your strokes feel natural and you can execute them consistently, you're ready to advance.
Can These Soothing Techniques Be Applied When Painting With Watercolors?
Yes, you'll find these gentle techniques work wonderfully with watercolors. You can use slow, mindful strokes and flowing movements while letting the water guide your brush's natural rhythm and flow.
What Music or Sounds Best Complement These Relaxing Painting Methods?
You'll find calm classical music, nature sounds like rainfall, or ambient lo-fi beats work perfectly. They'll help maintain your relaxed state while painting. Gentle instrumental jazz can also enhance your creative flow.
Should I Paint Standing up or Sitting Down for Optimal Relaxation?
You'll find sitting down more relaxing, as it reduces body tension and fatigue. However, if you're painting a large canvas or prefer movement, standing can feel natural. Choose what's most comfortable for you.
Will These Techniques Work Effectively on Both Small and Large Canvases?
You'll find these gentle brushwork methods work well on any canvas size. For larger pieces, you can maintain the same relaxed movements by breaking the surface into manageable sections and staying mindful throughout.
In Summary
These seven brushwork techniques aren't just about creating art – they're your gateway to a calmer state of mind. As you practice each method, you'll find yourself settling into a peaceful rhythm that transcends the canvas. Remember, there's no rush and no pressure. You're free to explore these techniques at your own pace, letting the gentle movements guide you toward both artistic growth and inner tranquility.


Leave a Reply