Nature-inspired sketching can calm your anxious mind through seven soothing subjects. You'll find peace in drawing gentle ocean waves with their rhythmic patterns, or capturing autumn leaves as they spiral downward. Let your pencil dance across paper while sketching a wild garden or swaying pine trees in the breeze. Mountain peaks at dawn offer majestic simplicity, while flowing river rocks create a meditative focus. Complete your journey with graceful butterflies floating through meadows. These natural elements transform simple sketching sessions into mindful moments, and there's so much more to discover in each stroke.
The Gentle Ocean Wave

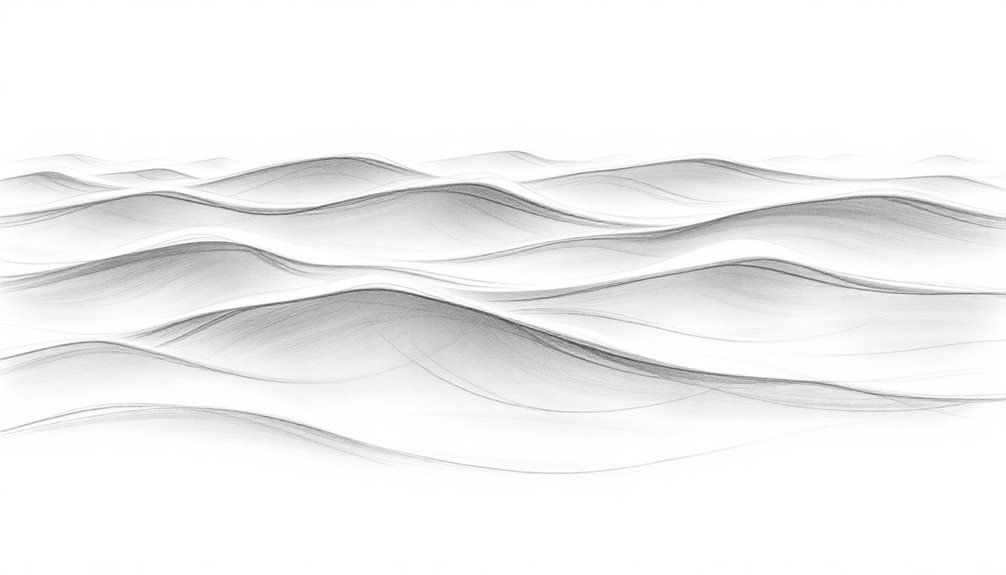
A gentle ocean wave embodies nature's most mesmerizing rhythm. As you watch it approach the shore, you'll notice how it builds gradually, rolling forward with deliberate grace. The wave's transparent blue-green surface catches sunlight, creating dancing patterns that mirror the sky above.
You can capture this fluid motion in your sketch by starting with loose, horizontal pencil strokes. Begin at the wave's crest, where water meets air, and let your hand flow naturally downward. Don't worry about perfect lines – ocean waves aren't geometric. Instead, focus on the wave's curved shape and the way it thins as it reaches toward the beach.
Add depth by sketching lighter lines for the water visible through the wave's face. Include small details like foam caps and spray, using your eraser to create white highlights where needed.
As you draw, remember how water moves in nature – it's never static. Your sketch should suggest movement, even in stillness. Consider adding subtle reflections beneath the wave's surface, where sunlight penetrates the water and creates shifting shadows on the sandy bottom.
Falling Autumn Leaves
From the fluid motion of waves, we shift our focus skyward to catch nature's annual dance of descent. As you watch falling autumn leaves, you'll notice their distinctive spiral pattern, a mesmerizing display of aerodynamics that can inspire your sketching technique.
| Leaf Type | Movement Pattern | Sketching Approach |
|---|---|---|
| Maple | Spinning helicopter | Quick, circular strokes |
| Oak | Side-to-side drift | Gentle zigzag lines |
| Birch | Direct descent | Straight, parallel marks |
To capture this natural phenomenon in your sketchbook, you'll want to start with loose, flowing gestures. Your hand should remain relaxed as you trace the leaves' paths, letting your pencil dance across the paper. Don't worry about perfect shapes—focus instead on conveying movement and direction.
Try using different pressures and speeds with your pencil. Light, quick strokes can represent leaves caught in a sudden gust, while slower, deliberate lines might depict the gentle flutter of leaves in still air. You'll find that incorporating these varied techniques helps create depth and brings your autumn scene to life.
Growing Wildflower Garden

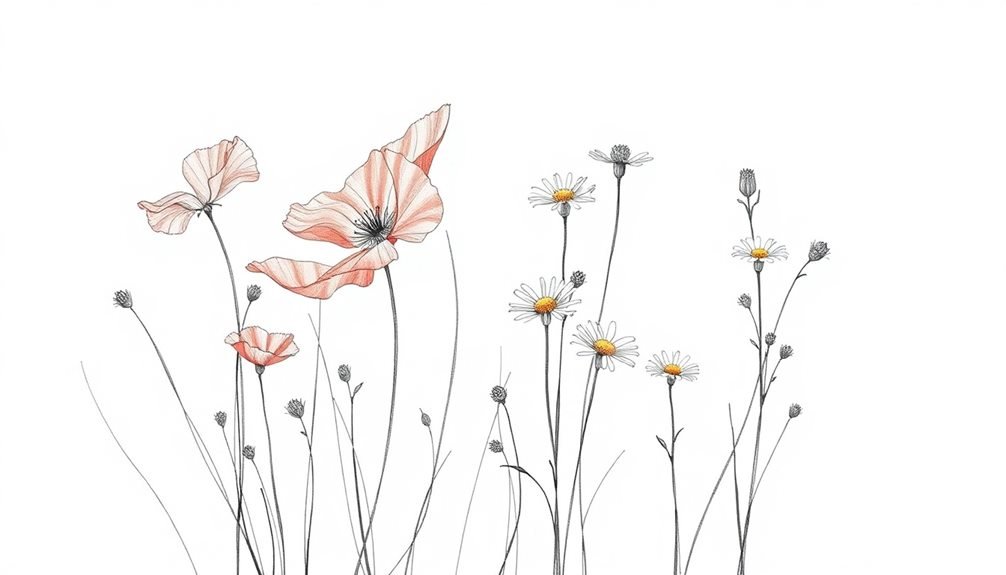
Wildflower gardens present endless opportunities for capturing nature's spontaneous beauty in your sketchbook. When sketching these vibrant meadows, you'll notice how each flower species adds its own unique characteristics to the overall composition.
Start by loosely mapping out the garden's basic structure, focusing on the varying heights and densities of the blooms. Use quick, gestural strokes to capture the delicate movement of flowers swaying in the breeze.
You'll want to pay attention to the different flower shapes – from the star-like petals of daisies to the clustered blooms of yarrow. Don't worry about perfectly replicating each flower; instead, focus on conveying their essence through simplified forms and natural groupings.
Layer your sketches with varying line weights to create depth, making foreground flowers bolder and background elements lighter. Add textural details by incorporating seed heads, stems, and foliage using short, broken lines.
You can enhance your drawings by noting the seasonal changes, documenting how certain species emerge, bloom, and fade throughout the growing cycle. Consider adding small color swatches beside your sketches to record the garden's evolving palette.
Swaying Pine Trees
You'll discover that sketching swaying pine trees starts with capturing the gentle swaying motion through curved, rhythmic branch lines that flow from a strong central trunk.
To create realistic pine needles, you're going to draw small clusters of short, angled lines that branch out from your main limbs in a feathered pattern.
When depicting wind movement, you can show intensity by varying your line direction and pressure, making some needles appear more tousled while others maintain their natural downward sweep.
Gentle Branch Movement Patterns
In gentle breezes, pine trees display a mesmerizing dance of branches that's both predictable and organic. As you observe their movement, you'll notice how each branch responds differently to the wind while maintaining a synchronized rhythm with the whole tree. The largest branches sway in broad, sweeping motions, while smaller twigs and needles create intricate rippling patterns.
You can capture these movement patterns in your sketches by starting with the trunk's stable core and working outward. Draw the primary branches using flowing, curved lines that suggest their natural flexibility. Don't forget to indicate the direction of the wind by showing all branches bending consistently in one direction, with their tips creating graceful arcs.
To add depth, layer your branch patterns from back to front, making the foreground movements more detailed and pronounced. You'll want to use lighter, quicker strokes for the smallest needles and twigs, as they flutter more rapidly than the larger branches.
Remember that pine branches typically move in an elliptical pattern rather than just back and forth, creating a more complex and realistic motion in your artwork.
Simple Needle Detail Steps
Drawing pine needles builds upon those sweeping branch movements by adding the characteristic texture that makes pines instantly recognizable. To create realistic pine needles, you'll start by drawing small clusters that extend outward from your branch lines.
Position your pencil at the branch and make quick, short strokes that point slightly downward at a 45-degree angle. Work in layers, keeping your needle clusters dense but not overcrowded. You'll want to vary the length of your strokes slightly – some needles should be 1/4 inch while others reach 1/2 inch.
As you move toward the branch tips, make your needle clusters slightly smaller and more delicate. Remember to follow the natural direction of growth, with needles pointing toward the branch ends.
Add depth by making some needle clusters darker than others. You can achieve this by pressing harder with your pencil or adding a second layer of strokes.
Don't worry about drawing individual needles – instead, focus on capturing the overall texture and movement of the needle bundles. Leave small gaps between clusters to create natural-looking spacing and allow the eye to rest.
Capturing Wind Through Lines
Wind brings pine trees to life on paper through deliberate line variations and directional strokes. You'll notice how swaying pines create a natural dance, with branches bending and needles flowing in rhythmic patterns.
To capture this movement, you'll need to vary your pencil pressure and stroke direction, letting your hand mirror the wind's path through the trees.
Start with the trunk using firm, grounded strokes, then gradually lighten your touch as you move toward the outer branches. You'll want to layer your lines, creating depth and dimension that suggest constant motion. The key is to avoid static, straight lines – nature rarely moves in perfect geometric patterns.
To evoke the emotional essence of wind-swept pines:
- Use quick, light strokes that sweep upward and outward to capture the lifting motion of a gentle breeze
- Draw curved, flowing lines that bend and weave to show stronger gusts
- Create clusters of short, angular marks to represent needle bunches catching the wind
Remember to leave some white space between your lines, allowing the wind to visually flow through your drawing.
Mountain Peaks at Dawn

Dawn's gentle rays illuminate the jagged peaks, creating dramatic interplays of light and shadow that you'll want to capture in your nature sketch.
Begin by lightly marking the basic mountain silhouettes, focusing on the defining ridgelines that cut across your paper. You'll notice how the early morning light creates distinct planes on the mountainsides, transforming complex geological features into simplified geometric shapes.
Layer your strokes to build depth, using lighter pressure for distant peaks and stronger lines for closer formations. Don't forget to incorporate the unique textures of rocky outcrops and snow-capped summits.
When sketching the dawn light, leave strategic areas of your paper untouched to represent the brightest highlights where sunlight first touches the peaks.
Add subtle gradients to convey atmospheric perspective, making distant mountains appear lighter and less detailed. You can suggest morning mist by softly smudging your lines at the mountain bases.
Remember to include small details like scattered boulders or rugged cliff faces, but keep them loose and suggestive rather than overly detailed. This approach captures the mountain's essence while maintaining the peaceful quality of daybreak.
Flowing River Rocks
To sketch convincing river rocks, you'll start with simple lines and curves that establish their basic rounded shapes in the water.
You can create depth by layering shadow techniques, placing darker values in the spaces between rocks and lighter values on their exposed surfaces.
Building realistic rock textures requires short, varied strokes that follow the natural contours and weathered patterns you'd find along a riverbed.
Simple Lines and Curves
Drawing river rocks with simple lines and curves captures the organic flow of nature's timeless sculptures. You'll find that basic shapes form the foundation of each rock, starting with gentle ovals and irregular circles. As you sketch, let your hand move freely, allowing the natural rhythm of water-worn stones to guide your strokes.
Focus on creating depth through overlapping forms and varied line weights. You don't need complex techniques – simple contours can effectively convey the smooth, weathered surfaces of river rocks. Add subtle shadows where stones meet, using light crosshatching or gentle shading to ground your composition.
To enhance your nature-inspired drawing experience:
- Begin with loose, flowing gestures that mirror the river's movement
- Layer your lines gradually, building from basic shapes to more defined forms
- Keep your touch light and confident, embracing imperfect curves that reflect nature's authenticity
Remember that river rocks aren't perfectly symmetrical. Their beauty lies in their subtle irregularities, so allow your lines to waver and curves to undulate naturally. This approach creates a more authentic representation while maintaining a meditative drawing practice.
Layering Shadow Techniques
Shadow-play mastery brings river rocks to life through strategic layering techniques that create depth and dimension.
Start by sketching the basic outlines of your river rocks, varying their sizes and shapes to mimic nature's random patterns. You'll want to identify where your light source originates to determine the shadows' directions and intensities.
Begin with light, circular strokes to establish your initial shadow layers. Work from the edges inward, gradually building depth with each pass of your pencil. You'll notice how overlapping shadows create natural shifts between rocks, especially where they meet or stack upon one another.
For underwater effects, add gentle cross-hatching to suggest ripples and reflections.
Don't rush the darkest areas; instead, build them up gradually using multiple light layers. This technique prevents harsh lines and maintains the organic feel of river stones.
Pay special attention to the undersides of rocks and the spaces between them, where shadows naturally pool. For highlights, simply leave areas untouched or use your eraser to lift graphite, creating the illusion of wet, gleaming surfaces that catch the light.
Creating Rock Textures
River rocks showcase diverse textures that demand specific sketching approaches beyond basic shadowing. When drawing river rocks, you'll want to capture their smooth, water-polished surfaces while maintaining their natural imperfections. Start with light, circular strokes to establish the basic shapes, then build texture through cross-hatching and stippling techniques.
To achieve realistic rock textures in your sketches, focus on these key elements:
- Create subtle variations in pressure as you draw – lighter strokes for worn areas, heavier marks for craggy sections – to reflect how water has shaped each stone over time.
- Add small imperfections like pits, scratches, and mineral veins using short, quick strokes that follow the rock's natural contours.
- Layer your marks gradually, allowing the texture to build naturally while leaving some areas lighter to suggest the stone's reflective quality.
You'll find that sketching river rocks becomes meditative as you develop these techniques. Work from the center outward, varying your stroke direction to match each rock's unique surface patterns.
Remember to keep your wrist relaxed as you build these organic textures.
Dancing Butterflies in Meadows

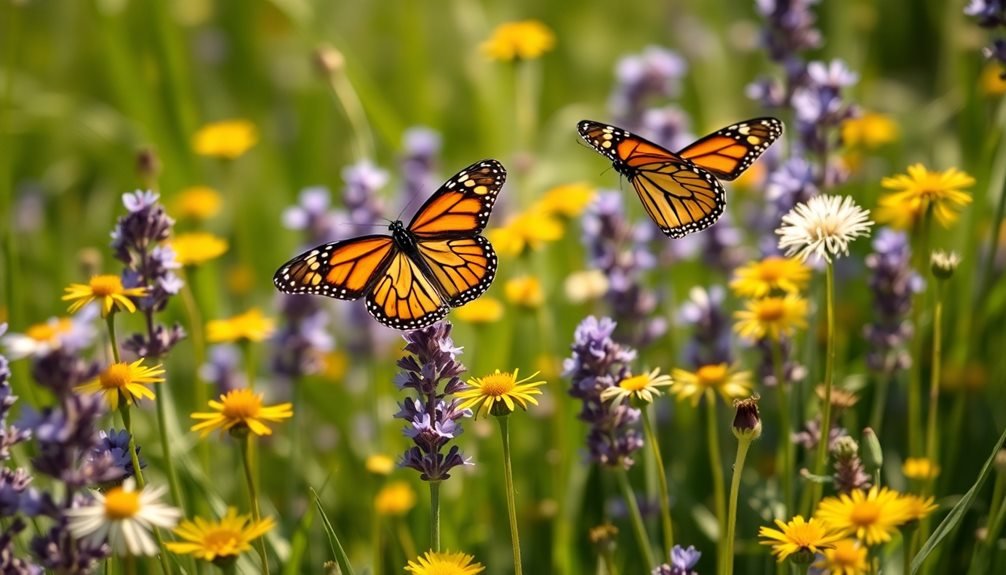
Summer's gentle breeze carries delicate butterflies across wildflower meadows, creating nature's most enchanting dance performance. You'll find that capturing these ethereal creatures in your sketches requires a delicate balance of precision and fluidity. Start by observing their distinctive flight patterns and wing positions as they float from flower to flower.
To sketch butterflies effectively, you'll need to understand their basic anatomy and movement dynamics. Focus on their symmetrical wings, varying sizes, and characteristic markings that make each species unique.
| Element | Technique | Effect |
|---|---|---|
| Wings | Light strokes | Transparency |
| Body | Single line | Simplicity |
| Pattern | Dots/lines | Texture |
| Movement | Curved lines | Flow |
Layer your butterfly drawings with surrounding meadow elements to create depth. You can achieve this by adding flowers at different heights, swaying grass, and subtle wind indicators. Remember to vary the sizes of your butterflies – some closer, others farther away – to create perspective. Don't forget to leave some areas of white space to suggest movement and maintain the airy quality of your scene.
Frequently Asked Questions
What Art Supplies Are Best for Creating Nature-Inspired Therapeutic Sketches?
You'll need soft graphite pencils, quality drawing paper, charcoal sticks, and watercolors. Don't forget fine-liner pens for details and colored pencils to add gentle hues to your therapeutic sketching practice.
How Long Should Each Sketching Session Last for Maximum Anxiety Relief?
You'll find the most benefit in 15-30 minute sketching sessions, but don't force yourself to stick to strict timelines. Listen to your body and stop when you're feeling calmer or continue if you're in the flow.
Can Digital Sketching Provide the Same Calming Benefits as Traditional Methods?
While digital sketching can help reduce anxiety, you won't get the same tactile benefits as traditional methods. You'll miss out on the physical connection with materials that naturally grounds your mind and body.
Is Artistic Talent Necessary to Benefit From Nature-Inspired Sketching Therapy?
You don't need artistic talent to benefit from therapeutic sketching. The process itself, not the final result, helps calm your mind. Simple lines and basic shapes can be just as soothing as complex artwork.
What Lighting Conditions Are Ideal for Nature-Inspired Therapeutic Sketching Sessions?
You'll want soft, natural daylight from a window for the best sketching experience. If that's not possible, use warm artificial lighting that doesn't cast harsh shadows. Avoid dim or overly bright conditions.
In Summary
You'll find that sketching these natural scenes can become a meditative practice to calm your racing thoughts. Whether you're drawing gentle ocean waves or falling leaves, the rhythmic motions of your pencil mirror nature's soothing patterns. Don't worry about perfection – let your artwork flow freely. Take these seven natural inspirations and make them your own therapeutic tools for finding peace and mindfulness.


Leave a Reply