Gentle yoga poses can effectively ease anxiety by combining physical movement with mindfulness. You can start with Child's Pose for peaceful introspection, followed by the Cat-Cow Stretch to synchronize breath and movement. The Standing Forward Bend releases tension, while Legs Up the Wall calms your nervous system. Try the Seated Forward Fold to quiet racing thoughts, and use Reclined Bound Angle Pose to promote relaxation. Corpse Pose helps release tension, Easy Pose grounds your energy, Warrior II builds strength and focus, and Tree Pose improves balance and concentration. These poses offer a powerful toolkit for managing anxiety and fostering inner calm.
Key Takeaways
- Child's Pose, Cat-Cow Stretch, and Standing Forward Bend promote relaxation and reduce anxiety through gentle stretching and focused breathing.
- Legs Up the Wall pose calms the nervous system, lowers heart rate, and reduces tension in the body.
- Seated Forward Fold and Reclined Bound Angle Pose activate the parasympathetic nervous system, encouraging relaxation and mental calmness.
- Corpse Pose and Easy Pose foster deep relaxation, centering, and mindfulness through conscious breathing and body awareness.
- Warrior II and Tree Pose build strength, focus, and stability while promoting grounding and reducing anxiety.
Child's Pose
Often considered one of the most calming yoga poses, Child's Pose offers a gentle stretch and a moment of peaceful introspection.
To begin, kneel on your mat with your knees hip-width apart. Sit back on your heels and slowly lower your upper body forward, resting your forehead on the mat. Extend your arms in front of you, palms down, or rest them alongside your body with palms facing up.
As you settle into the pose, focus on your breath. Inhale deeply through your nose, feeling your back expand, and exhale slowly through your mouth. With each breath, allow tension to melt away from your shoulders, back, and hips. You'll feel a gentle stretch along your spine and in your hips.
Stay in this position for 5-10 breaths or longer if you're comfortable. If you experience any discomfort in your knees, place a folded blanket between your thighs and calves.
To deepen the stretch, you can widen your knees while keeping your big toes touching. Child's Pose is an excellent way to calm your mind and reduce anxiety, making it perfect for beginners and experienced practitioners alike.
Cat-Cow Stretch
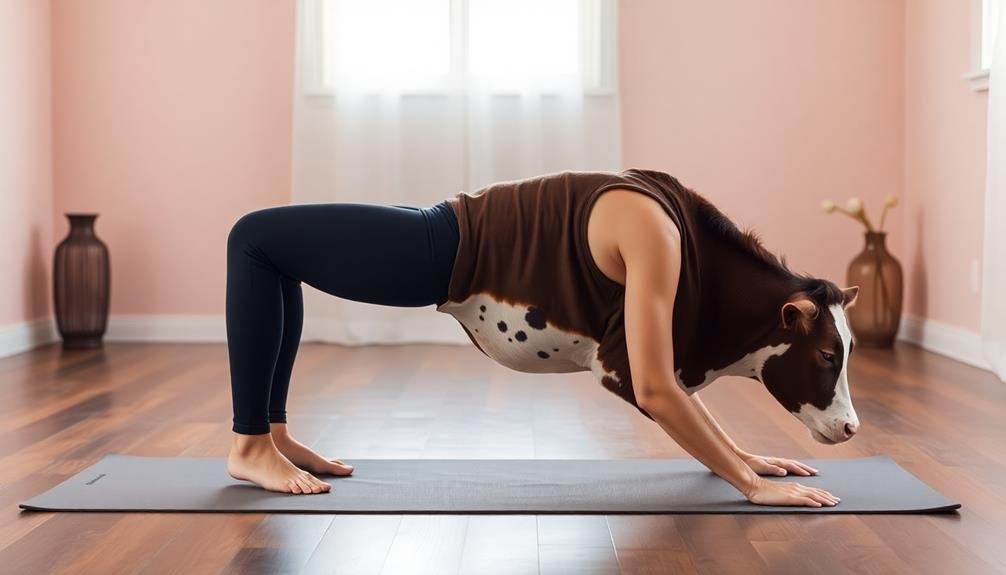
Moving from the grounded stability of Child's Pose, we now turn to the dynamic Cat-Cow Stretch. This flowing sequence combines two poses, Cat and Cow, to create a gentle, rhythmic movement that helps release tension in your spine and abdomen while promoting deep, calming breaths.
Begin on your hands and knees in a tabletop position. Confirm your wrists are directly under your shoulders and your knees beneath your hips. As you inhale, drop your belly towards the mat, lifting your chest and tailbone. This is Cow Pose. Gaze upward, allowing your neck to extend comfortably.
As you exhale, round your spine towards the ceiling, tucking your chin to your chest and drawing your navel inward. This is Cat Pose.
Continue alternating between these two poses, synchronizing your breath with each movement. The Cat-Cow Stretch not only helps alleviate anxiety by focusing your mind on the present moment but also improves circulation and releases tension in your neck and shoulders.
Practice this sequence for 5-10 breath cycles, or longer if you'd like, maintaining a steady, comfortable pace that suits your body and breath.
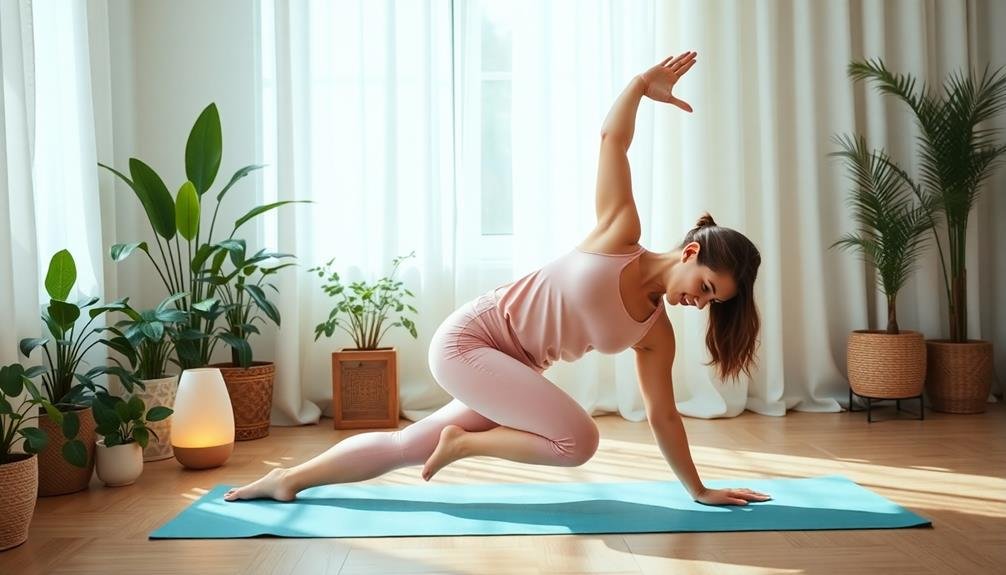
Standing Forward Bend
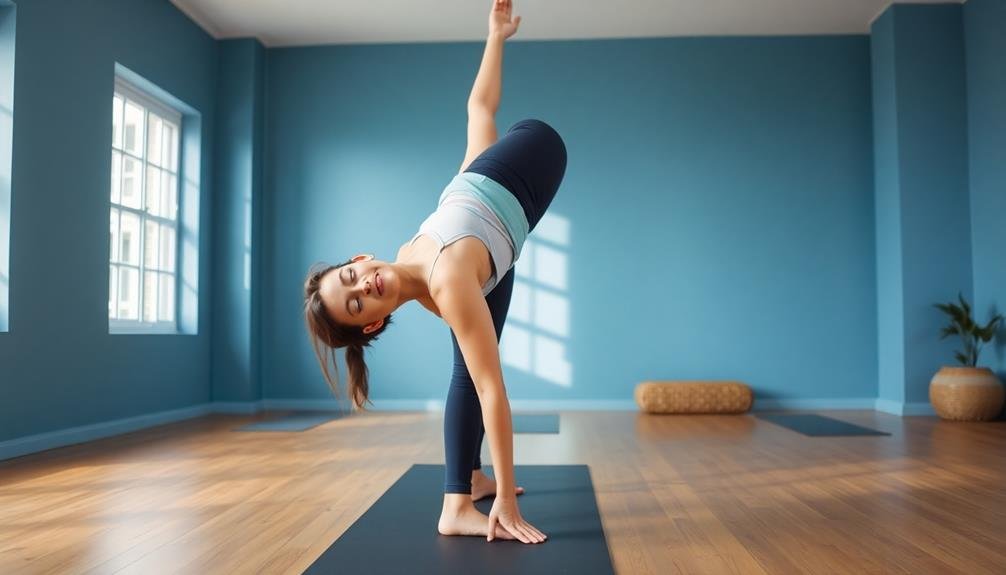
Ready to move from the floor to a standing posture? The Standing Forward Bend, also known as Uttanasana, is an excellent shift that'll help you release tension in your back, neck, and shoulders while calming your mind.
Start by standing with your feet hip-width apart. Take a deep breath in, then as you exhale, hinge at your hips and fold forward. Let your upper body hang loose, allowing gravity to do the work. Don't force yourself to touch the floor; instead, focus on lengthening your spine and relaxing your neck. You can bend your knees slightly if you feel any strain in your lower back.
As you hold this pose, pay attention to your breath. Each inhale should create a slight lengthening in your spine, while each exhale allows you to sink a little deeper into the fold. Stay here for 5-10 breaths, or longer if it feels comfortable.
To come out of the pose, slowly roll up vertebra by vertebra, keeping your head down until you're fully upright. This gradual rise helps prevent dizziness and maintains the calming effect of the pose.
Legs Up the Wall
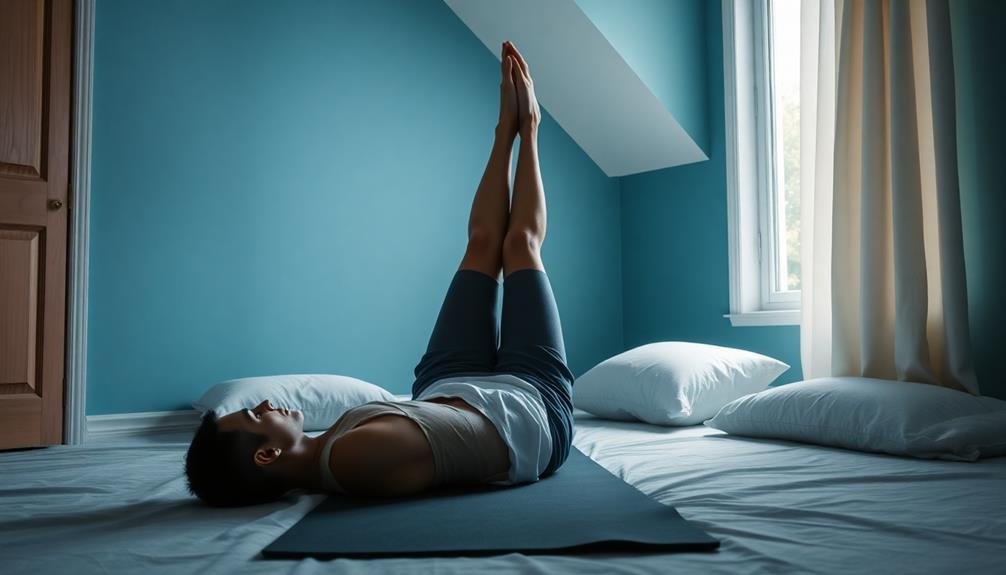
Let's explore the calming effects of the Legs Up the Wall pose, a gentle inversion that can greatly reduce anxiety and promote relaxation.
You'll learn how to properly position yourself against a wall for maximum benefit and comfort.
We'll also cover how long to hold this pose and some variations you can try to enhance its stress-relieving properties.
Benefits for Stress Relief
This pose offers a wealth of benefits for stress relief. When you practice Legs Up the Wall, you'll experience a calming effect on your nervous system. It helps lower your heart rate and blood pressure, promoting a sense of relaxation throughout your body.
As you lie in this inverted position, you'll feel the tension in your legs and lower back begin to melt away. The gentle inversion encourages blood flow from your feet and legs back to your heart, reducing swelling and fatigue.
This improved circulation can help clear your mind and alleviate headaches. You'll also notice deeper, more relaxed breathing as your diaphragm moves more freely in this position.
Legs Up the Wall can greatly reduce cortisol levels, the stress hormone that often contributes to anxiety. It's an excellent pose for insomnia relief, as it helps quiet racing thoughts and prepares your body for restful sleep.
Proper Positioning Technique
To reap the full benefits of Legs Up the Wall pose, proper positioning is key. Begin by sitting sideways with your right hip against the wall. Carefully lie back and swing your legs up the wall, allowing your back to rest flat on the floor. Scoot your buttocks as close to the wall as comfortable, forming an L-shape with your body.
Relax your arms by your sides, palms facing up. If you feel any strain in your lower back, place a folded blanket or cushion under your hips for support. Keep your legs straight but not locked, allowing them to relax against the wall. If you can't straighten your legs fully, it's okay to bend your knees slightly.
Focus on your breath, inhaling deeply through your nose and exhaling slowly through your mouth. Close your eyes and let tension melt away from your body. Stay in this position for 5-15 minutes, gradually increasing the duration as you become more comfortable.
To come out of the pose, bend your knees and roll to your side before slowly sitting up. Take a moment to notice how you feel before standing.
Duration and Variations
Practicing Legs Up the Wall pose for just 5-15 minutes can considerably reduce anxiety and stress. You'll want to hold the pose for at least 5 minutes to experience its calming effects, but you can extend it up to 20 minutes if you're comfortable. As you become more familiar with the pose, you'll find your ideal duration.
To enhance your practice, try these variations:
| Variation | Description | Benefit |
|---|---|---|
| Butterfly | Bend knees, soles together | Opens hips, relieves lower back |
| Wide-Leg | Spread legs into a V-shape | Stretches inner thighs, groin |
| Supported | Use bolster under hips | Elevates pelvis, aids circulation |
You can also experiment with arm positions. Try extending your arms overhead to stretch the entire body, or place your hands on your belly to focus on deep breathing. If you're dealing with lower back discomfort, slide a folded blanket under your hips for extra support. Remember, it's crucial to listen to your body and adjust the pose as needed. Don't push yourself beyond your comfort level, and always exit the pose slowly to avoid dizziness.
Seated Forward Fold
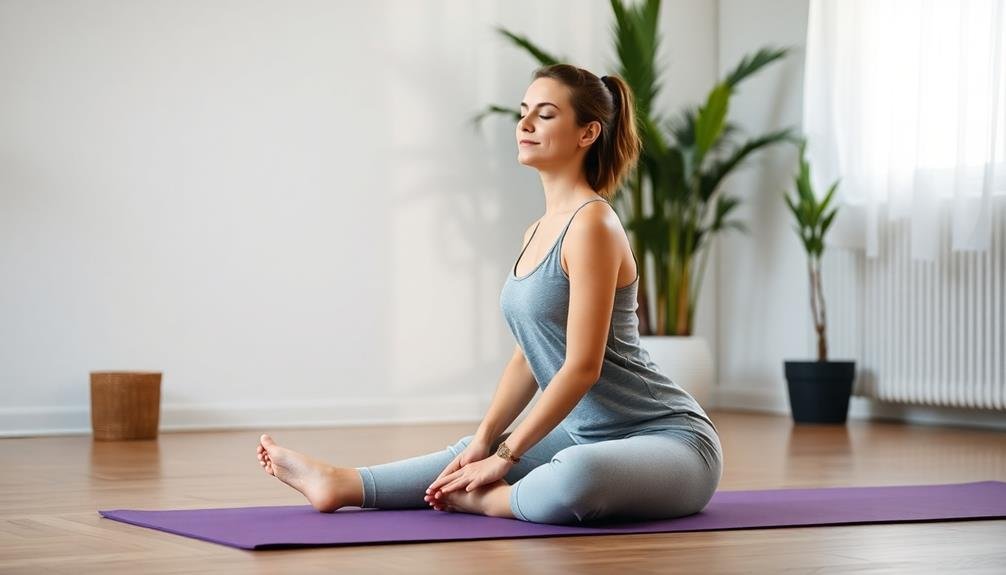
Let's explore the Seated Forward Fold, a pose that can greatly reduce anxiety through its calming effects on your nervous system.
You'll learn the correct technique to perform this pose safely and effectively, maximizing its stress-relieving benefits.
We'll also cover modifications and variations to suit your flexibility level and make the pose accessible for all practitioners.
Benefits for Anxiety Relief
Seated Forward Fold offers powerful anxiety-relieving benefits. As you practice this pose, you'll experience a calming effect on your nervous system. The gentle stretching of your spine and hamstrings helps release physical tension, which often accompanies anxiety. This pose encourages deep breathing, naturally slowing your heart rate and promoting relaxation.
When you fold forward, you're fundamentally turning inward, both physically and mentally. This introspective position can help quiet racing thoughts and reduce mental chatter. The mild inversion created by lowering your head below your heart may improve blood flow to your brain, potentially enhancing clarity and focus.
You'll also stimulate the parasympathetic nervous system, responsible for the "rest and digest" response. This activation counteracts the fight-or-flight state often triggered by anxiety.
Regular practice of Seated Forward Fold can increase your overall flexibility and body awareness, which may help you recognize and address tension before it escalates into anxiety. Additionally, the pose gently massages your abdominal organs, potentially easing digestive issues that sometimes accompany stress and anxiety.
Proper Pose Technique
To harness the anxiety-relieving benefits of Seated Forward Fold, it's important to perform the pose correctly.
Begin by sitting on your mat with your legs extended straight in front of you. Flex your feet, pushing through your heels. Sit up tall, lengthening your spine and drawing your shoulders back.
As you inhale, raise your arms overhead. On the exhale, hinge at your hips and slowly fold forward, reaching for your toes. If you can't reach them, grab your shins or ankles instead. Keep your back straight as you fold, avoiding rounding your spine. Relax your neck and let your head hang heavy.
Focus on breathing deeply and evenly. With each inhale, lengthen your spine slightly. On each exhale, relax deeper into the fold. Don't force the stretch; instead, allow gravity to gently pull you forward.
If you feel any pain or discomfort, especially in your lower back, ease up on the stretch. Hold the pose for 30 seconds to 2 minutes, gradually increasing your hold time as you become more comfortable.
To release, slowly roll up to a seated position, vertebra by vertebra.
Modifications and Variations
For those who find the traditional Seated Forward Fold challenging, several modifications can make the pose more accessible and comfortable.
If you have tight hamstrings, try bending your knees slightly or sitting on a folded blanket to elevate your hips. This will reduce strain on your lower back and allow for a more relaxed forward bend.
For those with limited flexibility, you can use a strap or towel around your feet to help you reach forward without straining. Simply loop the strap around the soles of your feet and hold onto the ends, gently pulling yourself forward.
If sitting on the floor is uncomfortable, you can perform a modified version while seated in a chair. Sit at the edge of the chair with your feet flat on the floor, then slowly hinge forward from your hips, allowing your upper body to rest on your thighs.
For added support, place a bolster or pillow on your lap to rest your forehead on as you fold forward. This can help relieve tension in your neck and shoulders.
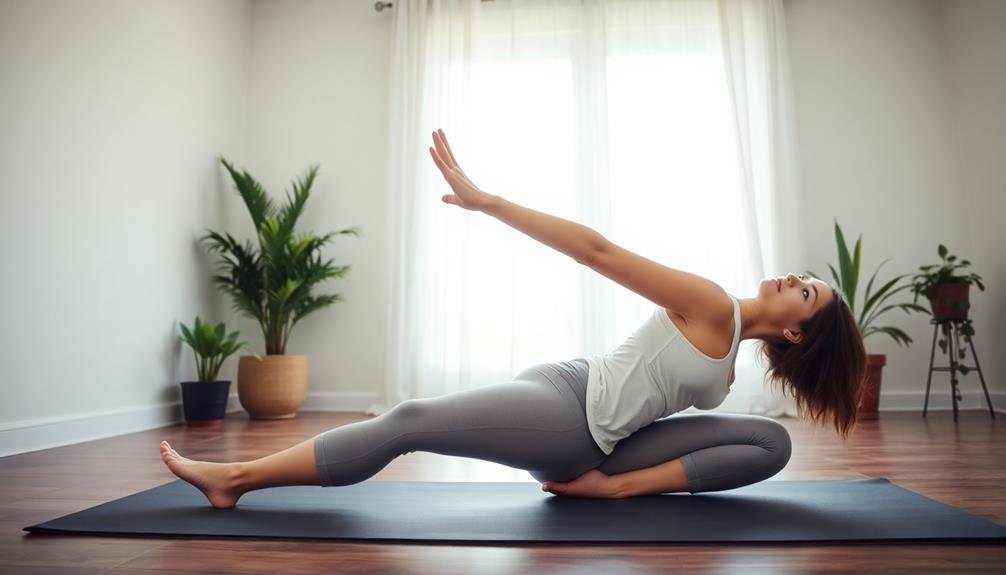
Reclined Bound Angle Pose
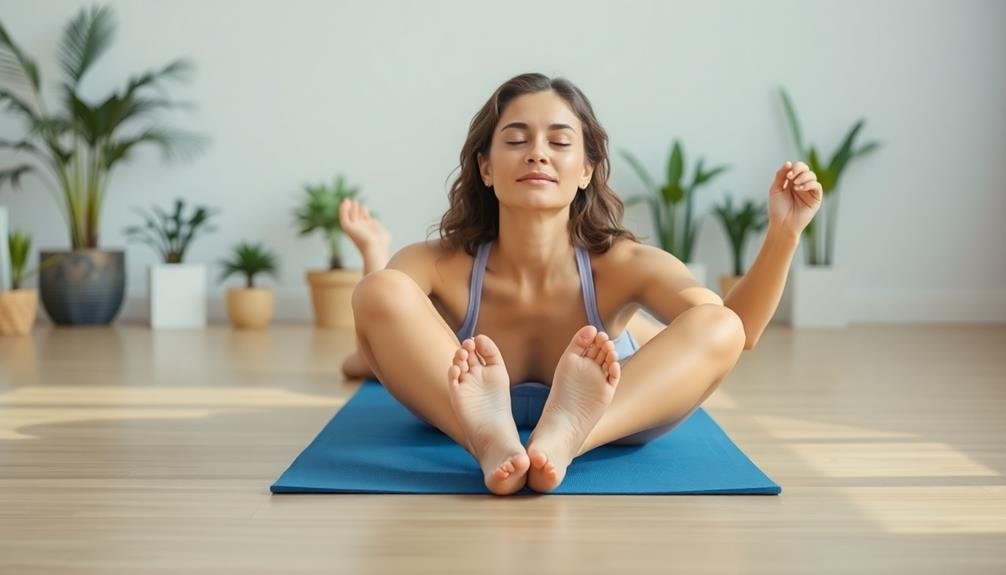
The Reclined Bound Angle Pose, also known as Supta Baddha Konasana, is a deeply relaxing posture that can help calm your anxious mind. To practice this pose, lie on your back with your knees bent and feet flat on the floor. Allow your knees to fall open to the sides, bringing the soles of your feet together. Rest your arms by your sides with palms facing up.
As you settle into the pose, focus on your breath and let tension melt away from your body. You can stay in this position for 5-10 minutes, or longer if you're comfortable. To enhance the relaxation, try incorporating the following breathing techniques:
| Technique | Description | Duration |
|---|---|---|
| Equal Breathing | Inhale and exhale for equal counts | 5-10 breaths |
| 4-7-8 Breathing | Inhale for 4, hold for 7, exhale for 8 | 3-5 cycles |
| Belly Breathing | Focus on expanding your belly as you inhale | 2-3 minutes |
| Alternate Nostril | Close one nostril, breathe through the other | 5-10 cycles |
| Ocean Breath | Create a soft sound at the back of your throat | 1-2 minutes |
Remember to exit the pose slowly, bringing your knees together and rolling to one side before sitting up. This gentle inversion can help reduce anxiety by activating your parasympathetic nervous system, promoting a sense of calm and well-being.
Corpse Pose
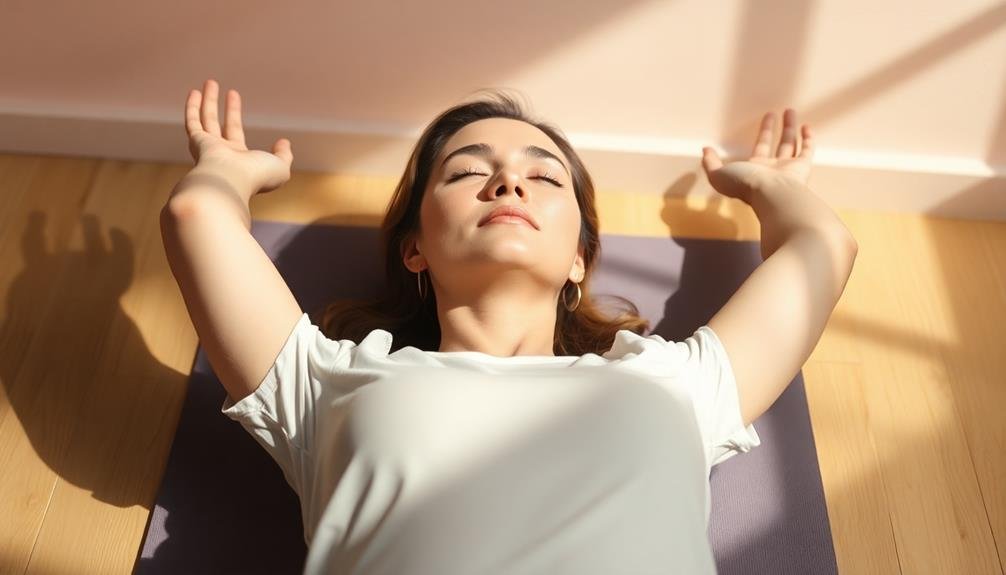
Serenity awaits in the ultimate relaxation pose known as Corpse Pose, or Savasana. This simple yet powerful posture allows you to fully release tension and calm your mind.
To begin, lie flat on your back with your legs extended and arms at your sides, palms facing up. Close your eyes and focus on your breath, letting go of any thoughts or worries.
As you settle into the pose, consciously relax each part of your body, starting from your toes and working your way up to the crown of your head. Let your body sink into the floor, releasing any remaining tension.
You'll find that your breathing naturally slows and deepens, promoting a sense of peace and tranquility.
Remain in Corpse Pose for 5-15 minutes, allowing yourself to fully surrender to the present moment. If your mind wanders, gently bring your attention back to your breath.
When you're ready to come out of the pose, slowly wiggle your fingers and toes, then stretch your arms overhead. Roll onto your side and pause before slowly sitting up.
You'll likely feel refreshed, centered, and better equipped to handle anxiety.
Easy Pose
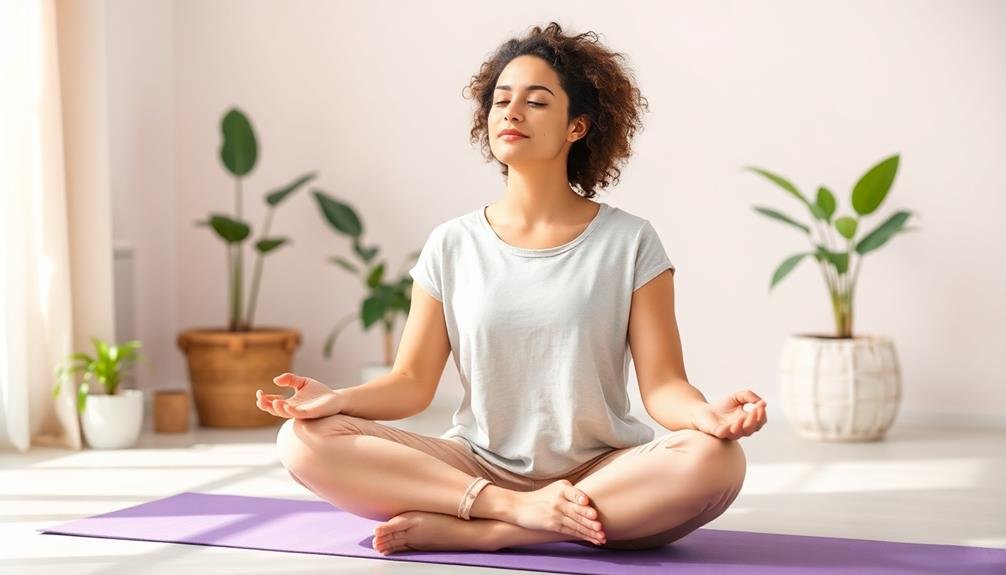
Along with Corpse Pose, Easy Pose offers a simple yet effective way to calm your mind and reduce anxiety. Also known as Sukhasana, this seated position is accessible to most practitioners and can be performed almost anywhere.
To begin, sit on the floor with your legs crossed comfortably in front of you. If you find it challenging to sit flat on the ground, use a cushion or folded blanket to elevate your hips. Rest your hands on your knees or thighs, palms facing up or down. Lengthen your spine, drawing your shoulders back and down.
Focus on your breath as you settle into the pose. Take slow, deep breaths, allowing your body to relax with each exhale. You can close your eyes or maintain a soft gaze a few feet in front of you. Stay in this position for 5-10 minutes, or longer if you're comfortable.
Easy Pose helps ground your energy and promotes a sense of inner calm. It's an excellent pose for meditation and can be used to bookend your yoga practice.
If you experience discomfort, don't hesitate to switch the crossing of your legs or adjust your position as needed.
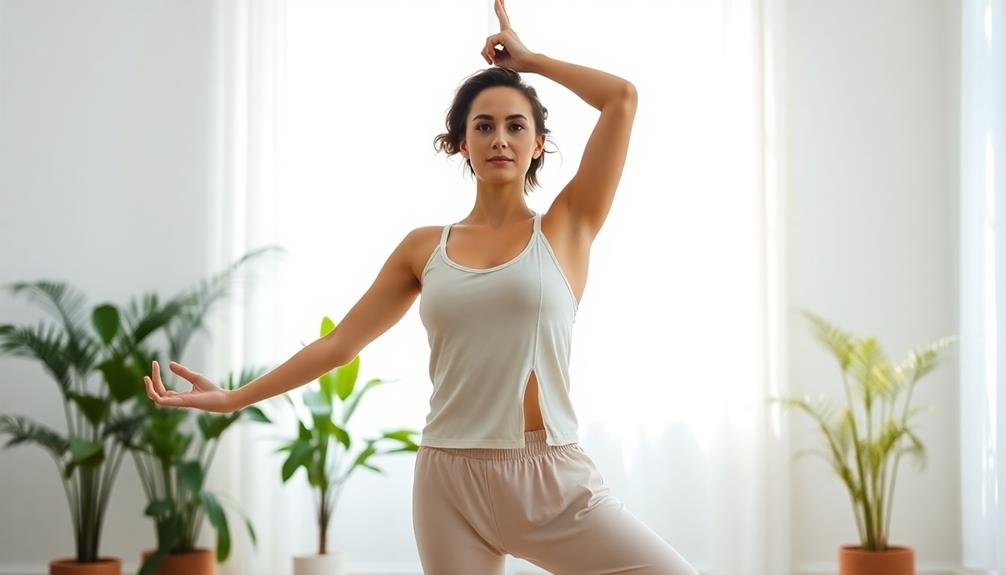
Warrior II
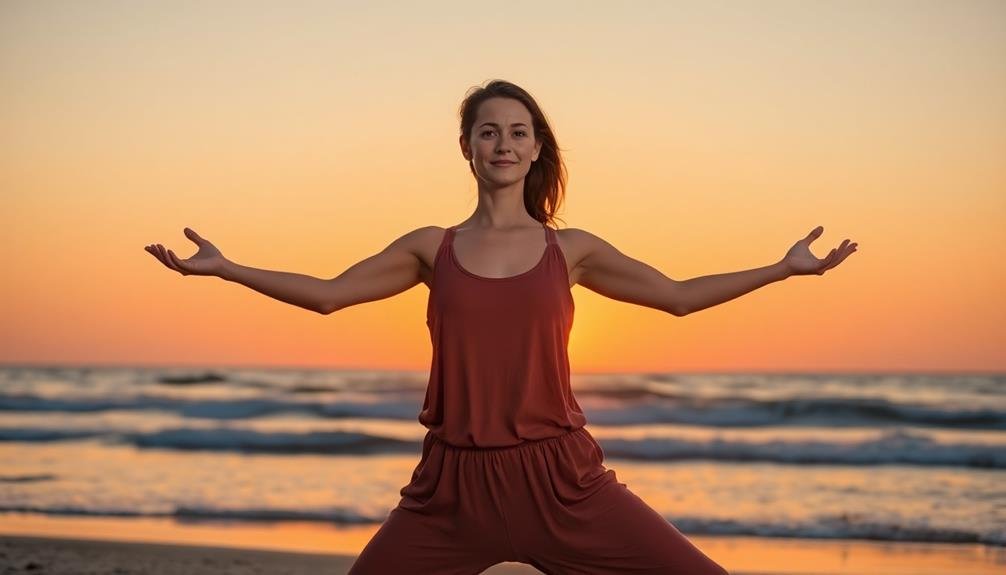
Warrior II is a powerful standing pose that can help you build strength and focus while reducing anxiety.
You'll begin by stepping your feet wide apart and turning your front foot out, bending your front knee while keeping your back leg straight and strong.
As you extend your arms parallel to the ground, focus on your breath and the sensations in your body to cultivate a sense of calm and stability.
Proper Alignment and Form
Achieving the correct alignment in Warrior II is essential for maximizing its anxiety-relieving benefits.
Begin by standing with your feet about 3 to 4 feet apart. Turn your right foot out 90 degrees and your left foot in slightly. Align your right heel with the arch of your left foot. Raise your arms parallel to the floor, palms facing down.
As you exhale, bend your right knee over your right ankle, keeping your shin perpendicular to the floor. Your right thigh should be parallel to the ground. Keep your left leg straight and strong, pressing the outer edge of your left foot into the mat. Engage your core and tuck your tailbone slightly.
Make sure your shoulders are directly over your hips, and your chest is open. Gaze over your right fingertips, keeping your neck long and relaxed. Don't let your front knee collapse inward; instead, press it outward in line with your pinky toe.
Breathe deeply and hold the pose for 30 seconds to 1 minute. Remember to repeat on the other side to balance your body and mind.
Benefits for Anxiety Relief
In addition to its physical benefits, Warrior II pose offers powerful anxiety-relieving effects. As you hold this stance, you'll find your mind becoming more focused and centered. The act of grounding your feet and extending your arms creates a sense of stability and strength, which can help counteract feelings of uncertainty and worry.
Warrior II encourages deep, rhythmic breathing, which naturally calms your nervous system. As you inhale and exhale, you'll notice your heart rate slowing and tension melting away from your body. This pose also promotes mindfulness, allowing you to stay present in the moment rather than dwelling on anxious thoughts about the future.
Practicing Warrior II regularly can lead to lasting improvements in your mental well-being. You'll likely experience:
- Increased self-confidence and inner strength
- Enhanced ability to face challenges with composure
- Improved emotional balance and resilience
- Greater sense of overall calmness and peace
Modifications and Variations
Several modifications and variations of Warrior II can help you adapt the pose to your needs and abilities. If you're new to yoga or have balance issues, try practicing near a wall for support. You can place your back heel against the wall or stand parallel to it, using your hand for stability if needed.
For those with knee concerns, you can reduce the depth of your lunge or widen your stance. If you experience wrist discomfort, try making fists instead of extending your fingers. To increase the challenge, you might hold small weights or incorporate gentle arm movements.
For a more restorative version, perform Warrior II while seated in a chair. Keep your feet grounded and extend your arms as you'd in the standing pose. If shoulder tension is an issue, lower your arms to shoulder height or rest them on your thighs.
To intensify the posture, you can add a gentle backbend by lifting your chest and gazing upward. Alternatively, try changing between Warrior II and Extended Side Angle pose to create a flowing sequence.
Remember to listen to your body and adjust the pose as needed to maintain comfort and stability.
Tree Pose
The Tree Pose, a classic standing balance posture, can help ground you during anxious moments. To begin, stand tall with your feet together and your arms by your sides. Shift your weight onto your left foot and slowly lift your right foot off the ground. Place the sole of your right foot against your left inner thigh or calf, avoiding the knee.
Once you've found your balance, bring your palms together in front of your chest in a prayer position. As you hold this pose, focus on your breath and imagine yourself as a strong, rooted tree. This visualization can help calm your mind and reduce anxiety.
The Tree Pose offers several benefits:
- Improves balance and concentration
- Strengthens your legs and core
- Increases body awareness and mindfulness
- Boosts self-confidence and inner strength
If you're struggling to maintain balance, don't worry. You can practice near a wall for support or keep your raised foot lower on your standing leg. Remember, it's not about perfection but rather the process of finding stillness within yourself.
Hold the pose for 30 seconds to 1 minute, then switch sides.
Frequently Asked Questions
How Often Should I Practice Yoga to Reduce Anxiety?
You should practice yoga at least 2-3 times a week to reduce anxiety. Start with short sessions and gradually increase duration. Consistency is key. You'll notice benefits even with brief daily practices of 10-15 minutes.
Can I Do Yoga if I Have Physical Limitations or Injuries?
You can absolutely do yoga with physical limitations or injuries. Consult your doctor first, then work with a qualified instructor who'll modify poses for your needs. Many styles, like chair yoga, cater to those with restricted mobility.
What Time of Day Is Best for Anxiety-Reducing Yoga?
You'll find the best time for anxiety-reducing yoga is whenever you can consistently practice. Morning routines can set a calm tone for your day, while evening sessions help you unwind. Choose a time that fits your schedule and stick to it.
Are There Specific Breathing Techniques to Use During These Poses?
Yes, you'll want to focus on deep, slow breathing during these poses. Try ujjayi breath, where you breathe through your nose, slightly constricting your throat. You can also use alternate nostril breathing to calm your mind.
How Long Should I Hold Each Pose for Maximum Anxiety Relief?
You'll want to hold each pose for 3-5 minutes to maximize anxiety relief. Listen to your body and breathe deeply. If you're new to yoga, start with shorter holds and gradually increase the duration as you become more comfortable.
In Summary
You've now learned 10 gentle yoga poses to help ease your anxiety. Remember, you don't need to be an expert to benefit from these poses. Start slowly and listen to your body. As you practice regularly, you'll likely notice improvements in both your physical and mental well-being. Don't forget to breathe deeply and stay present during each pose. With time and consistency, you'll develop a calming yoga routine that works best for you.
Leave a Reply