As a nervous first-time yogi, you'll find comfort in these gentle stretches. Start with Mountain Pose to build awareness, then move to Child's Pose for relaxation. Try Cat-Cow to warm up your spine, followed by a Standing Forward Fold for hamstring flexibility. Seated Spinal Twist improves mobility, while Legs Up the Wall reduces stress. Gentle Neck Rolls ease tension, and a Supine Twist releases lower back tightness. Practice Reclined Butterfly for hip opening, and finish with Corpse Pose for deep relaxation. These poses will help you ease into yoga, building confidence and body awareness. Discover how these stretches can transform your practice and well-being.
Key Takeaways
- Mountain Pose provides a foundational stance, improving posture and body awareness for beginners.
- Child's Pose offers a gentle resting position, promoting relaxation and easing tension in the back and hips.
- Cat-Cow Stretch warms up the spine and core muscles, enhancing flexibility through synchronized breath and movement.
- Legs Up the Wall is a restorative pose that reduces stress and alleviates leg fatigue with minimal effort.
- Gentle Neck Rolls alleviate tension in neck muscles, improving cervical mobility and flexibility for stress relief.
Child's Pose
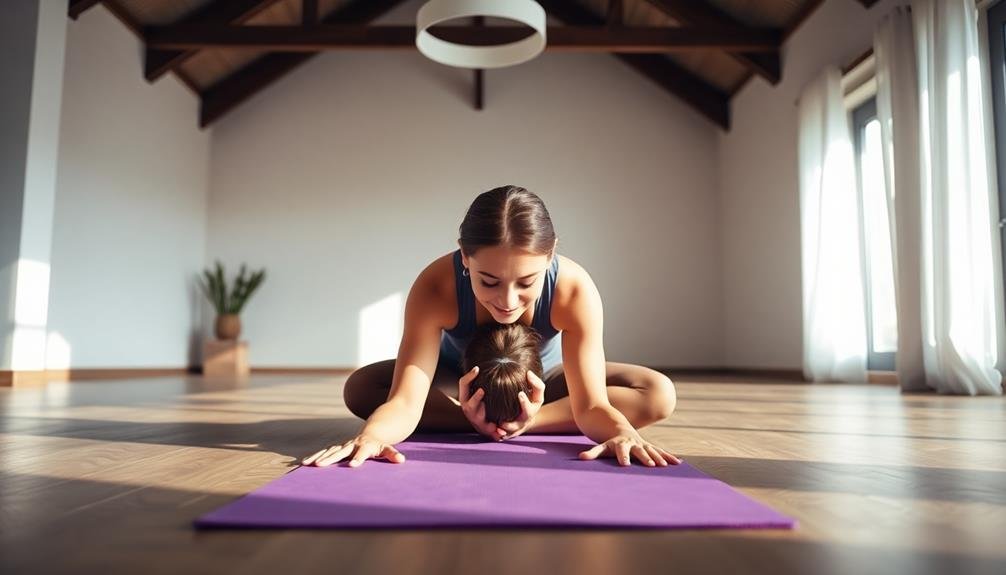
To begin your yoga journey, let's start with Child's Pose. This gentle stretch is perfect for beginners and serves as a resting position between more challenging poses. You'll find it's an excellent way to relax your body and calm your mind.
To perform Child's Pose, kneel on your mat with your knees hip-width apart. Sit back on your heels and slowly lower your upper body forward, extending your arms out in front of you. Rest your forehead on the mat and let your chest sink towards your thighs. If you're less flexible, you can widen your knees for a more comfortable stretch.
As you hold this pose, focus on your breathing. Take slow, deep breaths, feeling your ribcage expand with each inhale. Allow tension to melt away from your back, shoulders, and hips. You can stay in this position for as long as you'd like, typically anywhere from 30 seconds to several minutes.
Child's Pose is versatile and can be modified to suit your needs. If you have knee issues, place a folded blanket under your knees for extra cushioning. For added support, rest your forehead on stacked fists or a yoga block.
Cat-Cow Stretch
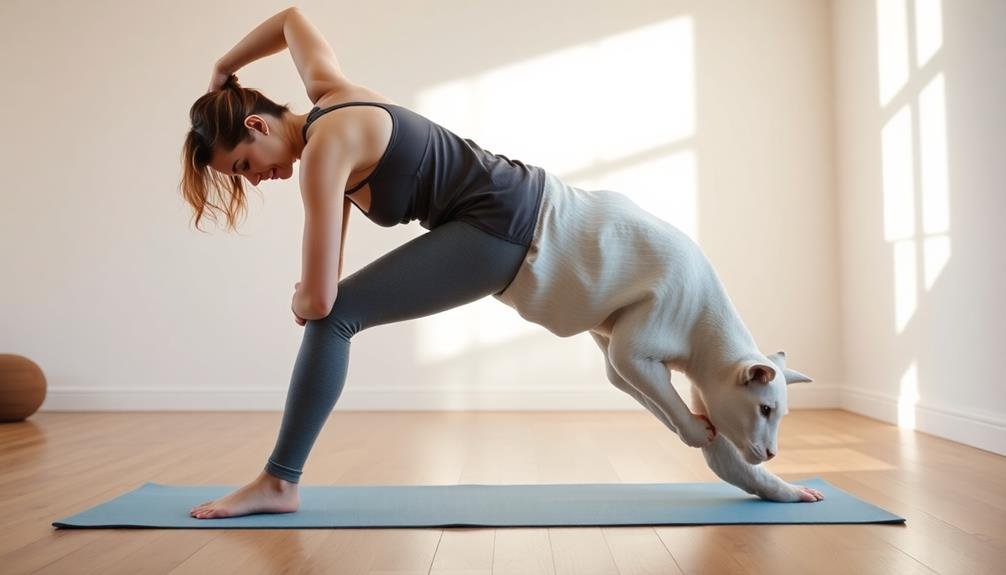
Moving from Child's Pose, we'll flow into the Cat-Cow Stretch. This dynamic pairing of poses is excellent for warming up your spine and core muscles.
Start on your hands and knees, with your wrists directly under your shoulders and knees under your hips.
Begin with the Cow pose: As you inhale, drop your belly towards the mat, lift your chest and chin, and gaze up towards the ceiling. Feel the stretch in your abdomen and the gentle compression in your lower back.
Next, shift to Cat pose: As you exhale, round your spine towards the ceiling, tucking your chin to your chest and drawing your navel towards your spine. This should create a stretch along your back and a gentle contraction in your abdominals.
Continue alternating between these two poses, syncing your breath with each movement. Inhale for Cow, exhale for Cat. Move slowly and deliberately, focusing on the sensations in your body.
If you have any neck discomfort, keep your gaze neutral instead of looking up or down.
Aim for 5-10 rounds of Cat-Cow, or whatever feels comfortable for your body. This gentle flow helps improve posture, balance, and spinal flexibility.
Standing Forward Fold
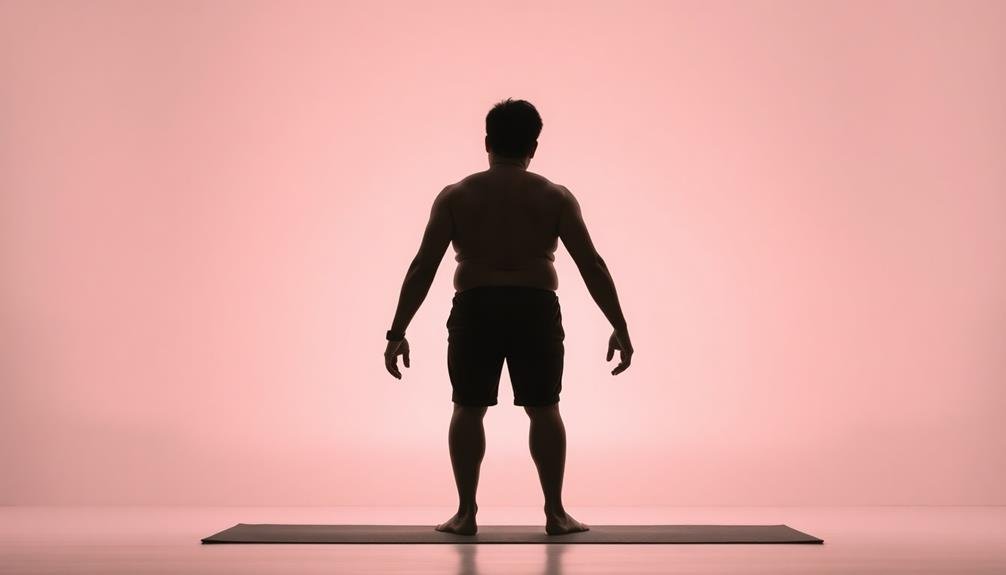
After warming up your spine with Cat-Cow, you'll shift to a Standing Forward Fold. This gentle inversion helps stretch your hamstrings, calves, and back while promoting relaxation and increased blood flow to your brain.
Start by standing with your feet hip-width apart. Inhale deeply, then exhale as you hinge at your hips, slowly folding forward. Let your upper body hang loosely, and don't force yourself to touch the ground. If you can't reach your toes, that's okay—grab your shins or ankles instead. Keep a slight bend in your knees to protect your lower back.
As you hold the pose, focus on your breath and the sensations in your body. You might feel a gentle stretch in your legs and back. Stay here for 30 seconds to a minute, or as long as you're comfortable.
| Benefits | Modifications | Common Mistakes |
|---|---|---|
| Stretches hamstrings | Use yoga blocks | Locking knees |
| Relieves back tension | Bend knees more | Rounding spine |
| Calms the mind | Hold onto shins | Forcing the stretch |
Seated Spinal Twist
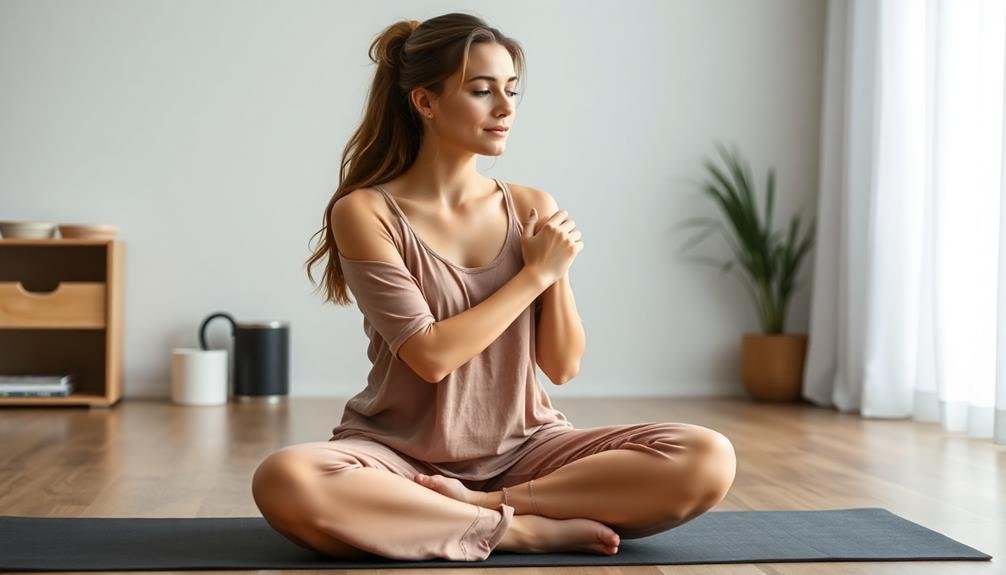
From the gentle inversion of Standing Forward Fold, we now shift our focus to the Seated Spinal Twist. This pose helps improve spine mobility and digestion while releasing tension in your back muscles.
Begin by sitting on your mat with your legs extended in front of you. Bend your right knee and place your right foot on the outside of your left thigh. Keep your left leg straight or slightly bent if needed.
Place your left hand on the floor behind you for support, and bring your right hand to the outside of your right knee. Inhale deeply, lengthening your spine. As you exhale, gently twist your torso to the right, using your right hand on your knee as leverage.
Keep your sit bones grounded and your spine tall. Don't force the twist; instead, focus on creating space with each breath. You'll feel a gentle stretch in your spine, obliques, and hips.
Hold the pose for 30 seconds to a minute, breathing steadily. To release, slowly unwind on an exhale. Repeat on the other side, bending your left knee and twisting to the left.
Remember to move mindfully and listen to your body's limits.
Legs Up the Wall
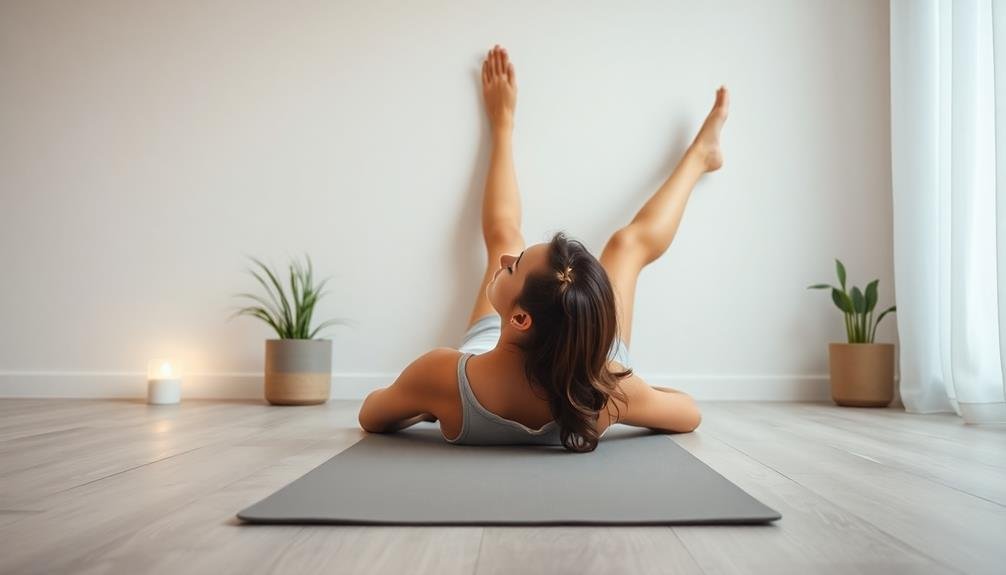
You'll find "Legs Up the Wall" to be a restorative pose that can help reduce stress and alleviate leg fatigue.
To practice, simply lie on your back with your buttocks close to a wall and extend your legs up vertically.
As you relax in this position, you can experiment with different arm placements or add a folded blanket under your hips for added comfort and support.
Benefits and Relaxation Techniques
Legs Up the Wall pose brings a wealth of benefits to first-time yogis. As you lie with your legs extended upward, you'll experience improved circulation throughout your body. This inverted position helps reduce swelling in your feet and ankles, relieves lower back tension, and can even alleviate mild headaches.
It's an excellent way to calm your nervous system and reduce stress.
To enhance relaxation during this pose, focus on your breath. Try counting your inhales and exhales, aiming for a slow, steady rhythm. You can also practice progressive muscle relaxation by tensing and releasing different muscle groups, starting from your toes and working up to your face.
If you're comfortable, place an eye pillow over your eyes to block out light and deepen your relaxation.
For added comfort, you can place a folded blanket under your hips or lower back. If holding your legs straight feels challenging, try bending your knees slightly or placing a bolster under your legs for support.
Proper Form and Variations
To get the most out of the Legs Up the Wall pose, it's important to understand proper form and explore variations that suit your body. Start by sitting sideways against a wall, then gently lie back and swing your legs up. Scoot your buttocks as close to the wall as comfortable. Your legs should be straight, with your heels resting on the wall. Keep your arms relaxed at your sides, palms facing up.
If you're experiencing lower back discomfort, try placing a folded blanket or bolster under your hips for support. For those with tight hamstrings, bend your knees slightly or move your buttocks a few inches away from the wall. To intensify the stretch, open your legs into a V-shape or butterfly position.
Pay attention to your breathing, taking slow, deep breaths. If you feel any pain or numbness, carefully come out of the pose. Remember, it's okay to modify the pose to fit your needs.
As you become more comfortable, you can gradually increase the duration of the pose, aiming for 5-15 minutes. Always listen to your body and adjust accordingly.
Reclined Butterfly Pose
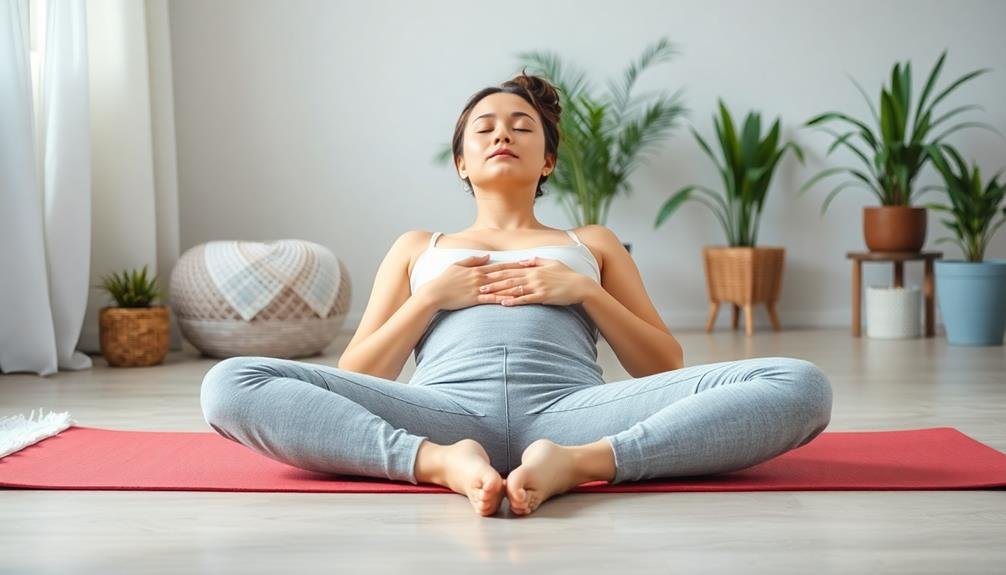
This gentle pose, also known as Supta Baddha Konasana, offers a relaxing stretch for your inner thighs and groin. It's an excellent choice for beginners as it doesn't require much flexibility and can be easily modified.
To practice Reclined Butterfly Pose, lie on your back with your knees bent and feet flat on the floor. Allow your knees to fall open to the sides, bringing the soles of your feet together. You'll feel a gentle stretch in your inner thighs. If you're comfortable, let your arms rest by your sides with palms facing up.
Here's a breakdown of the pose's benefits and variations:
| Benefit | Variation | Props |
|---|---|---|
| Hip opener | Supported recline | Blanket under head |
| Groin stretch | Legs against wall | Blocks under knees |
| Stress relief | Bound angle | Strap around feet |
Remember to breathe deeply and hold the pose for 1-5 minutes, depending on your comfort level. If you experience discomfort in your lower back, place a folded blanket under your hips for support. Don't force your knees down; let gravity do the work. This restorative pose can help you relax and unwind after a long day.
Gentle Neck Rolls
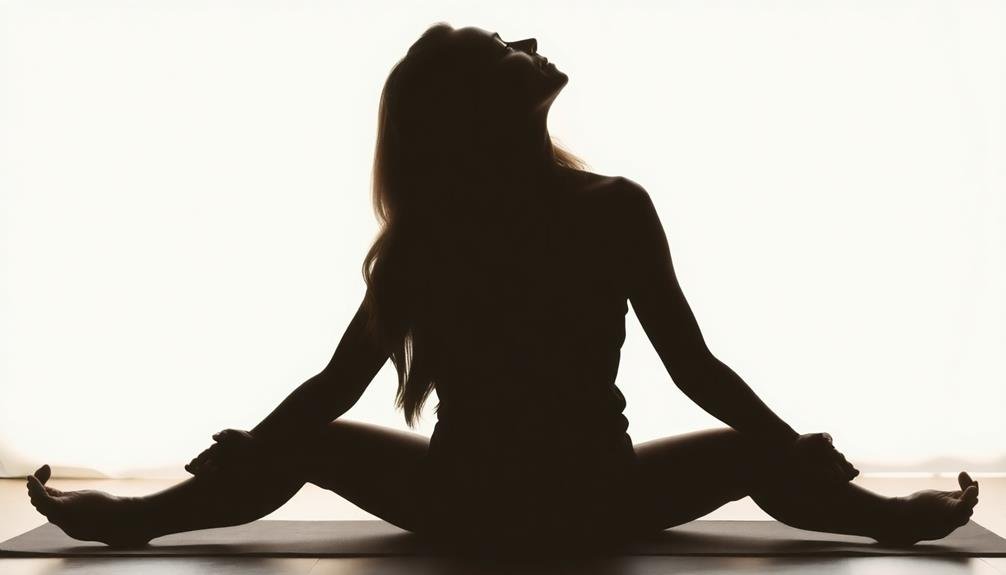
Gentle neck rolls can help you release built-up tension in your neck muscles and improve your cervical mobility.
You'll start by slowly rolling your head in a circular motion, focusing on smooth, controlled movements.
As you practice this stretch, you'll likely notice increased flexibility and reduced stiffness in your neck area over time.
Release Neck Tension
Neck tension can be a common problem for many of us, especially those who spend long hours at a desk or looking down at devices. To release this tension, you'll want to focus on gentle, controlled movements that don't strain your neck further.
Start by sitting comfortably with your spine straight. Drop your chin to your chest and hold for a few breaths. Slowly roll your head to the right, bringing your right ear towards your right shoulder. Hold this position for a few breaths, feeling the stretch along the left side of your neck. Gently roll your head back to center, then repeat on the left side.
Next, try some gentle half-circles. Start with your chin on your chest, then slowly roll your head to the right shoulder, back to center, then to the left shoulder. Reverse the direction. Remember to move slowly and stop if you feel any pain or discomfort.
For a deeper stretch, place your right hand on the left side of your head and gently pull your head towards your right shoulder. Hold for a few breaths, then switch sides.
These simple movements can help alleviate neck tension and improve flexibility over time.
Improve Cervical Mobility
Building upon the previous neck stretches, cervical mobility exercises can further enhance your neck's range of motion and flexibility.
Gentle neck rolls are an excellent way to improve cervical mobility, especially for beginners. Start by sitting comfortably with your spine straight and shoulders relaxed. Drop your chin to your chest and slowly roll your head to the right, bringing your right ear towards your right shoulder. Continue the circular motion by tilting your head back, then to the left, and finally returning to the starting position.
Perform this movement slowly and deliberately, focusing on the sensation in each part of your neck. You'll want to complete 3-5 rotations in one direction before reversing the motion.
As you practice, you may notice areas of tension or stiffness. Don't force the movement; instead, breathe deeply and allow your muscles to relax naturally. If you experience any pain or discomfort, stop immediately and consult a healthcare professional.
Supine Twist
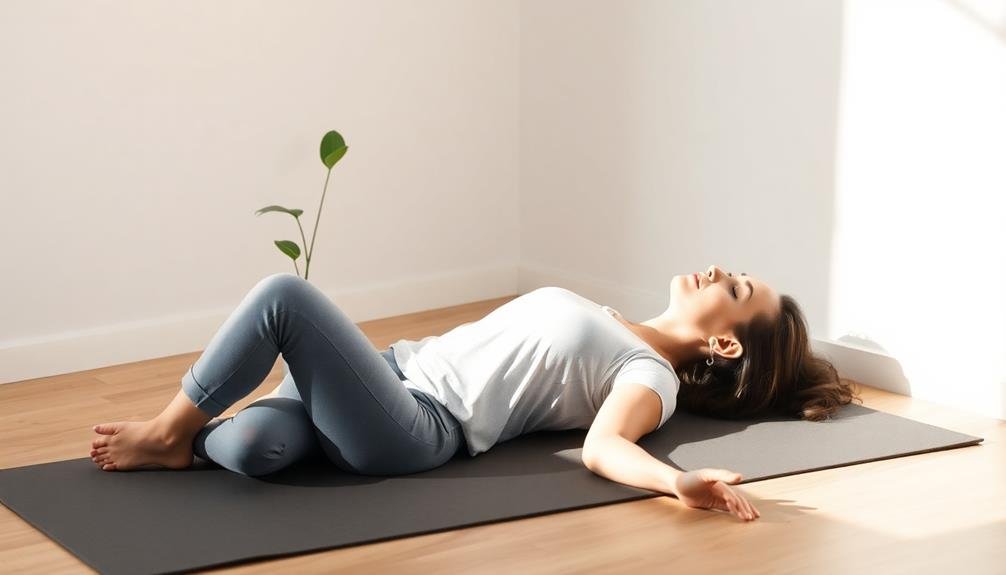
This relaxing pose is an excellent way to release tension in your lower back and spine. To begin, lie on your back with your arms extended out to form a T-shape. Bend your knees and place your feet flat on the floor. Slowly lower both knees to one side while keeping your shoulders pressed against the mat. Turn your head in the opposite direction of your knees. Hold this position for 30 seconds to a minute, focusing on deep, steady breaths.
You'll feel a gentle stretch in your lower back, hips, and chest. This twist can help improve spinal mobility and digestion. Remember to repeat on the other side to balance the stretch. As you practice, you might notice these benefits:
| Benefit | Short-term | Long-term |
|---|---|---|
| Flexibility | Increased range of motion | Improved posture |
| Stress relief | Immediate relaxation | Lower overall tension |
| Digestion | Temporary stimulation | Enhanced gut health |
| Spinal health | Reduced stiffness | Better alignment |
If you experience any discomfort, especially in your lower back or neck, gently return to the starting position. Always listen to your body and don't push beyond your limits. With regular practice, you'll likely find this twist becoming easier and more enjoyable.
Mountain Pose
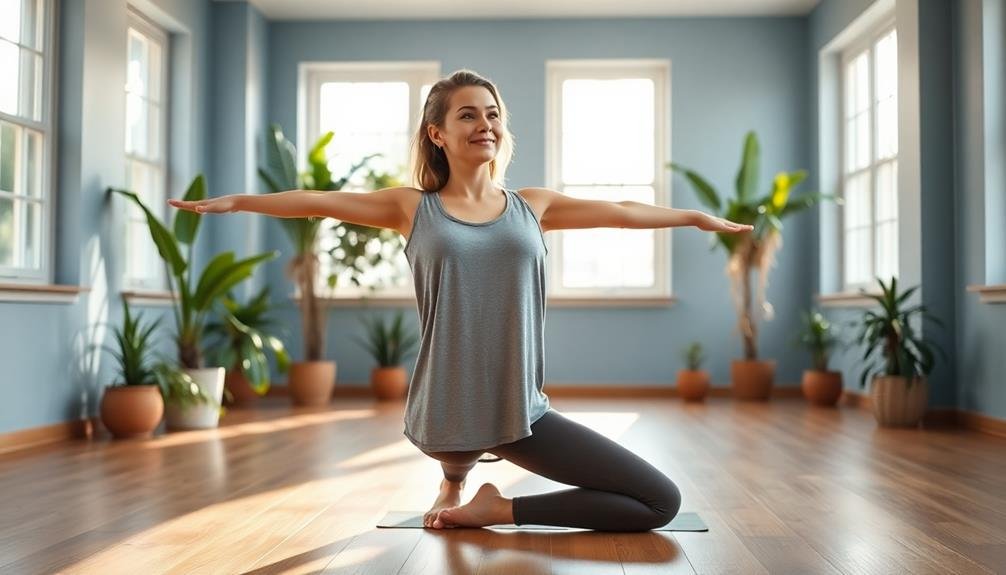
As a beginner yogi, you'll find Mountain Pose to be an essential foundation for your practice.
To achieve proper alignment, stand with your feet hip-width apart, engage your core, and roll your shoulders back while keeping your arms at your sides.
This seemingly simple pose offers numerous benefits, including improved posture, balance, and body awareness, making it an excellent starting point for newcomers to yoga.
Proper Alignment and Technique
In accordance with proper alignment and technique, Mountain Pose serves as the foundation for many yoga postures. To achieve this stance correctly, start by standing with your feet hip-width apart, ensuring your weight is evenly distributed. Ground your feet firmly, spreading your toes and pressing all four corners of each foot into the mat.
Engage your leg muscles by lifting your kneecaps slightly, but avoid locking your knees. Gently tuck your tailbone under and engage your core muscles to support your lower back. Roll your shoulders back and down, allowing your arms to hang naturally at your sides with your palms facing forward.
Lengthen your neck by imagining a string pulling the crown of your head towards the ceiling. Keep your chin parallel to the floor and your gaze fixed straight ahead. Breathe deeply and steadily, focusing on expanding your ribcage with each inhale.
As you hold this pose, scan your body for any areas of tension and consciously release them. Remember, Mountain Pose isn't about rigidity; it's about finding balance, alignment, and a sense of grounded strength.
Practice this pose regularly to improve your overall posture and body awareness.
Benefits for Beginners
Mountain Pose offers numerous benefits for beginners, making it an ideal starting point for your yoga journey. As you stand tall with your feet together, you'll immediately feel a sense of grounding and stability. This simple pose helps improve your posture by aligning your spine and engaging your core muscles. You'll notice increased body awareness as you focus on distributing your weight evenly across both feet.
Regular practice of Mountain Pose can strengthen your leg muscles, particularly your quadriceps and calves. It also enhances balance and coordination, which are essential skills for progressing in yoga.
As you breathe deeply in this pose, you'll oxygenate your body and calm your mind, reducing stress and anxiety. Mountain Pose teaches you to be present in the moment, cultivating mindfulness that extends beyond your yoga practice.
It's an excellent opportunity to check in with your body and release tension. You'll develop better concentration and focus, which can benefit other areas of your life. By mastering this foundational pose, you'll build confidence and prepare yourself for more challenging yoga sequences, setting a solid foundation for your ongoing practice.
Corpse Pose
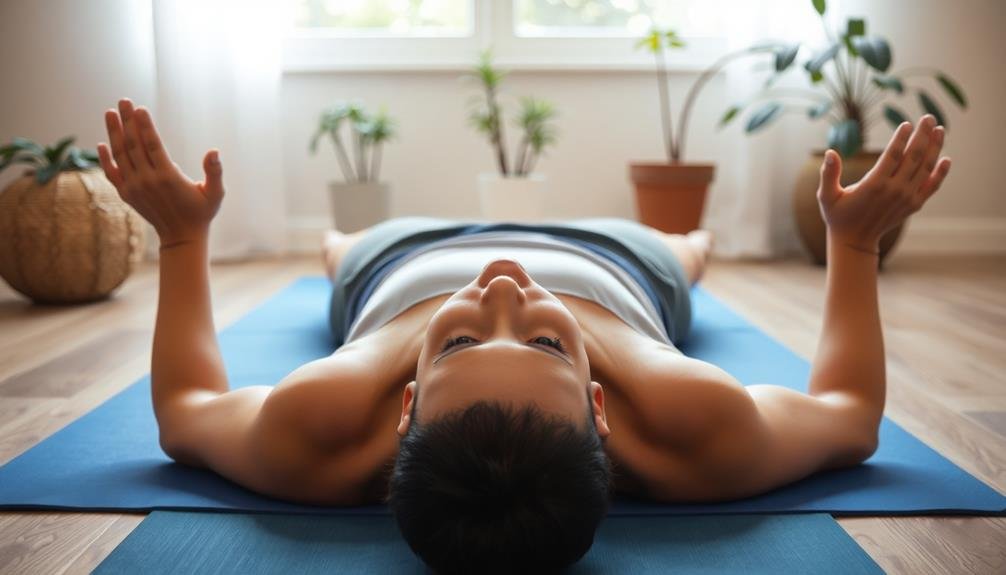
Although it may seem counterintuitive, Corpse Pose is often considered one of the most challenging yoga poses. It requires complete relaxation of both body and mind, which can be difficult for beginners who aren't used to letting go of tension and racing thoughts.
To practice Corpse Pose, lie flat on your back with your arms at your sides, palms facing up. Let your feet fall naturally outward. Close your eyes and focus on your breath, allowing each part of your body to release tension with each exhale. Start with your toes and work your way up to the top of your head.
You'll likely find your mind wandering during this pose. That's normal. When you notice thoughts creeping in, gently redirect your focus back to your breath without judgment. Stay in this pose for 5-10 minutes, gradually increasing the duration as you become more comfortable.
Corpse Pose offers numerous benefits, including reduced stress, improved sleep quality, and lowered blood pressure. It's an excellent way to conclude your yoga practice, helping you integrate the effects of your session and preparing you to re-enter your daily life feeling refreshed and centered.
Frequently Asked Questions
How Often Should Beginners Practice Yoga?
As a beginner, you should practice yoga 2-3 times a week. Start with shorter sessions, around 20-30 minutes, and gradually increase duration and frequency. Listen to your body, don't push too hard, and you'll see progress over time.
What Should I Wear to My First Yoga Class?
For your first yoga class, wear comfortable, breathable clothing that allows you to move freely. Choose form-fitting items like leggings or yoga pants, paired with a fitted top. Don't forget to bring a yoga mat and water bottle.
Can I Eat Before a Yoga Session?
It's best to avoid eating a full meal 2-3 hours before yoga. You can have a light snack 30 minutes prior if you're hungry. Drink water beforehand, but don't overhydrate. Listen to your body's needs.
Is It Normal to Feel Sore After Practicing Yoga?
Yes, it's normal to feel sore after practicing yoga. You're working your muscles in new ways, which can cause mild discomfort. Don't worry, though – this soreness usually subsides within a day or two as your body adapts.
How Long Does It Take to See Results From Yoga?
You'll typically notice initial results from yoga within a few weeks. You'll feel more flexible and stronger. However, it's important to remember that everyone's journey is different. Consistent practice will lead to more significant, long-lasting benefits over time.
In Summary
You've taken the first step on your yoga journey with these gentle stretches. Don't worry if you can't do them all perfectly—yoga's about progress, not perfection. Remember to breathe deeply and listen to your body. As you practice, you'll become more comfortable and confident. Soon, you'll be ready to explore more challenging poses. Keep at it, and you'll discover the many benefits yoga can bring to your body and mind.




Leave a Reply