
Watercolor painting offers you a gentle gateway to artistic expression with minimal setup and maximum creativity. You'll need just a few essential supplies: quality watercolor paper, basic paints, brushes, and water. Start by creating a peaceful workspace with natural light and comfortable seating to enhance your creative flow. As you explore basic techniques like wet-on-wet and glazing, you'll discover how colors blend seamlessly to create luminous effects. Through mindful brushstrokes and daily practice, you'll develop confidence in handling this forgiving medium. The journey from beginner to confident artist unfolds naturally as you embrace watercolor's fluid nature.
Why Choose Watercolor Painting
The versatility of watercolor painting makes it an appealing choice for both beginners and experienced artists. You'll find that watercolors offer unique qualities that other mediums can't match, including translucent layers that create luminous effects and the ability to blend colors seamlessly on paper.
Watercolor painting doesn't require expensive equipment to start. You'll need just a few basic supplies: watercolor paints, brushes, paper, and water. The portability of these materials means you can paint anywhere, from your kitchen table to a park bench.
Unlike oils or acrylics, watercolors dry quickly and don't emit strong odors, making them perfect for indoor use.
You'll discover that watercolors teach you valuable artistic skills. The medium demands patience and planning, as you learn to work with water-to-paint ratios and understand how colors interact.
The unpredictable nature of water flowing on paper can lead to happy accidents, encouraging creativity and spontaneity. Additionally, watercolor techniques can enhance other artistic pursuits, from urban sketching to nature journaling, making it a versatile skill worth developing.
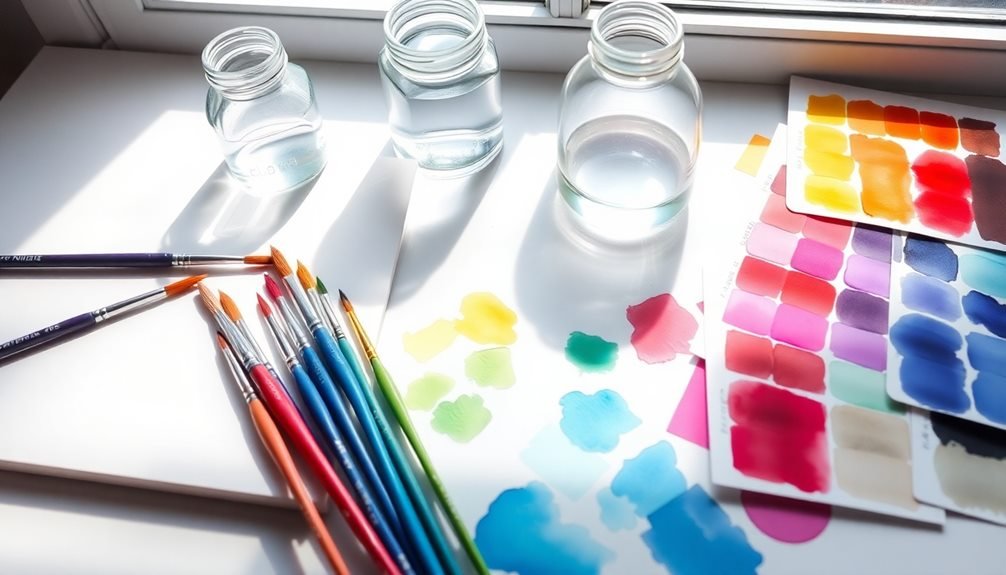
Essential Supplies for Getting Started
Assembling your watercolor supplies doesn't need to be overwhelming or expensive. Start with student-grade materials to develop your skills before investing in professional equipment.
You'll need four core items to begin your watercolor journey: paper, paint, brushes, and a palette.
Choose cold-pressed watercolor paper that's at least 140lb (300gsm) weight – it'll prevent warping and handle water well. For paints, select a basic set of student-grade watercolors that includes primary colors, allowing you to mix most shades you'll need.
Round brushes in sizes 6 and 10 will handle most techniques, while a plastic palette will give you space to mix colors.
Here's what you'll want to gather:
- Essential colors: Cadmium Yellow, Ultramarine Blue, Alizarin Crimson, and Burnt Sienna
- 2-3 synthetic brushes in different sizes (round tip)
- A pad of cold-pressed watercolor paper
- A white plastic palette with wells and mixing areas
Don't forget to grab a container for water and paper towels. These basic supplies will give you everything you need to start exploring watercolor techniques and developing your artistic style.
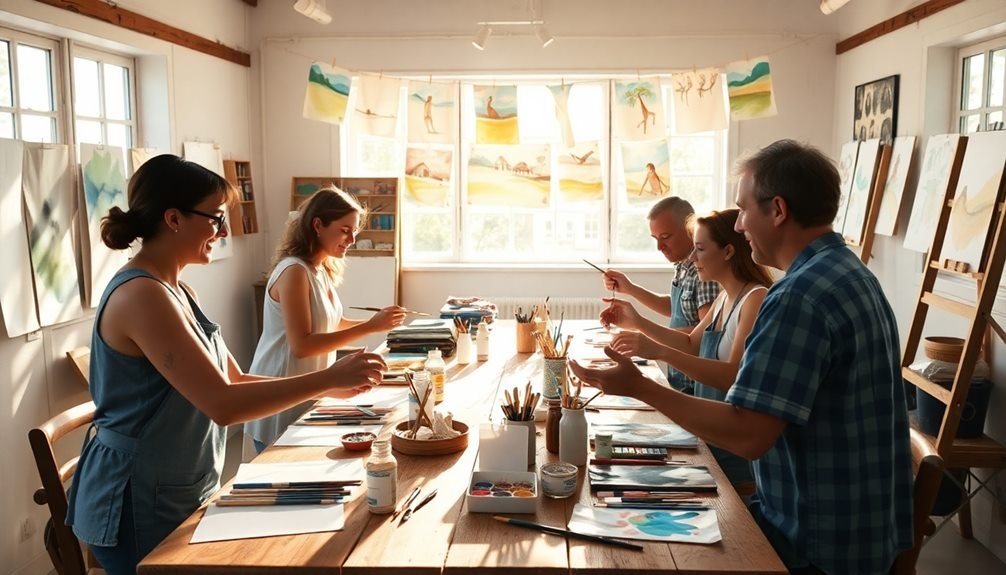
Creating Your Peaceful Workspace

Finding the ideal spot for your watercolor workspace is essential – you'll want a quiet area with natural light and enough room to spread out your supplies.
Keep your brushes, paints, and paper within arm's reach by using organizers and storage solutions that maximize your space while maintaining order.
Your workspace should be comfortable enough for long painting sessions, so invest in a suitable chair and table at the right height for your needs.
Choose the Perfect Spot
Setting up your ideal workspace can greatly impact your watercolor painting experience. Your spot should offer adequate lighting, comfort, and easy access to water. Natural light works best, so consider positioning yourself near a window where sunlight won't cast harsh shadows on your work surface. If that's not possible, invest in daylight-balanced LED lights to guarantee accurate color perception.
Your perfect painting spot should include these essential elements:
- A stable, flat surface that's large enough to hold your paper, palette, and water containers while giving you room to move your arms freely.
- A comfortable chair at the right height, allowing you to maintain good posture while working for extended periods.
- Easy access to water and paper towels, ideally with a sink nearby to minimize trips back and forth.
- A space where your materials won't be disturbed between sessions, letting you return to works in progress.
Consider ventilation and temperature control in your chosen location. You'll want fresh air circulation and a comfortable environment that won't affect your paper's drying time.
Keep your supplies organized and within arm's reach to maintain your creative flow.
Essential Tools and Storage
A well-organized collection of watercolor tools forms the foundation of your peaceful workspace.
You'll need quality brushes in various sizes, from fine detail (#2) to broader washes (#8-12), and at least one flat brush for even coverage. Store these brushes vertically in a holder to maintain their shape and protect the bristles.
Your paint selection should include primary colors (red, blue, yellow) plus essential earth tones. Store your paints in a covered palette to prevent dust contamination and keep them fresh.
You'll also need two water containers – one for cleaning brushes and another for mixing – plus absorbent paper towels and a spray bottle for controlled moisture.
Keep your paper flat in an acid-free portfolio or drawer, and consider mounting smaller sheets on a sturdy board.
Essential accessories include masking tape, a pencil, eraser, and mixing palette. Store these items in clear, labeled containers within arm's reach of your workspace.
Create a designated spot for your tools using drawer organizers or desktop caddies. This system lets you focus on painting rather than searching for supplies, making your creative time more productive and enjoyable.
Natural Light and Comfort
While natural light brings out the true colors of your watercolors, your workspace doesn't need to be flooded with direct sunlight. North-facing windows provide consistent, indirect light that won't cast shifting shadows on your work throughout the day.
If you're working in artificial light, choose daylight-balanced bulbs with a color temperature of 5000-6500K to guarantee accurate color perception.
Your comfort is essential for maintaining focus during painting sessions. Position your table at a slight angle (10-15 degrees) to reduce neck strain, and make sure your chair supports proper posture.
Keep your materials within arm's reach to maintain a smooth workflow.
- A clean, clutter-free desk with enough space for your paper, palette, and water containers
- An adjustable desk lamp with a flexible arm to illuminate specific areas of your painting
- A comfortable chair with good lumbar support and adjustable height
- A soft mat or cushion beneath your feet to prevent fatigue during long sessions
Consider setting up near a window with a peaceful view, but be mindful of glare on your paper or palette.
You'll find that a well-organized, comfortable space naturally encourages longer, more productive painting sessions.
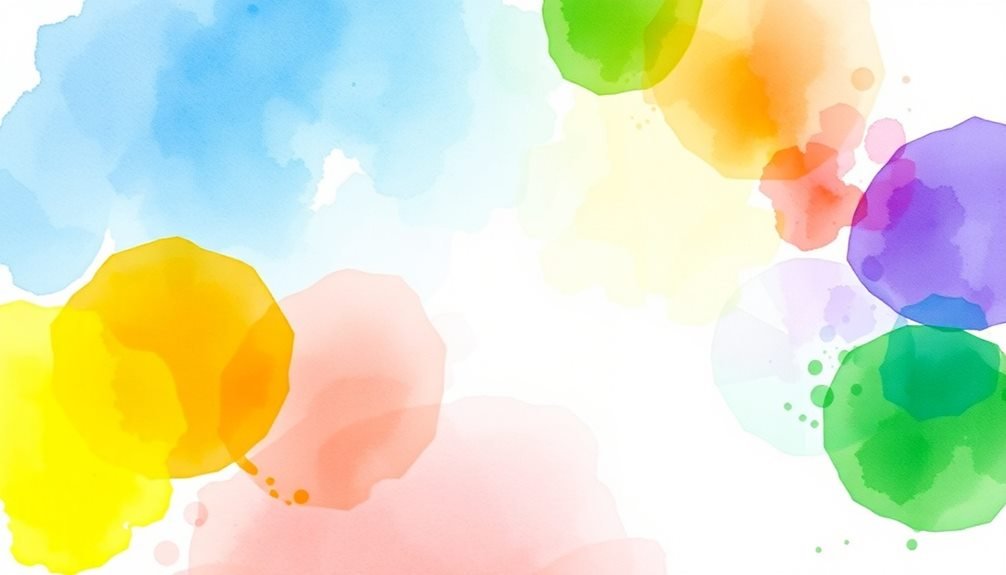
Basic Watercolor Techniques
Mastering watercolor's fundamental techniques provides the foundation for creating expressive and vibrant artwork.
You'll want to start with the wet-on-wet technique, where you apply wet paint to damp paper, creating soft, flowing effects and subtle color shifts. This method's perfect for painting skies, water, and atmospheric backgrounds.
Next, practice the wet-on-dry technique by applying paint to completely dry paper. This approach gives you crisp edges and more control, ideal for detailed work like flower petals or architectural elements.
You'll also need to master the dry brush technique, where you use minimal water with your paint to create texture and rough effects.
Don't forget to experiment with color layering, known as glazing. Wait for each layer to dry completely before adding the next one to build depth and intensity.
You can create interesting effects by lifting color while it's still wet using a clean, damp brush or paper towel. For precise details, try the charging technique by dropping fresh colors into wet paint, allowing them to blend naturally.
These basic techniques will become your essential tools for watercolor expression.
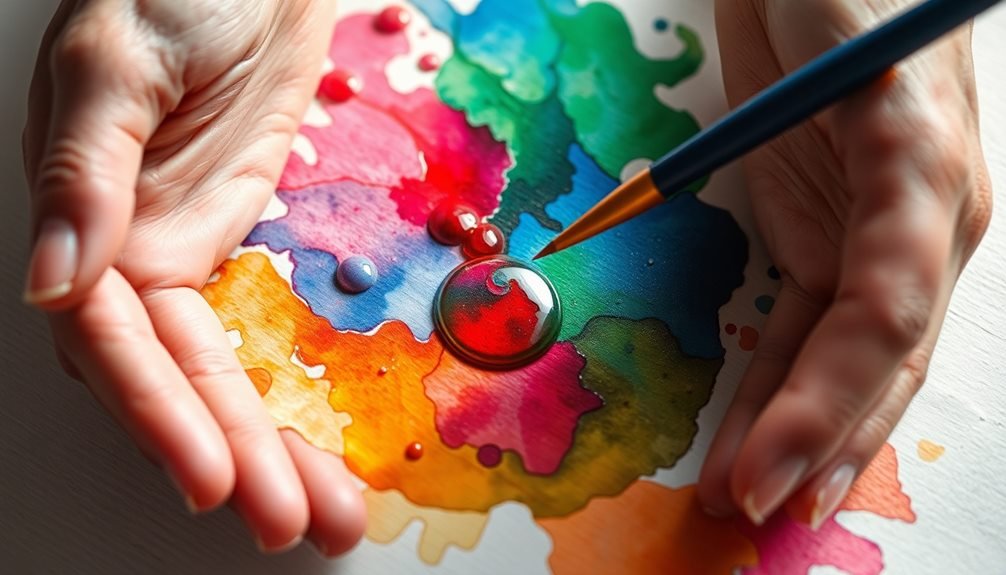
Color Theory Made Simple
Now that you've explored the basic techniques, understanding color theory will elevate your watercolor skills to new heights. The color wheel serves as your roadmap, showing how primary colors (red, blue, yellow) mix to create secondary colors (green, orange, purple).
You'll find that complementary colors, which sit opposite each other on the wheel, create dynamic contrast in your paintings.
Temperature plays a vital role in watercolor painting. Warm colors like reds and yellows advance forward, while cool colors like blues and greens recede into the background. This knowledge helps you create depth and dimension in your artwork.
Master these fundamental color relationships to enhance your paintings:
- Use analogous colors (three colors next to each other on the wheel) to create harmony
- Mix complementary colors to create rich, neutral grays and browns
- Layer warm colors over cool ones to create vibrant shadows
- Apply the 60-30-10 rule: dominant color 60%, secondary color 30%, accent color 10%
Remember that watercolors become lighter when dry, so mix your colors slightly darker than your intended final result.
Mindful Brush Strokes
Your brush strokes can become a form of meditation when you sync them with your breathing pattern, allowing each inhale to prepare your next move and each exhale to guide your hand.
You'll notice a natural rhythm developing as you let go of overthinking and enter a focused state where time seems to slow down.
This flow state comes more easily with practice, transforming your painting sessions into moments of mindful creativity where brush and breath work as one.
Breathing Through Each Stroke
Three key elements unite mindful watercolor painting: breath, movement, and intention. By synchronizing your breath with each brush stroke, you'll discover a natural rhythm that enhances both your focus and artistic flow. Let your inhales become moments of preparation, and your exhales transform into fluid paint applications.
As you practice breathing through each stroke, you'll notice how this mindful approach affects your painting technique. Your hand becomes steadier, your movements more deliberate, and your creative decisions more intentional. Don't rush – allow each breath to guide your timing.
- Inhale as you load your brush with paint, feeling the weight of water and pigment.
- Exhale slowly while executing long, flowing strokes across your paper.
- Pause and breathe mindfully when shifting between colors or techniques.
- Match your breath length to the size of your strokes – short breaths for detail work, long breaths for washes.
This breathing technique isn't just about improving your artwork – it's about creating a meditative space where stress melts away and creativity flourishes.
You'll find that your painting sessions become both more productive and more peaceful.
Finding Your Flow State
While breathing techniques lay the foundation for mindful painting, entering a flow state takes your watercolor practice to new heights. You'll know you've reached flow when time seems to dissolve and you're completely absorbed in your painting process.
To achieve flow state consistently, create an environment that minimizes distractions. Set up your workspace with everything you need within arm's reach, choose music that enhances focus, and guarantee proper lighting. You'll find that establishing these conditions helps your mind shift into deep concentration.
| Stage | Signs | Actions |
|---|---|---|
| Pre-Flow | Scattered thoughts | Clear workspace |
| Shift | Growing focus | Gentle brush movements |
| Early Flow | Time awareness fades | Follow intuition |
| Deep Flow | Complete immersion | Trust the process |
Remember that flow isn't about forcing creativity. Instead, it's about allowing your artistic instincts to guide your movements naturally. Start with simple exercises like color gradients or loose washes to ease into the state. When you notice your inner critic becoming quiet and your brush moving with confidence, you've found your flow.
Nature-Inspired Painting Projects
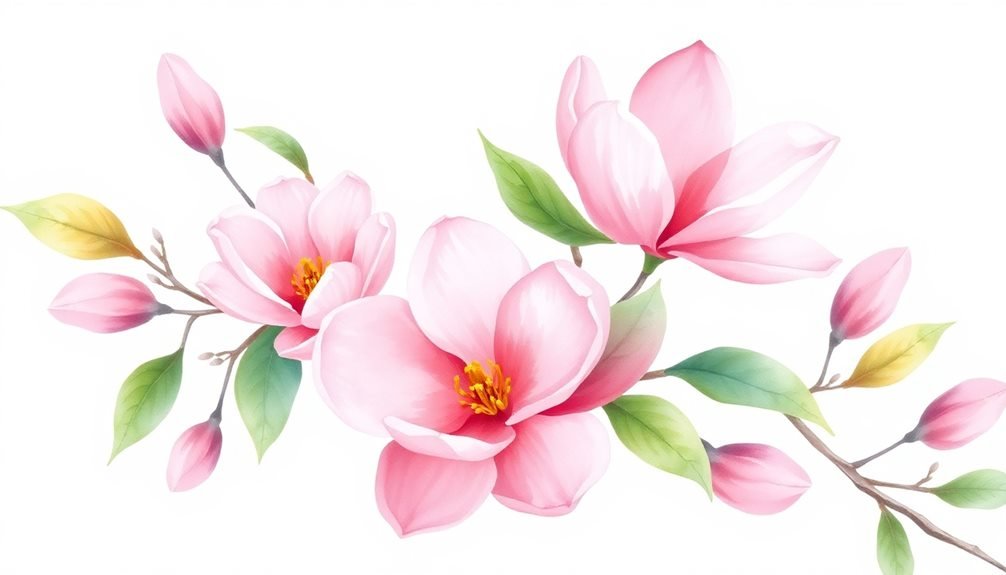
Nature offers endless inspiration for watercolor artists, from delicate flower petals to majestic mountain landscapes. You'll find that natural subjects allow you to experiment with color mixing, layering techniques, and organic shapes while developing your artistic style.
Start with simple nature studies to build your confidence. Choose subjects from your backyard or local park, and focus on capturing their essential characteristics. You don't need to paint every detail; instead, let watercolor's flowing properties suggest natural textures and movement.
- Paint a series of leaves in seasonal colors, practicing wet-on-wet technique to create soft edges and color shifts.
- Create a misty forest scene using graduated washes and negative painting to define tree shapes.
- Capture wildflowers with loose brushstrokes, allowing colors to blend naturally on the paper.
- Study clouds at different times of day, experimenting with various gray mixtures and lifting techniques.
Keep a nature sketchbook to document interesting shapes, colors, and patterns you encounter. These quick studies will improve your observation skills and provide reference material for larger paintings.
Remember to photograph your subjects for later use when weather conditions or seasons change.
Common Mistakes and Solutions
When you're learning watercolor painting, you'll likely face three common challenges: controlling water ratios, selecting the right paper, and managing paint layers.
You can improve water control by testing pigment-to-water ratios on scrap paper before starting your main piece, while using proper watercolor paper (rather than standard drawing paper) will prevent unwanted bleeding and buckling.
If you're overworking your layers, try letting each layer dry completely and limiting yourself to two or three passes to maintain the medium's characteristic luminosity.
Too Much Water Control
Managing water control is one of the trickiest aspects of watercolor painting. When you're too focused on controlling water, you'll often find yourself fighting against the medium's natural flow, resulting in stiff, overworked pieces that lack the spontaneous beauty watercolors are known for.
Learning to balance control with letting go will transform your artwork from rigid to fluid.
You'll know you're exercising too much water control when you notice these telltale signs in your work:
- Your brush strokes appear tight and mechanical instead of flowing naturally across the paper
- Colors look flat and lifeless because you're not allowing them to blend and granulate
- Edge work appears harsh and uniform rather than featuring soft, organic shifts
- Paint layers show visible brushstrokes and hard lines where they should merge seamlessly
To overcome this tendency, try working faster and looser. Set a timer for quick studies, use larger brushes, and deliberately allow colors to mix on the paper.
Remember that watercolor's unpredictability is part of its charm. By embracing some randomness while maintaining basic control, you'll achieve more dynamic and engaging results.
Wrong Paper Choice
A watercolorist's success heavily depends on choosing the right paper for their work. Using regular copy paper or lightweight sketch paper will result in buckling, tearing, and poor color absorption. These papers can't handle water properly, causing your pigments to bleed uncontrollably and create muddy results.
To avoid these issues, you'll need to use proper watercolor paper with at least 140lb (300gsm) weight. Look for papers labeled "cold-pressed" for a medium texture, "hot-pressed" for smooth surfaces, or "rough" for highly textured works. Cold-pressed paper is ideal for beginners as it offers good control and medium grain.
The paper's composition also matters considerably. Choose papers made from 100% cotton fiber rather than wood pulp, as they're more durable and can withstand multiple washes and lifting techniques.
Cotton papers also allow colors to maintain their vibrancy and create those sought-after watercolor effects like granulation and blooming. If you're on a budget, start with student-grade cellulose paper, but remember that higher-quality paper will dramatically improve your painting results and overall experience.
Overworking Your Layers
Many beginners ruin their watercolor paintings by overworking the layers, a common mistake that leads to muddy colors and loss of transparency. When you continuously add wet layers on partially dried paint or repeatedly brush over the same area, you'll disturb the previous layers and create unwanted texture. The key to preserving the medium's luminosity lies in deliberate, confident strokes and knowing when to stop.
To maintain the fresh, translucent quality of your watercolors, you'll need to plan your layers carefully and allow proper drying time between applications. Work from light to dark values, and remember that you can't make darker colors lighter in watercolor – it's not like working with opaque mediums.
- Let each layer dry completely before applying the next one to prevent colors from bleeding together.
- Limit yourself to three layers maximum for most areas to maintain transparency.
- Practice your brushstrokes on scrap paper first to build confidence.
- Step away from your painting periodically to assess if additional layers are truly necessary.
If you notice your colors becoming dull or muddy, it's best to start fresh rather than trying to fix the overworked area.
Finding Your Artistic Flow
Every watercolor artist experiences moments when painting feels effortless and time seems to disappear. This state of complete immersion, known as "flow," happens when you're fully engaged in your creative process. You'll know you've found your flow when self-consciousness fades and your brush moves intuitively across the paper.
To enter this state more easily, create an environment that minimizes distractions. Turn off your phone, choose a quiet workspace, and gather all your materials before you begin.
Start with loose warm-up exercises, like simple color swatches or quick sketches, to help quiet your inner critic.
Don't force yourself to paint in a specific style or technique. Instead, let your natural inclinations guide you. If you feel drawn to loose, expressive strokes, embrace them. If precise, detailed work calls to you, follow that path.
Pay attention to which subjects and color combinations energize you, and incorporate them into your practice.
Remember that flow isn't permanent – it comes and goes. When you lose it, take a short break, switch to a different painting, or try a new approach. The key is staying relaxed and receptive to wherever your creativity leads.
Daily Painting Rituals
Developing consistent painting rituals can transform your watercolor practice from occasional dabbling to steady artistic growth. By establishing a dedicated time and space for your art, you'll create momentum that carries through your creative journey.
Whether you choose early mornings or late evenings, stick to your schedule to build a sustainable practice.
Set up your painting space with intention. Keep your materials organized and easily accessible, and guarantee proper lighting illuminates your work area. You'll find that a well-prepared environment reduces resistance and helps you dive right into painting when inspiration strikes.
- Begin each session with a 5-minute warm-up exercise, like practicing basic brushstrokes or color mixing.
- Clean your palette and brushes before starting, creating a fresh slate for new ideas.
- Play soft background music that helps you focus without becoming a distraction.
- Keep a small journal nearby to jot down color combinations or techniques you want to explore.
Remember to protect your painting time from interruptions. Turn off phone notifications and let others know you're unavailable during your creative sessions.
With consistent practice, these rituals will become second nature, allowing you to focus entirely on your artistic expression.
Building a Creative Community
Connecting with fellow watercolor artists can energize your creative journey and accelerate your growth. You'll find invaluable feedback, learn new techniques, and gain fresh perspectives by joining local art groups or online watercolor communities. Start by searching for watercolor societies in your area or exploring platforms like Instagram, Facebook groups, and Reddit's r/Watercolor.
Don't hesitate to share your work, even if you're a beginner. Most artists remember their starting point and are happy to offer guidance. You can participate in weekly painting challenges, virtual workshops, or collaborative projects to push your boundaries and stay motivated.
Consider starting a small sketch group where you meet regularly to paint together, either in person or via video chat. Make the most of art supply stores' workshops and demonstrations, where you'll meet local artists and learn about new materials.
You might also want to create a blog or YouTube channel to document your progress and connect with other artists worldwide. Remember to contribute meaningfully to discussions and support others' work – building genuine relationships is key to fostering a thriving creative community.
Taking Your Art Outside
While building connections in the art community enriches your creative life indoors, stepping outside with your watercolors opens up endless possibilities for inspiration and growth.
Nature provides an ever-changing canvas of colors, textures, and compositions that you can't replicate in a studio setting. When you're ready to venture outdoors, pack light but smart – a portable watercolor kit, water container, brushes, and a sturdy sketchbook are essential.
Choose your location thoughtfully. Parks, gardens, and quiet urban spots offer different perspectives and challenges. You'll need to work faster outdoors as lighting conditions change and watercolors dry more quickly in open air.
Don't forget to check the weather forecast and bring a small folding stool or blanket for comfort.
- Morning light creates long shadows and soft, cool tones perfect for capturing peaceful landscapes
- Midday sun reveals vibrant colors and sharp contrasts ideal for bold, dramatic scenes
- Natural elements like leaves, rocks, and flowers become instant subjects for detailed studies
- Changing weather conditions teach you to adapt your technique and work spontaneously
Frequently Asked Questions
How Long Does It Take for Watercolor Paint to Expire?
Your watercolors won't technically expire, but they can dry out or grow mold if stored improperly. When kept in tubes and well-sealed, they'll last 5+ years. Pan colors can last even longer with proper care.
Can Watercolor Paintings Be Displayed in Direct Sunlight?
You shouldn't display watercolor paintings in direct sunlight, as UV rays will fade and damage the pigments over time. It's best to hang them away from sunlight or use UV-protective glass for framing.
What's the Best Way to Ship Watercolor Artwork Safely?
You'll need to package your watercolor art between rigid boards, wrap it in plastic for moisture protection, and ship it flat in a sturdy box. Don't forget to mark it "fragile" and "do not bend."
How Do Different Paper Weights Affect Paint Drying Time?
You'll notice heavier papers (300lb) dry much slower since they absorb more water. Medium weights (140lb) dry moderately fast, while lighter papers (90lb) dry quickly but can warp easily from moisture.
Are Watercolor Paints Safe to Use During Pregnancy?
You'll be glad to know that most watercolor paints are safe during pregnancy. Just stick to non-toxic, high-quality brands and guarantee good ventilation. If you're concerned, check labels or consult your healthcare provider.
In Summary
You've started an incredible artistic journey with watercolors, and now you're equipped with the basics to make your creative dreams flow. Remember, there's no right or wrong way to express yourself – just keep practicing, experimenting, and connecting with fellow artists. Whether you're painting at home or outdoors, let watercolors be your path to mindful creativity and joyful self-expression.


Leave a Reply